I took a lesson on photographing bright skies on Photzy. The lesson I read about was titled “3 Tips For Dealing With Bright Skies in Landscape Photography”.

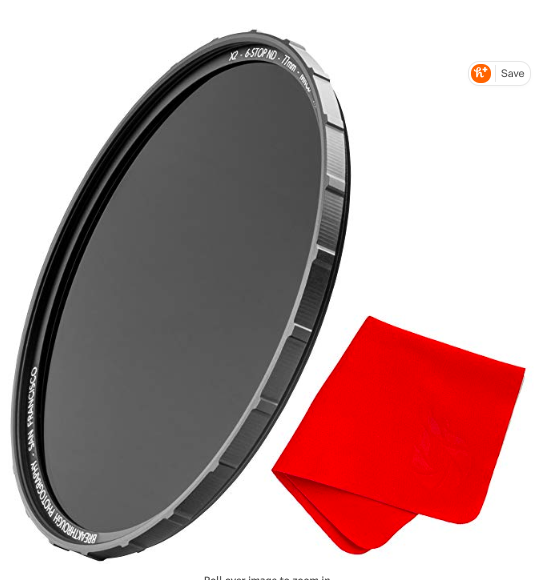
This part of the lesson talked about filters that can be used that will filter out the harshness of a bright sun. By doing this the photographer is able to pick up colors and details that would otherwise be overexposed or washed out.
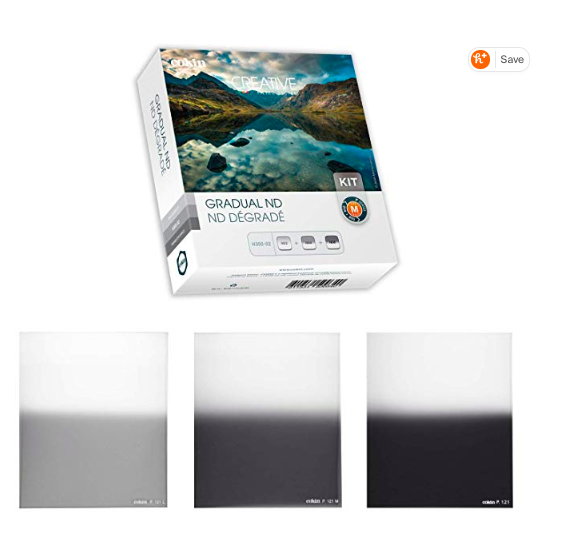
I found a few lenses on amazon. The ones with a gradient effect seemed the most interesting to me because they can filter out the sun’s intensity at the top while still allowing the picture to be unfiltered at the bottom, however these types of lenses didn’t get as good as a review when compared to just a single density filter.
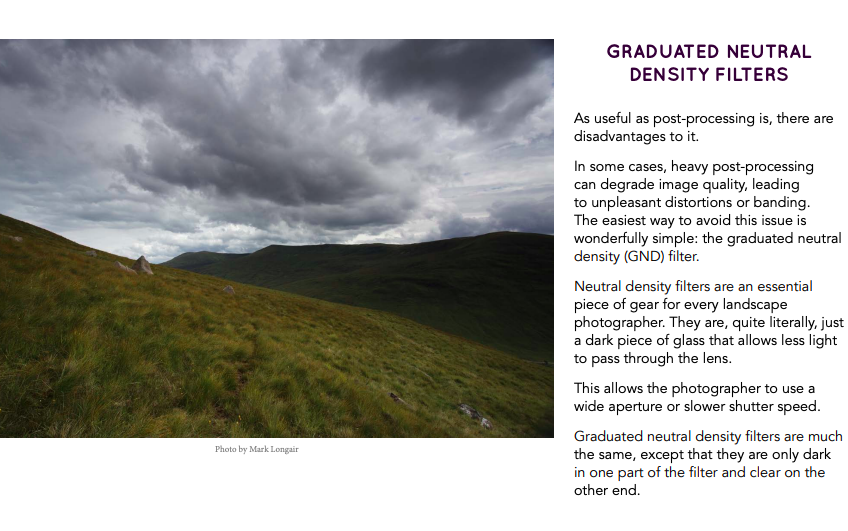
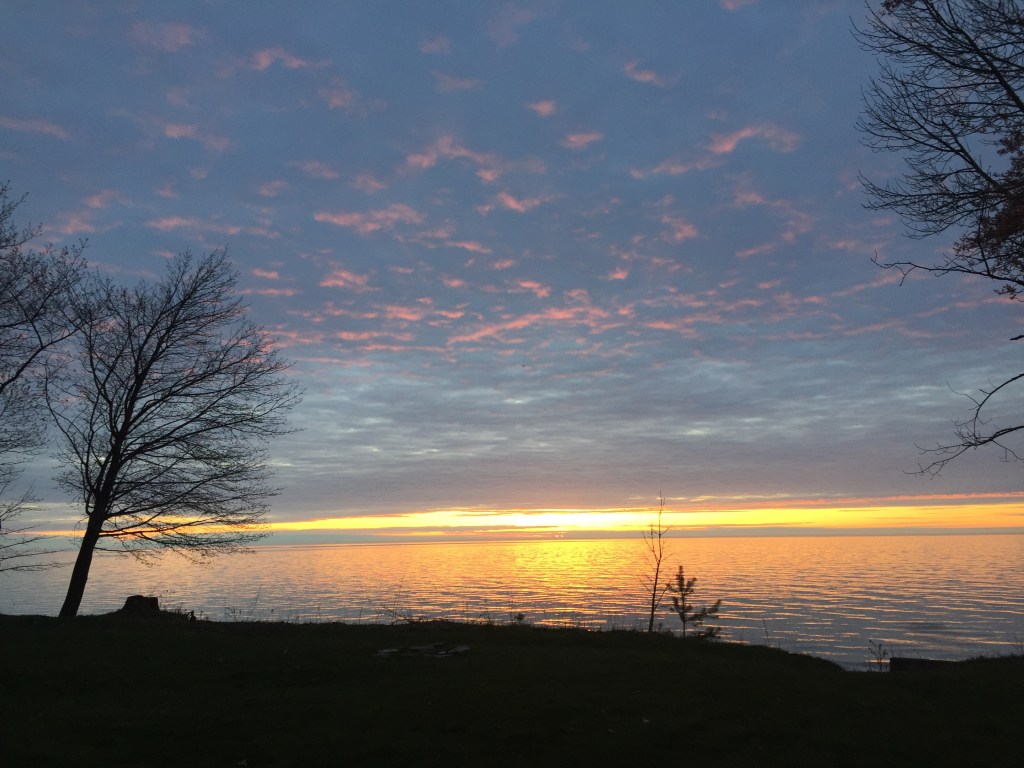
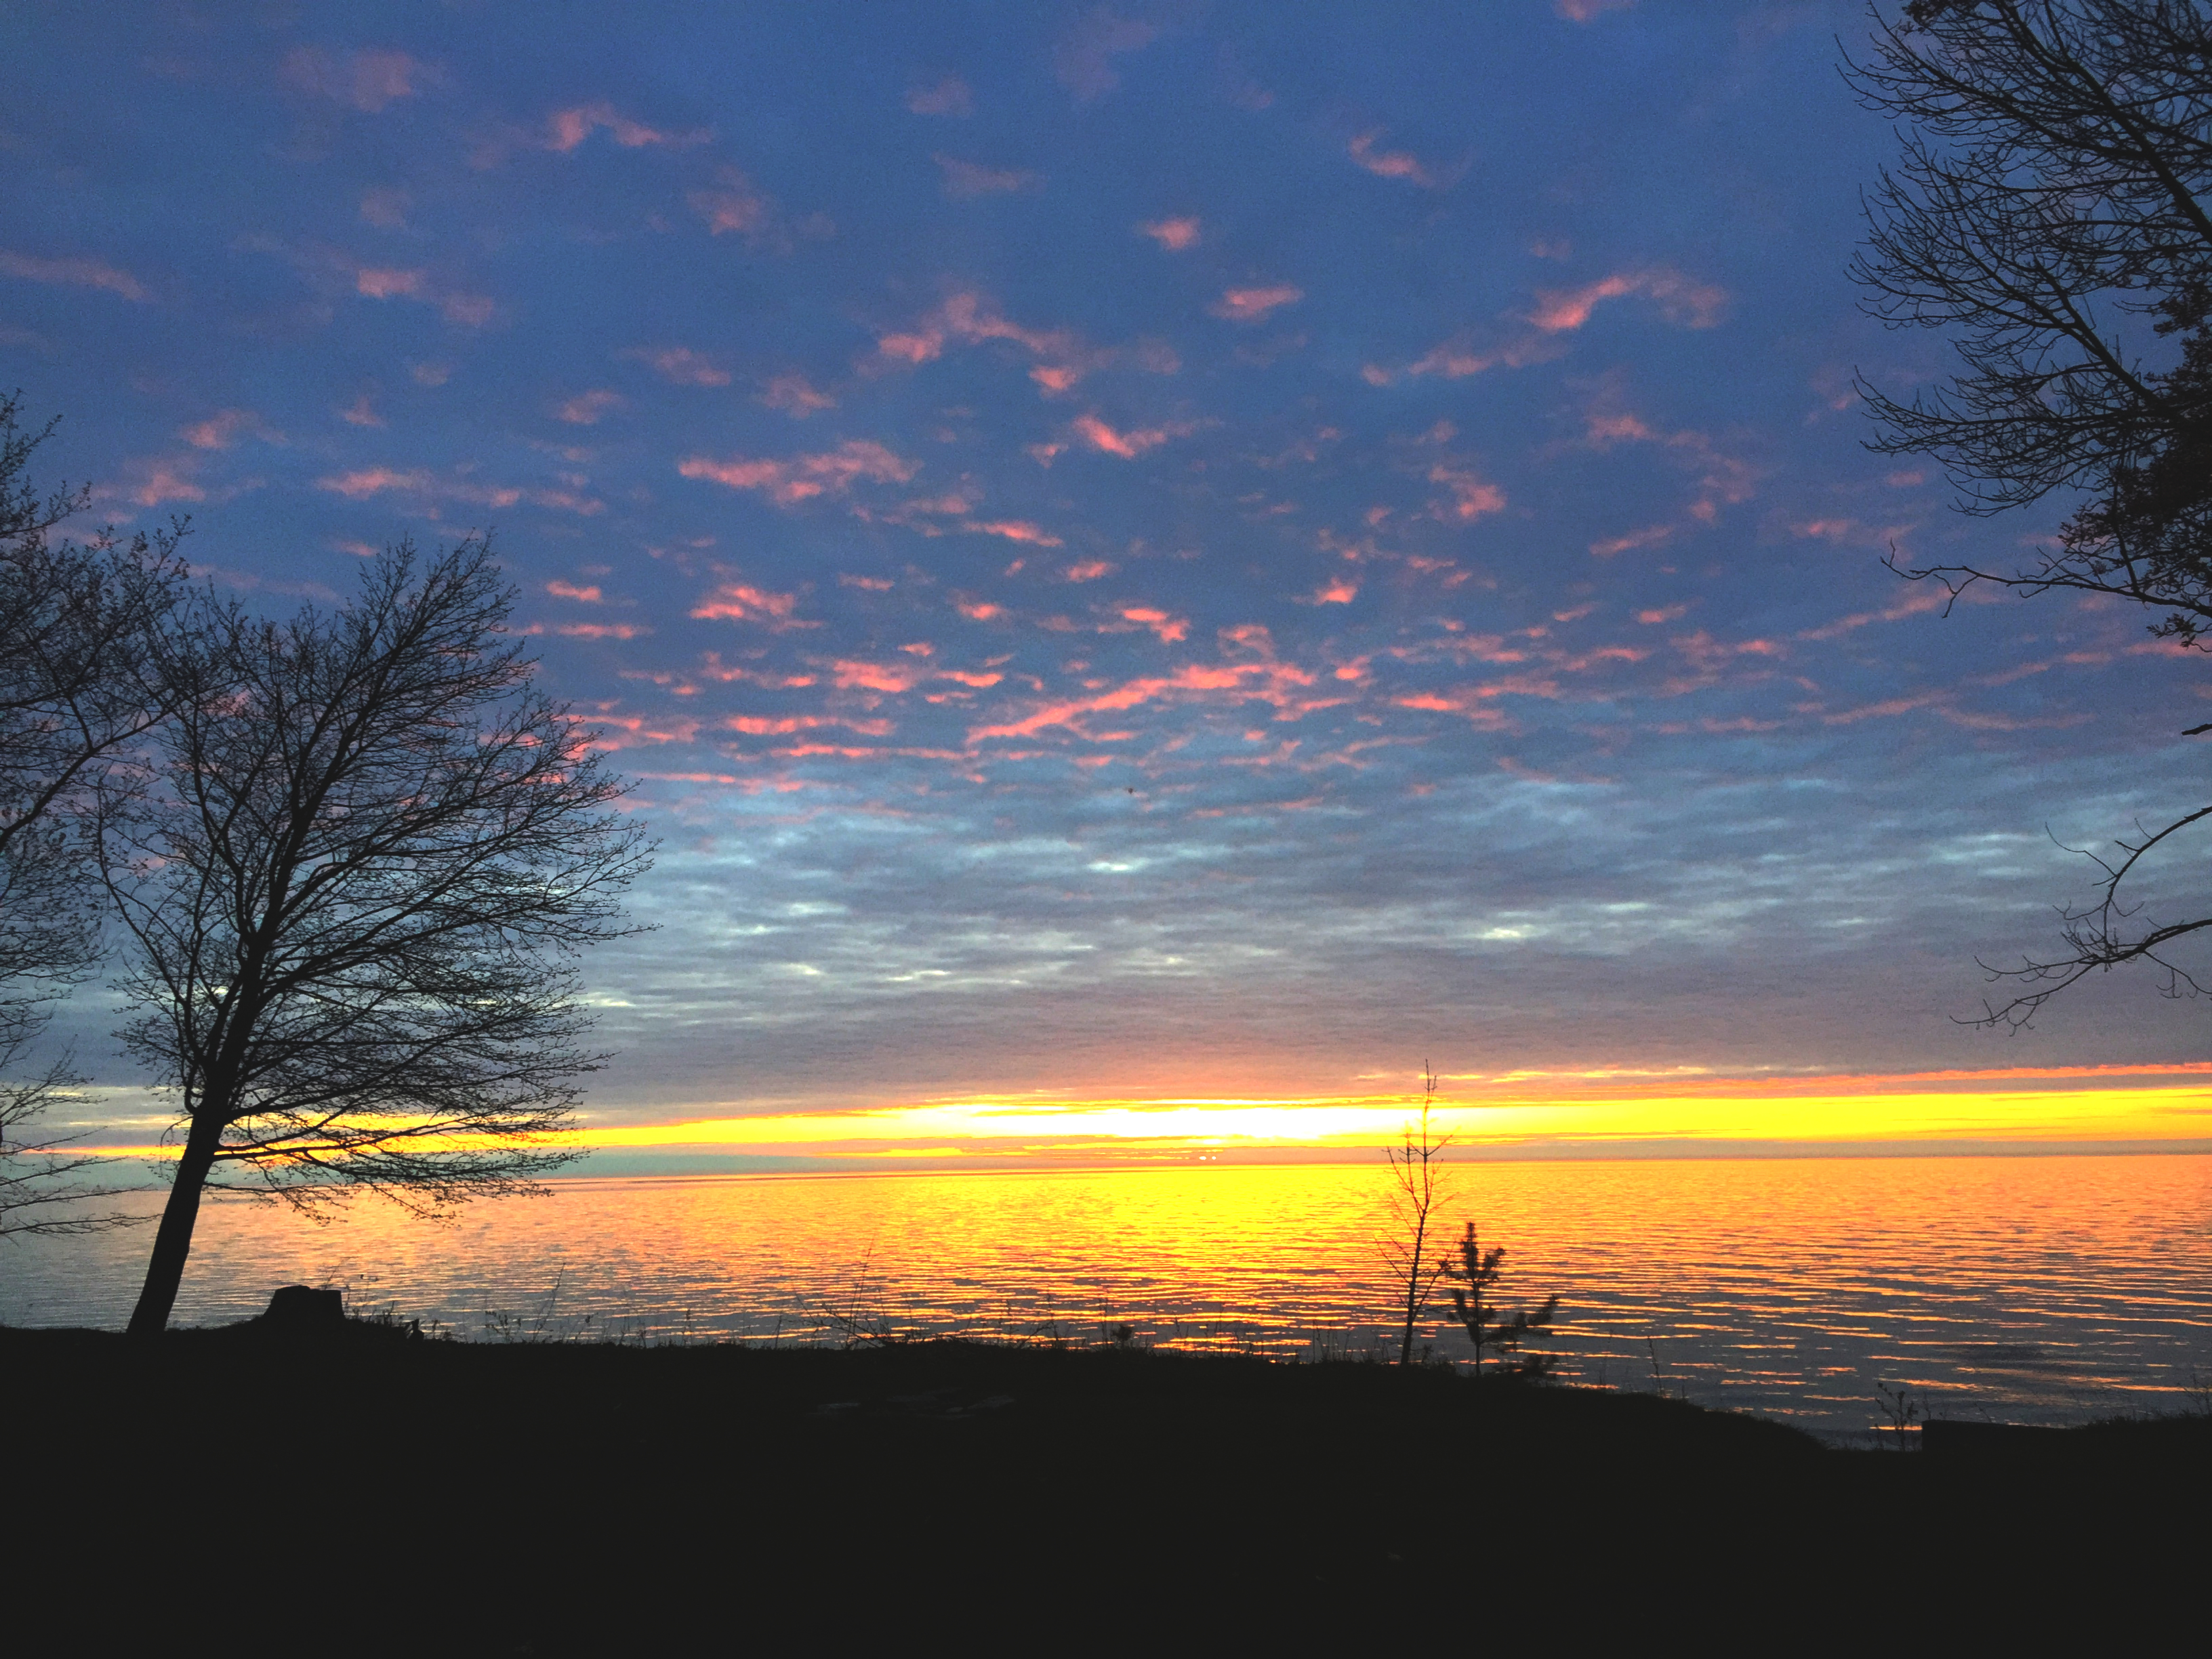
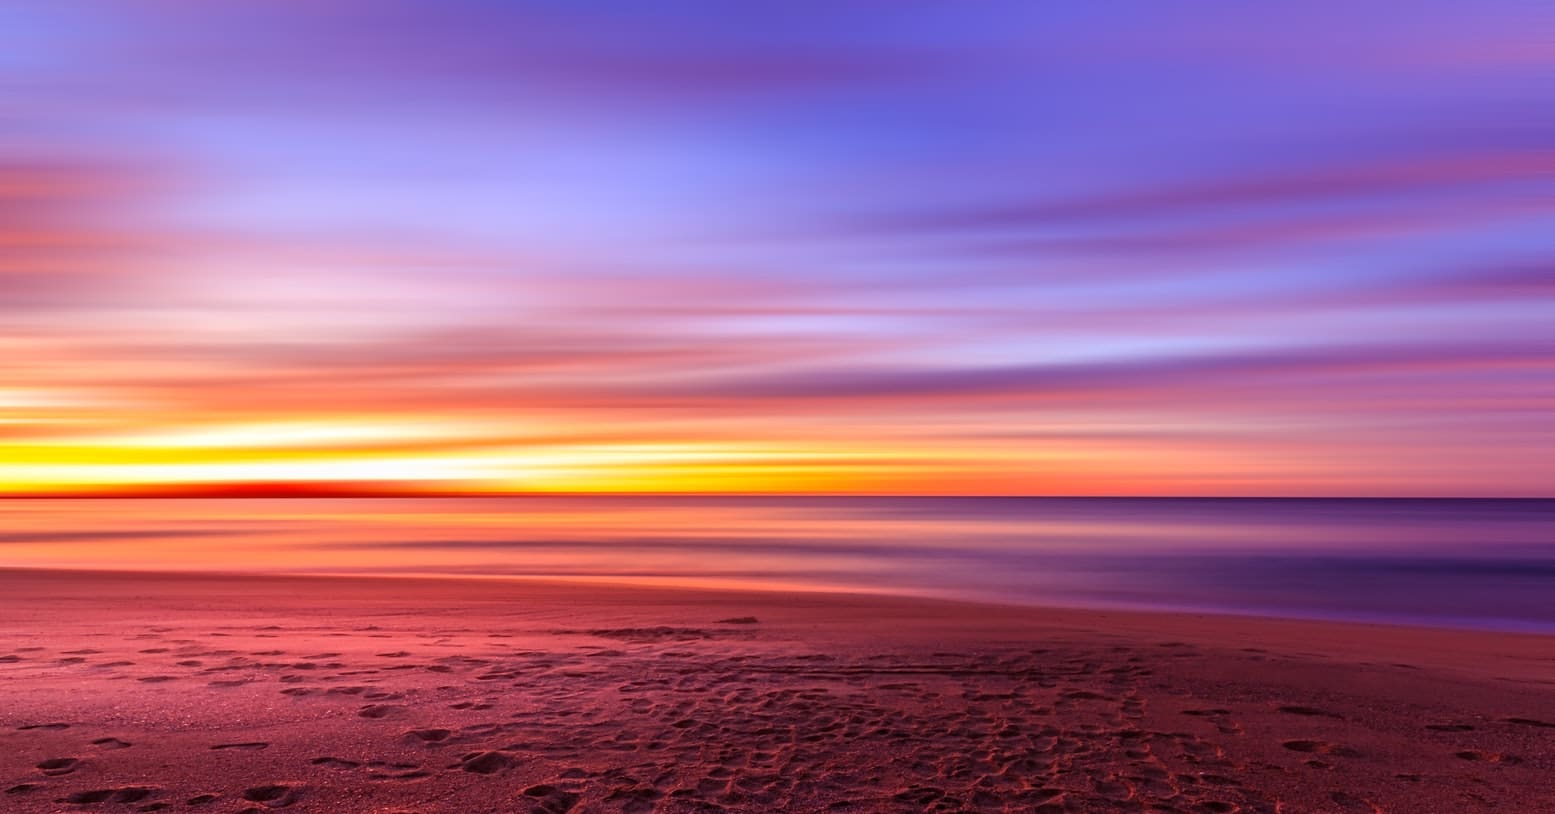
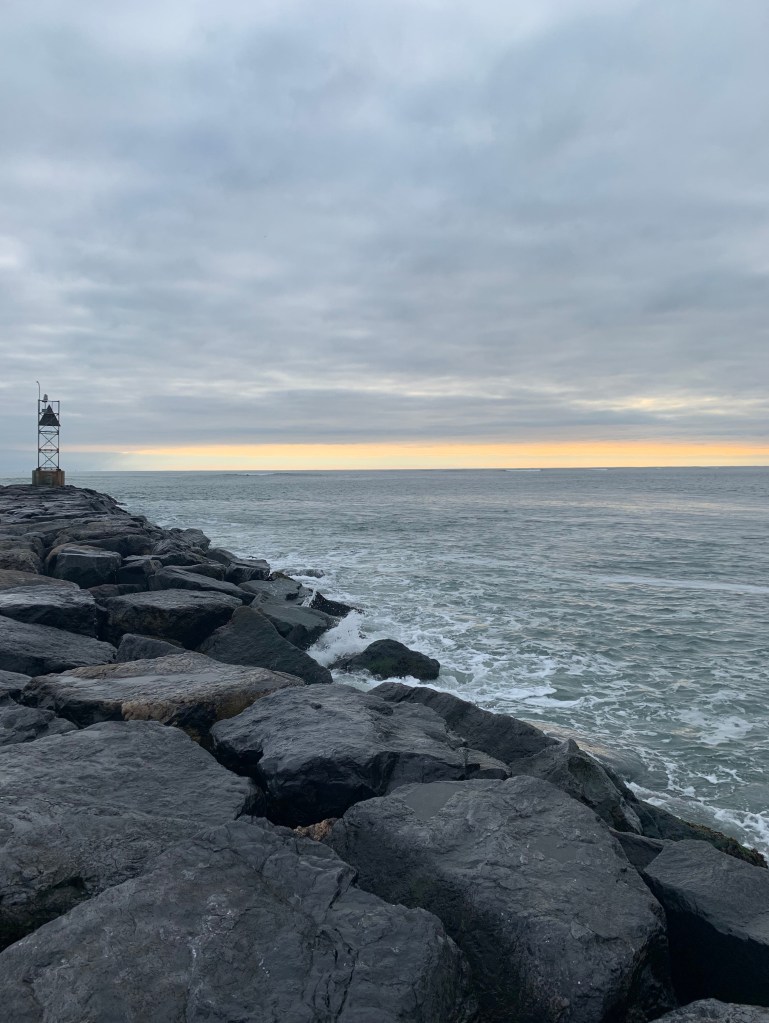
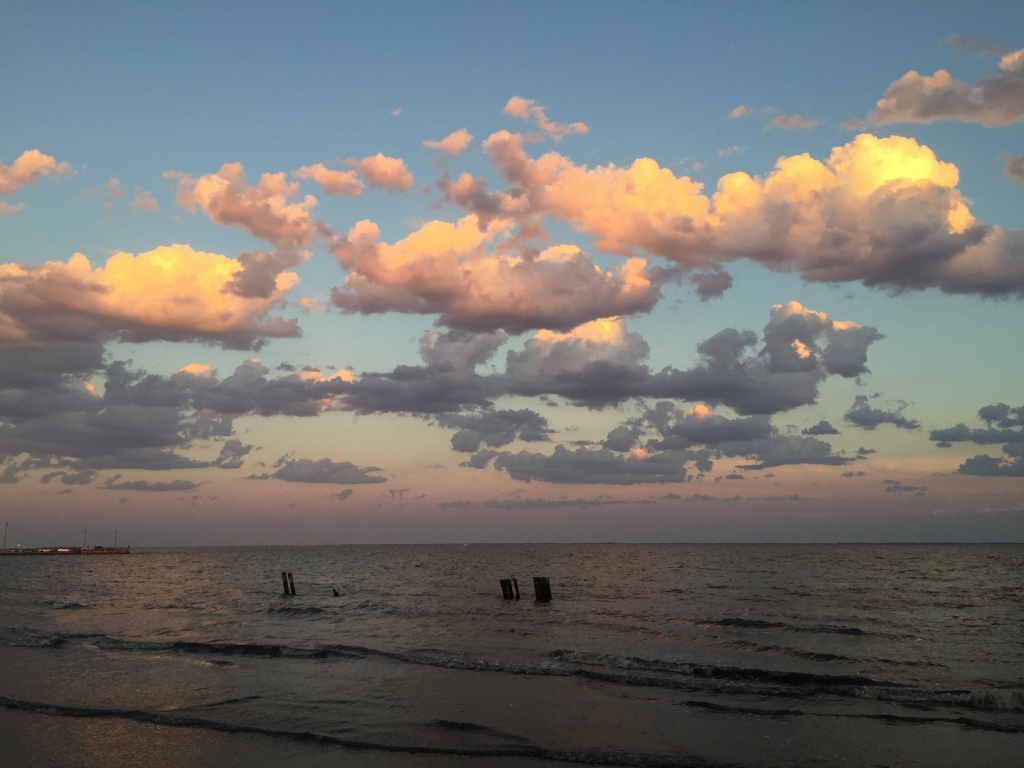
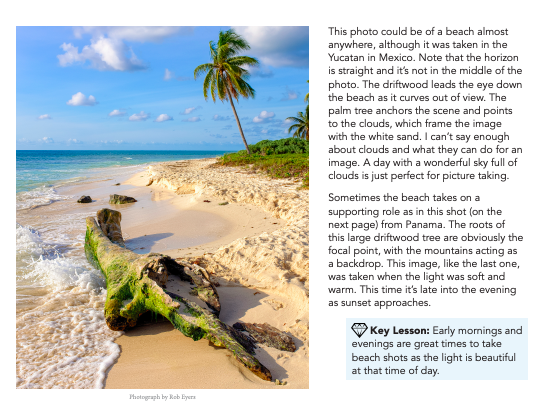
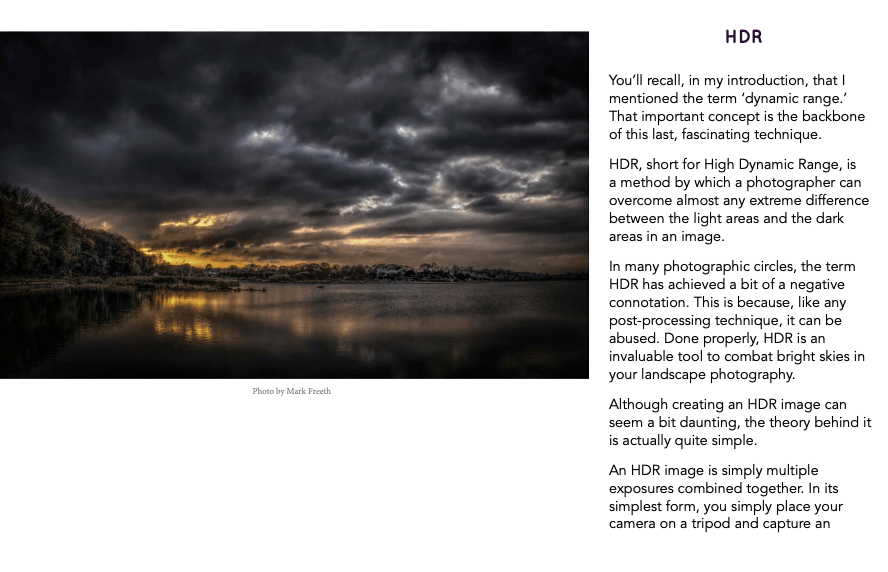
This photo lesson also described the benefits of HDR photos. In class we talked about HDR photos and how it combines multiple levels of exposure to obtain the truest image. This lesson talked about how HDR can combat bright skies. I liked the picture example in this lesson because it filters out where the picture would be too bright and just focuses on the color peaking through the clouds. Without an HDR filter I can assume that these colors would be extremely faint and not stand out as much as they do with the filter applies.

I also read this article on the class flipboard account titled How to capture dramatic Light in Landscape Photography“. This article gave 10 tips on how to improve your landscape photography game. Tip #1 encouraged readers to study up on the weather to see if there was going to be a chance of clouds, rain, etc. so you are able to best shoot what you are trying to capture. Clouds can be very interesting if done correctly. Tip #2 explained how the photographer was able to capture this image of lightening and fascinating colors by being prepared with weather knowledge and also light dramatization. Tip #3 reminded readers to stay in shape. The best shot is rarely right in front of you, it may require some hunting. This may be anything from hiking to climbing to get the best view. Tip #4 encouraged readers to spend more money on traveling and less money on expensive equipment. In photography it is hard to “force” a picture. Tip #5 told readers to invest in protective equipment for their gear. The author gave the example of how he his team were able to shoot in 70MPH winds in a desert and got amazing shots that would not have been a possibility without their protective gear. Tip #6 relates to the previous tip, but it pertains to the person behind the camera. This tip reminds readers of the importance of having protective and adequate equipment/gear with them to properly serve them in the environment that they are going to be shooting in. Tip #7 tells readers about the importance of post-processing (or editing) in software such as adobe lightroom & photoshop, etc. Tip #8 encourages readers to love what they do. If you truly love what you’re doing and what you’re able to capture the pictures will speak for themselves. Tip #9 tells readers to trust their gut and take chances. The author shares that especially when capturing dramatic light scenery, your gut feeling is usually right, and it’s best to quickly follow it because lighting can change instantaneously. Finally, tip #10 encourages readers to get out of their photography comfort zones. If you love to take pictures of the sky at sunset, try hiking at night and taking pictures of the moon and stars.
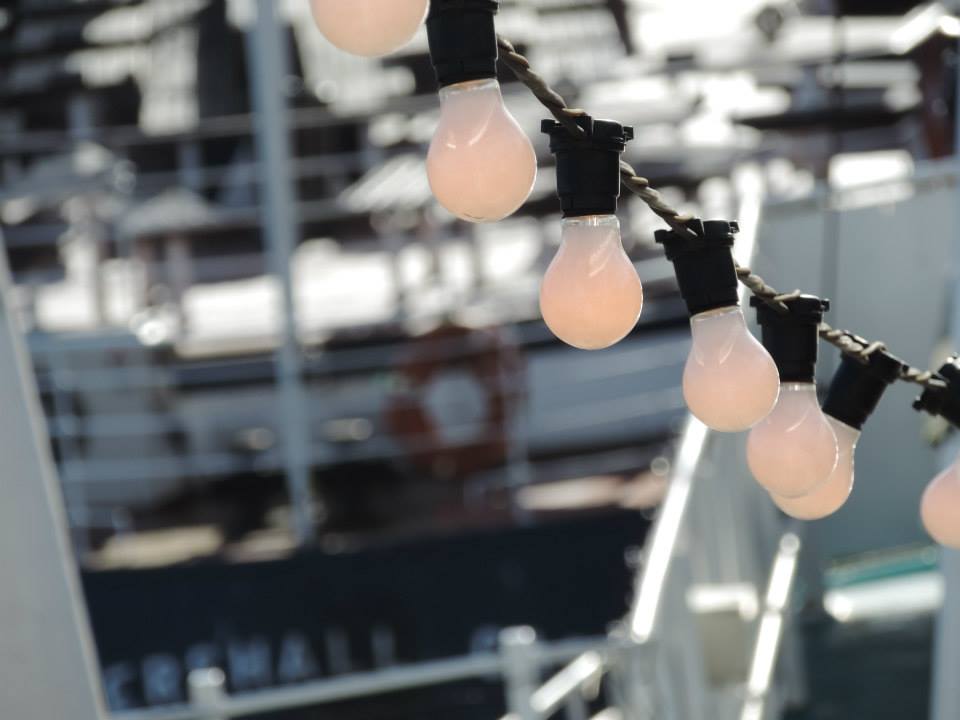
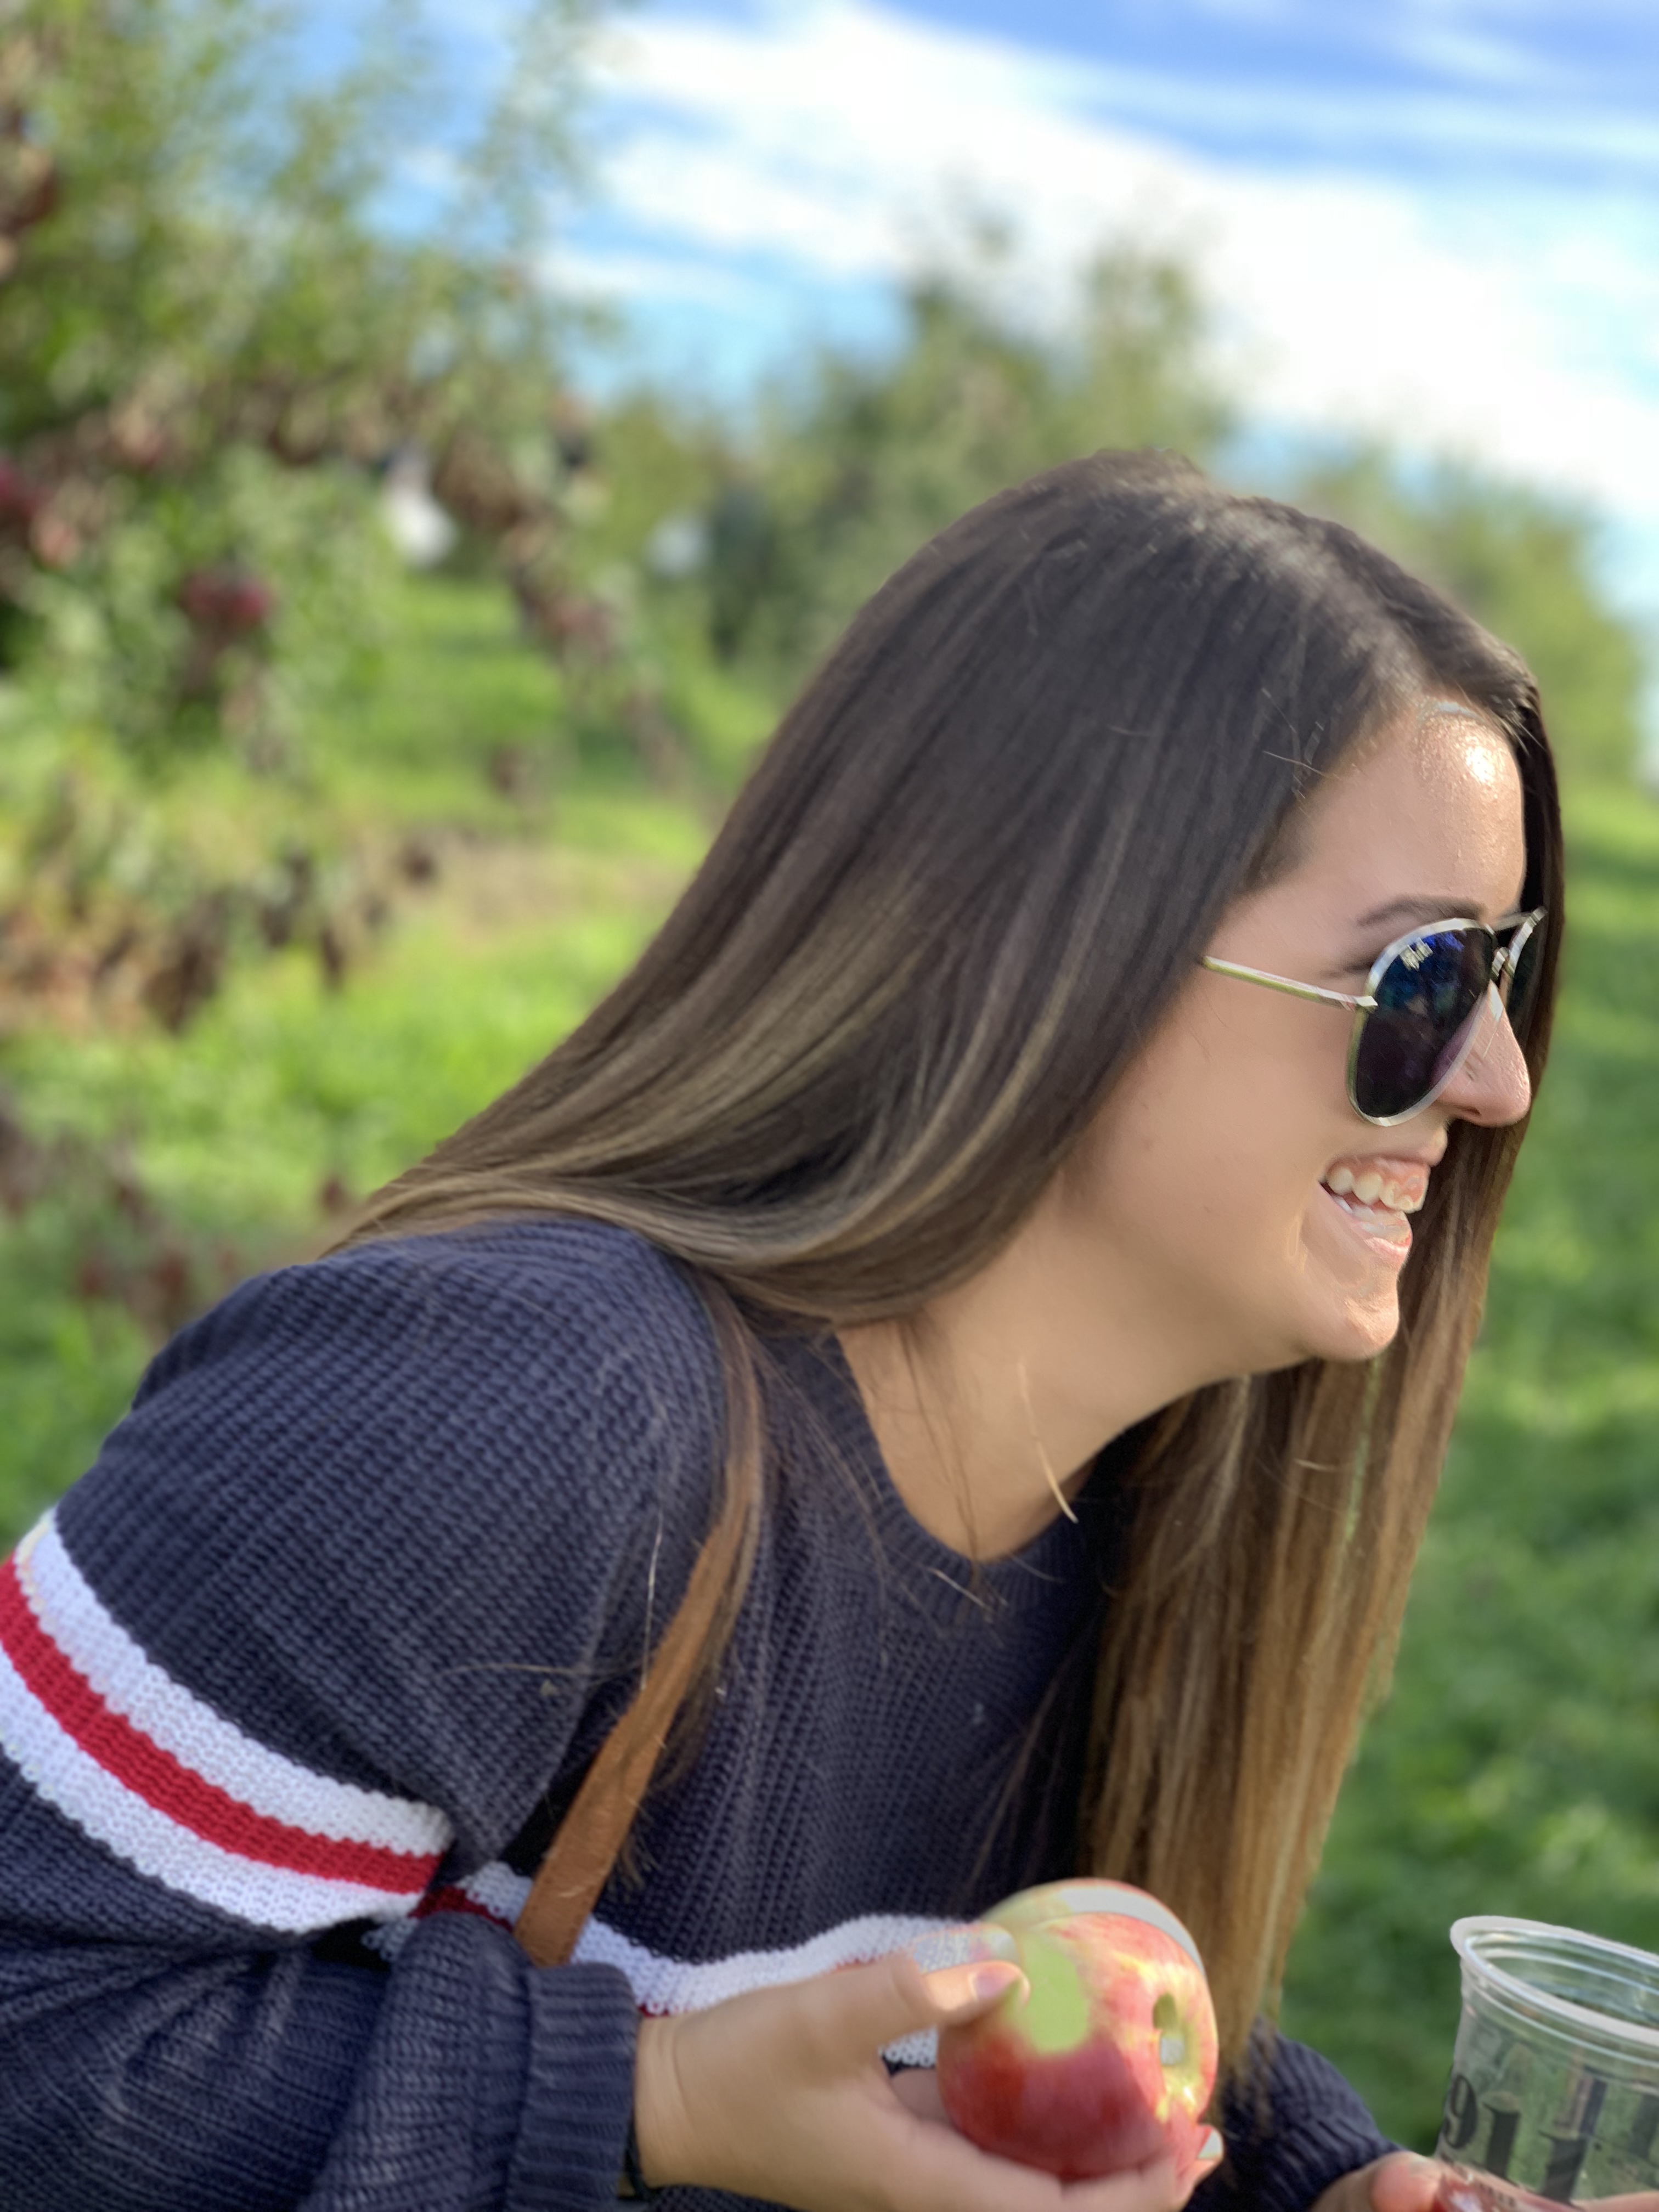
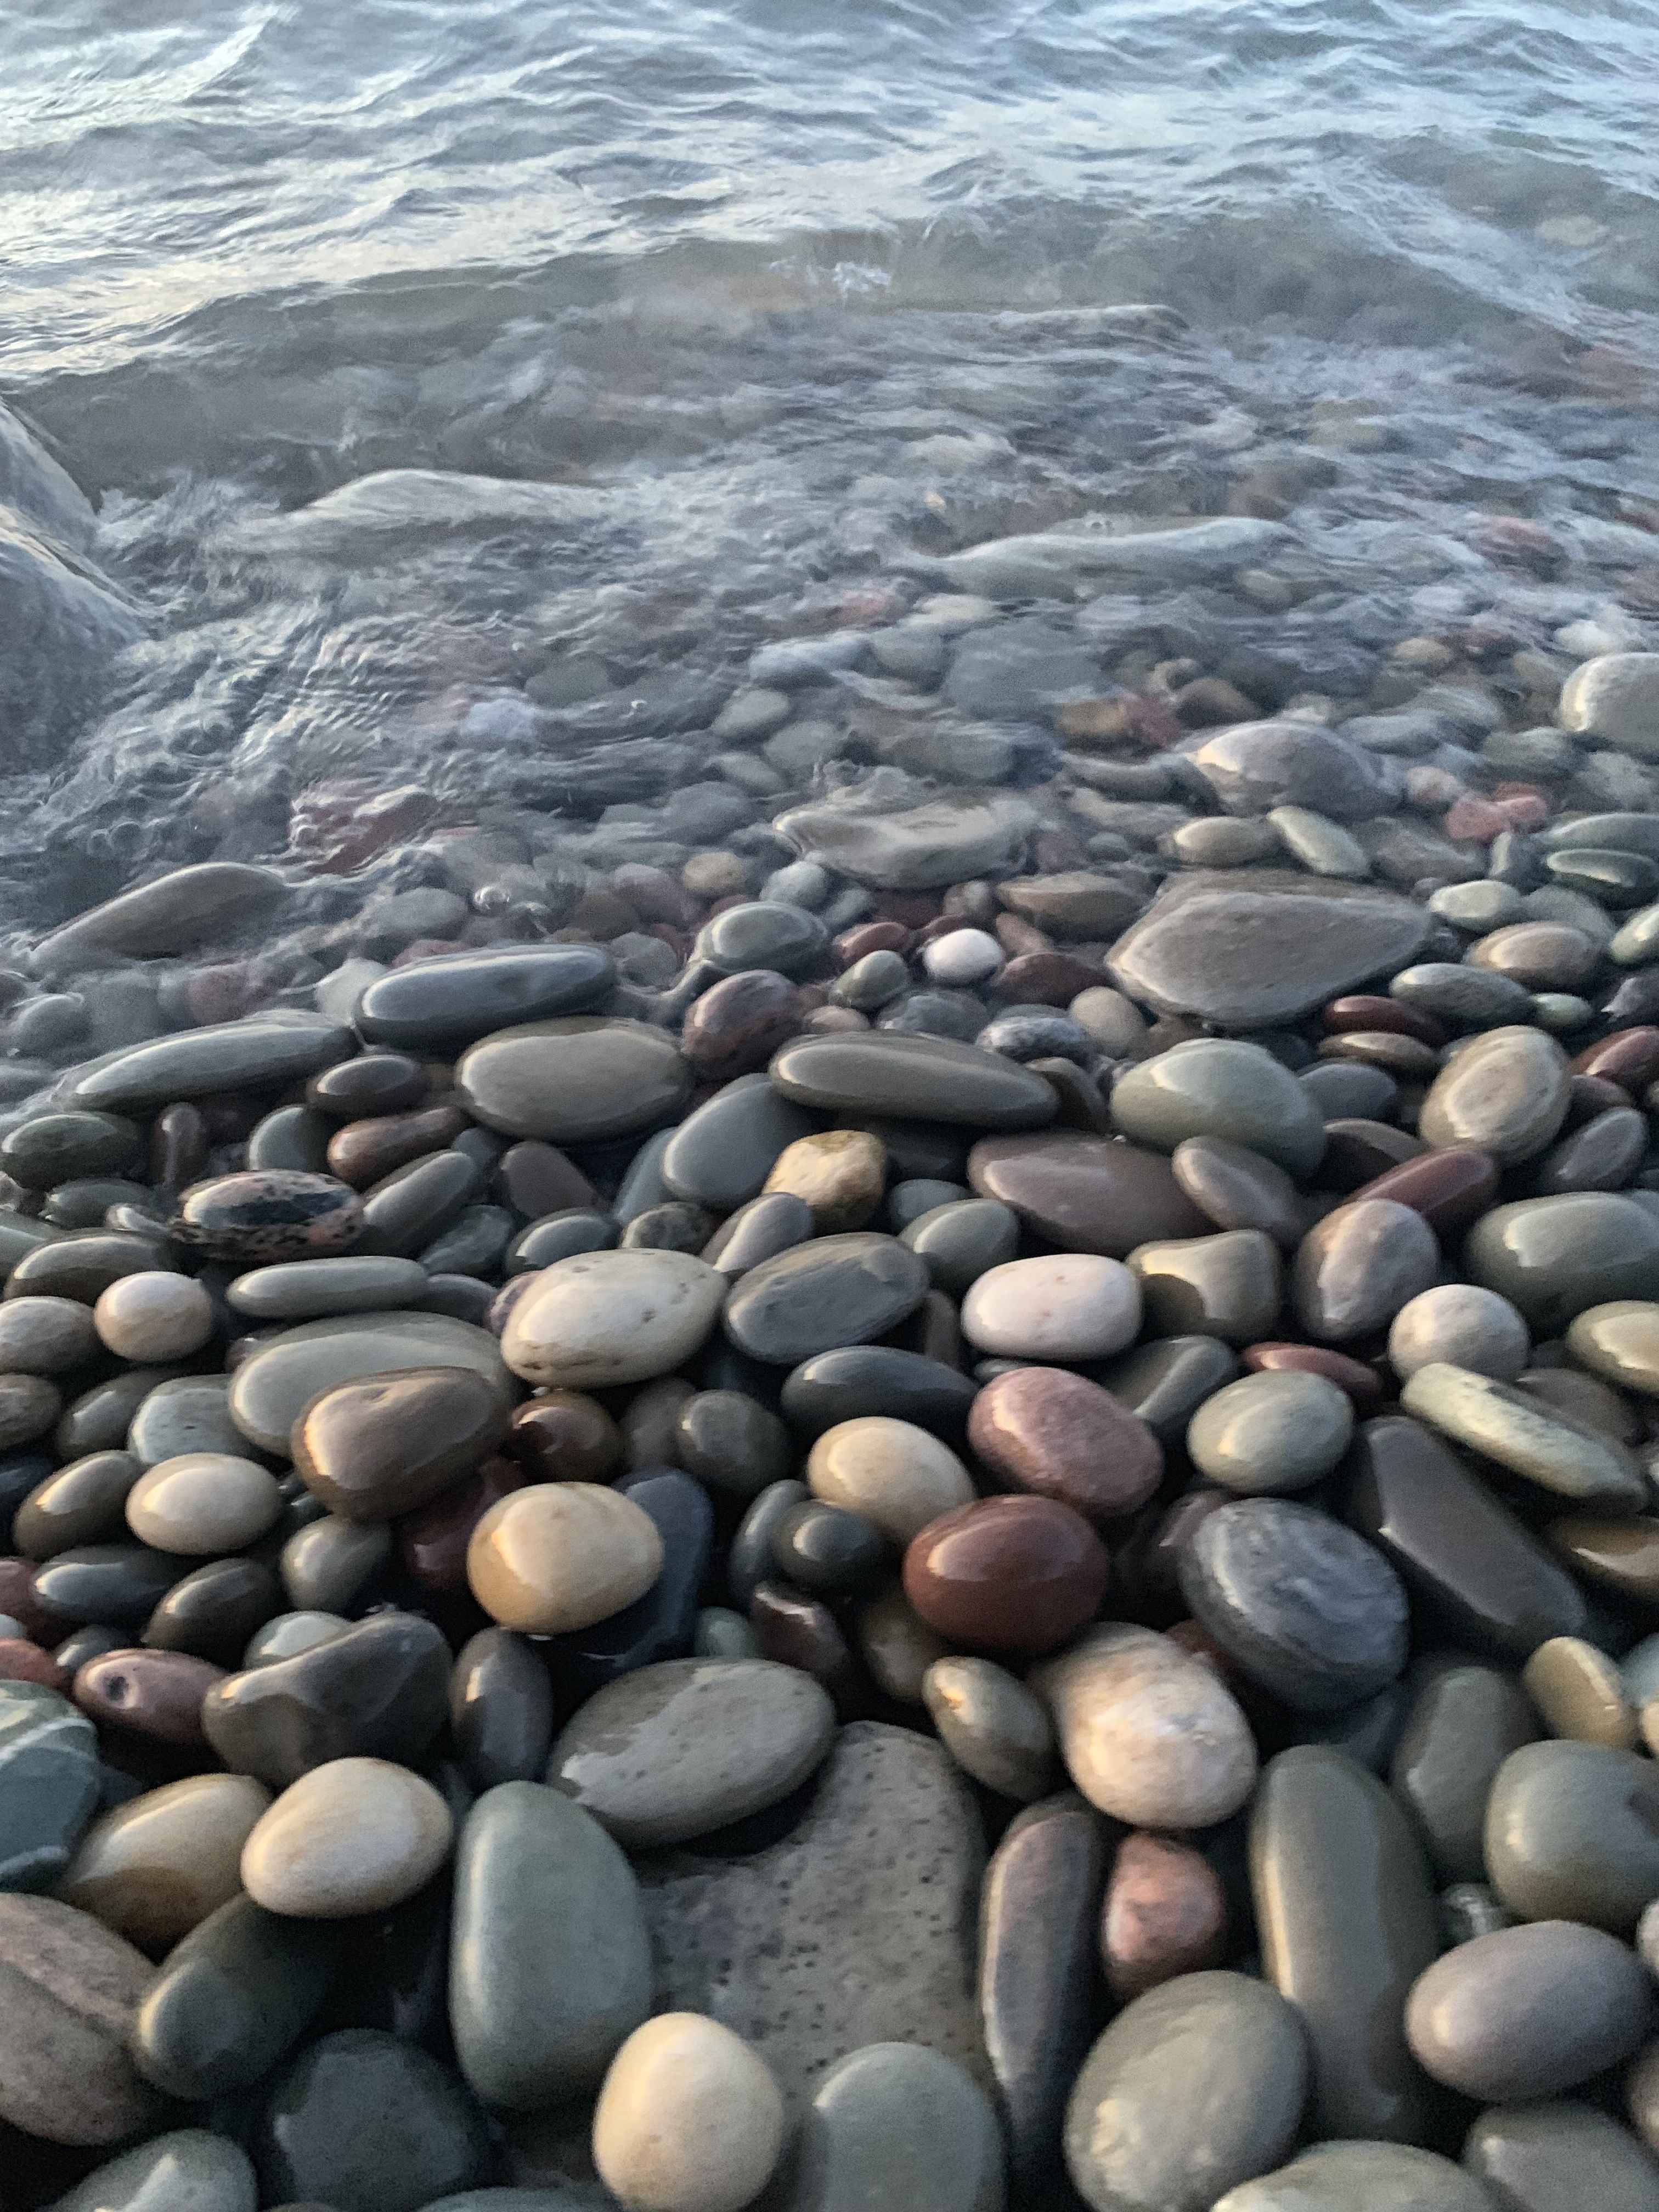
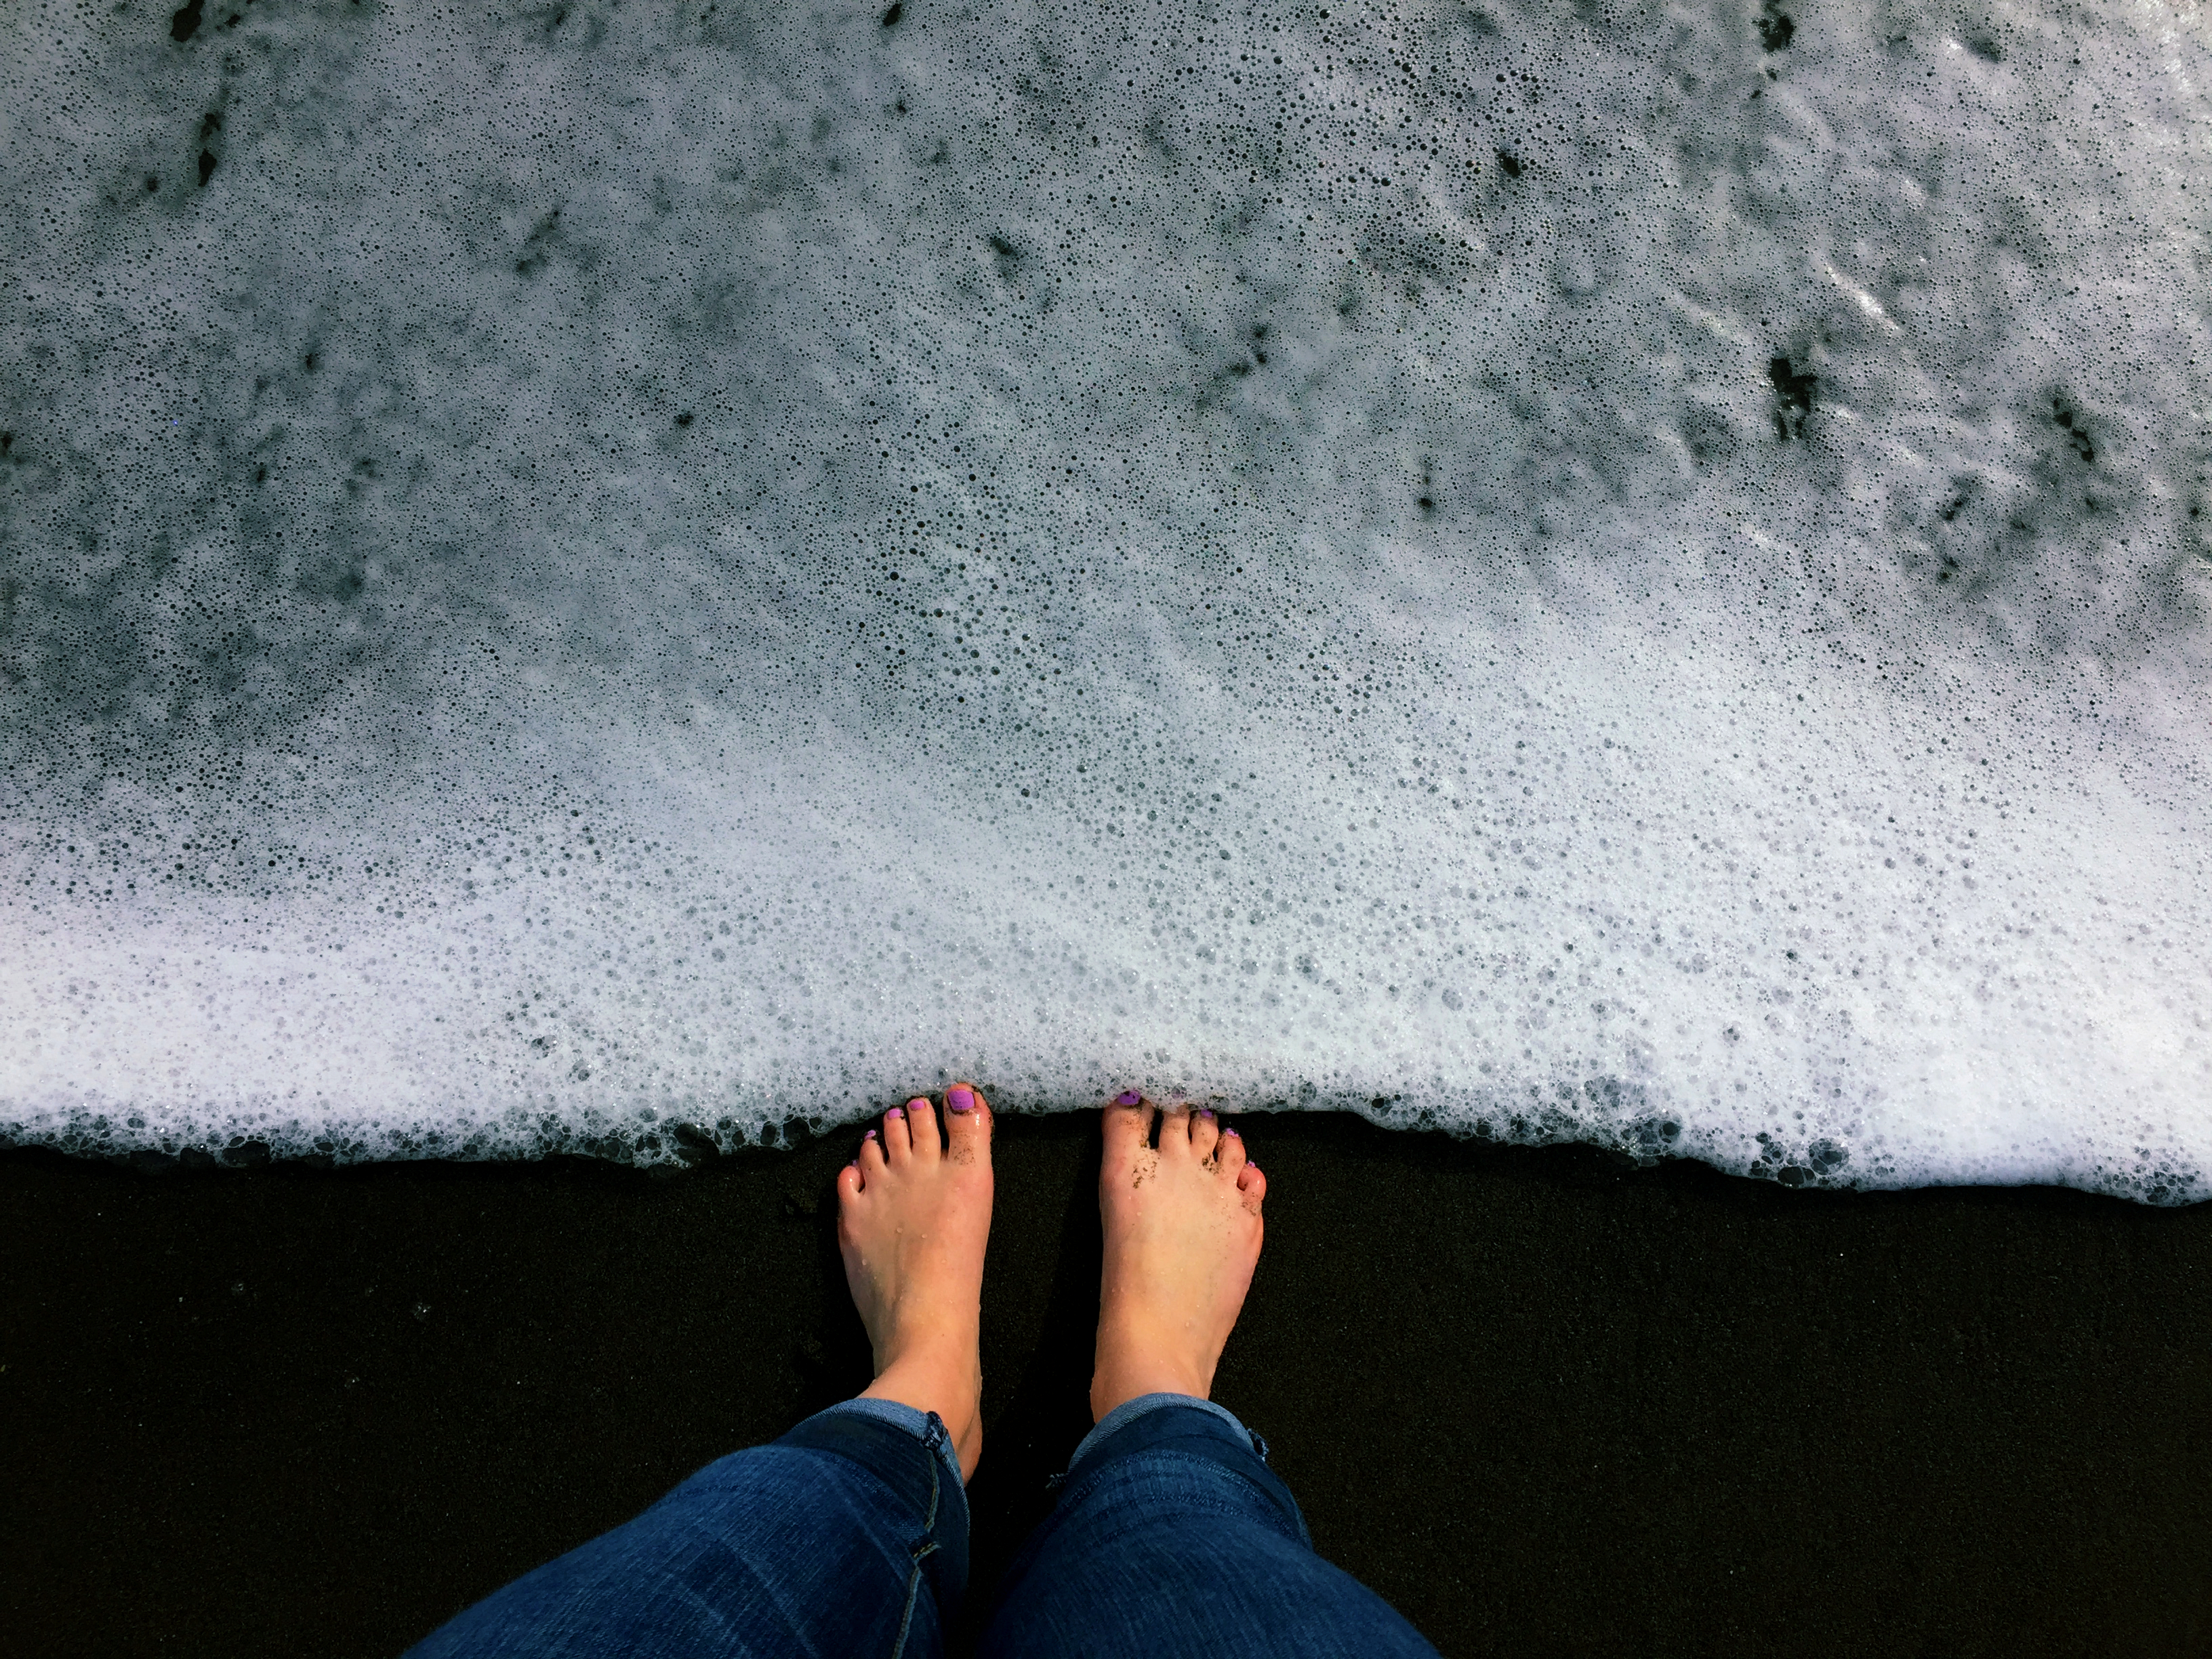
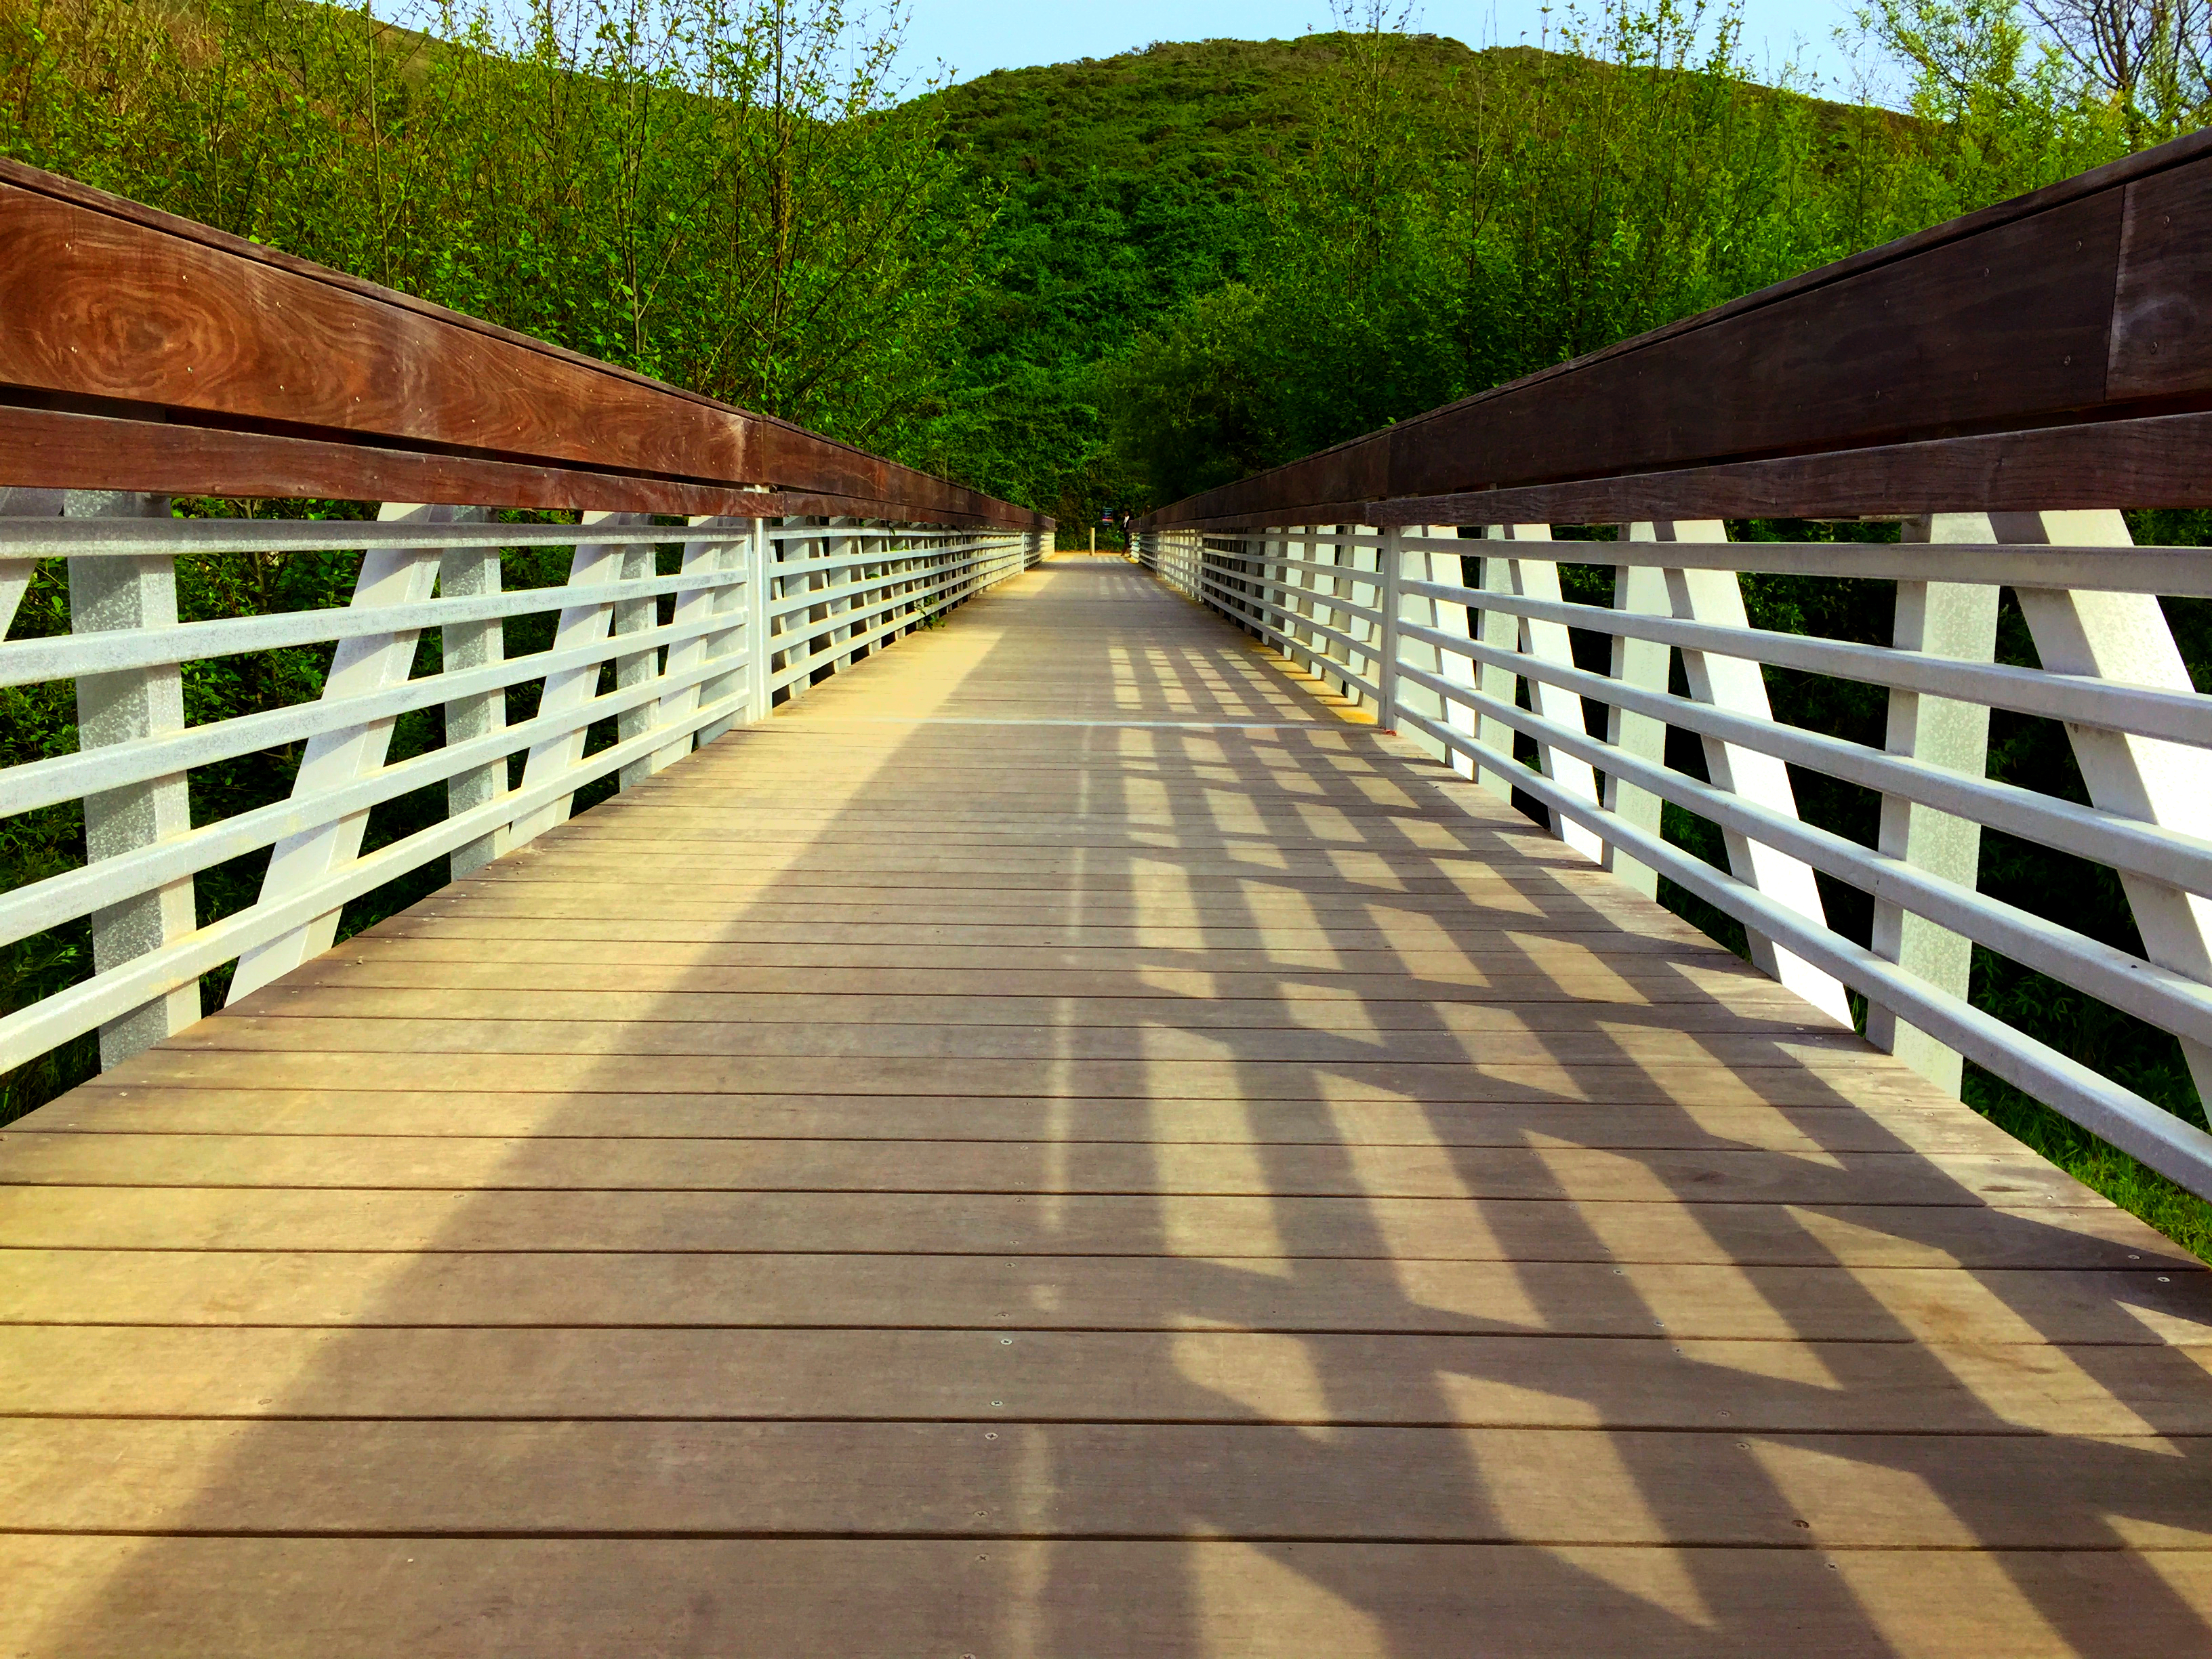
Look at my Flickr!
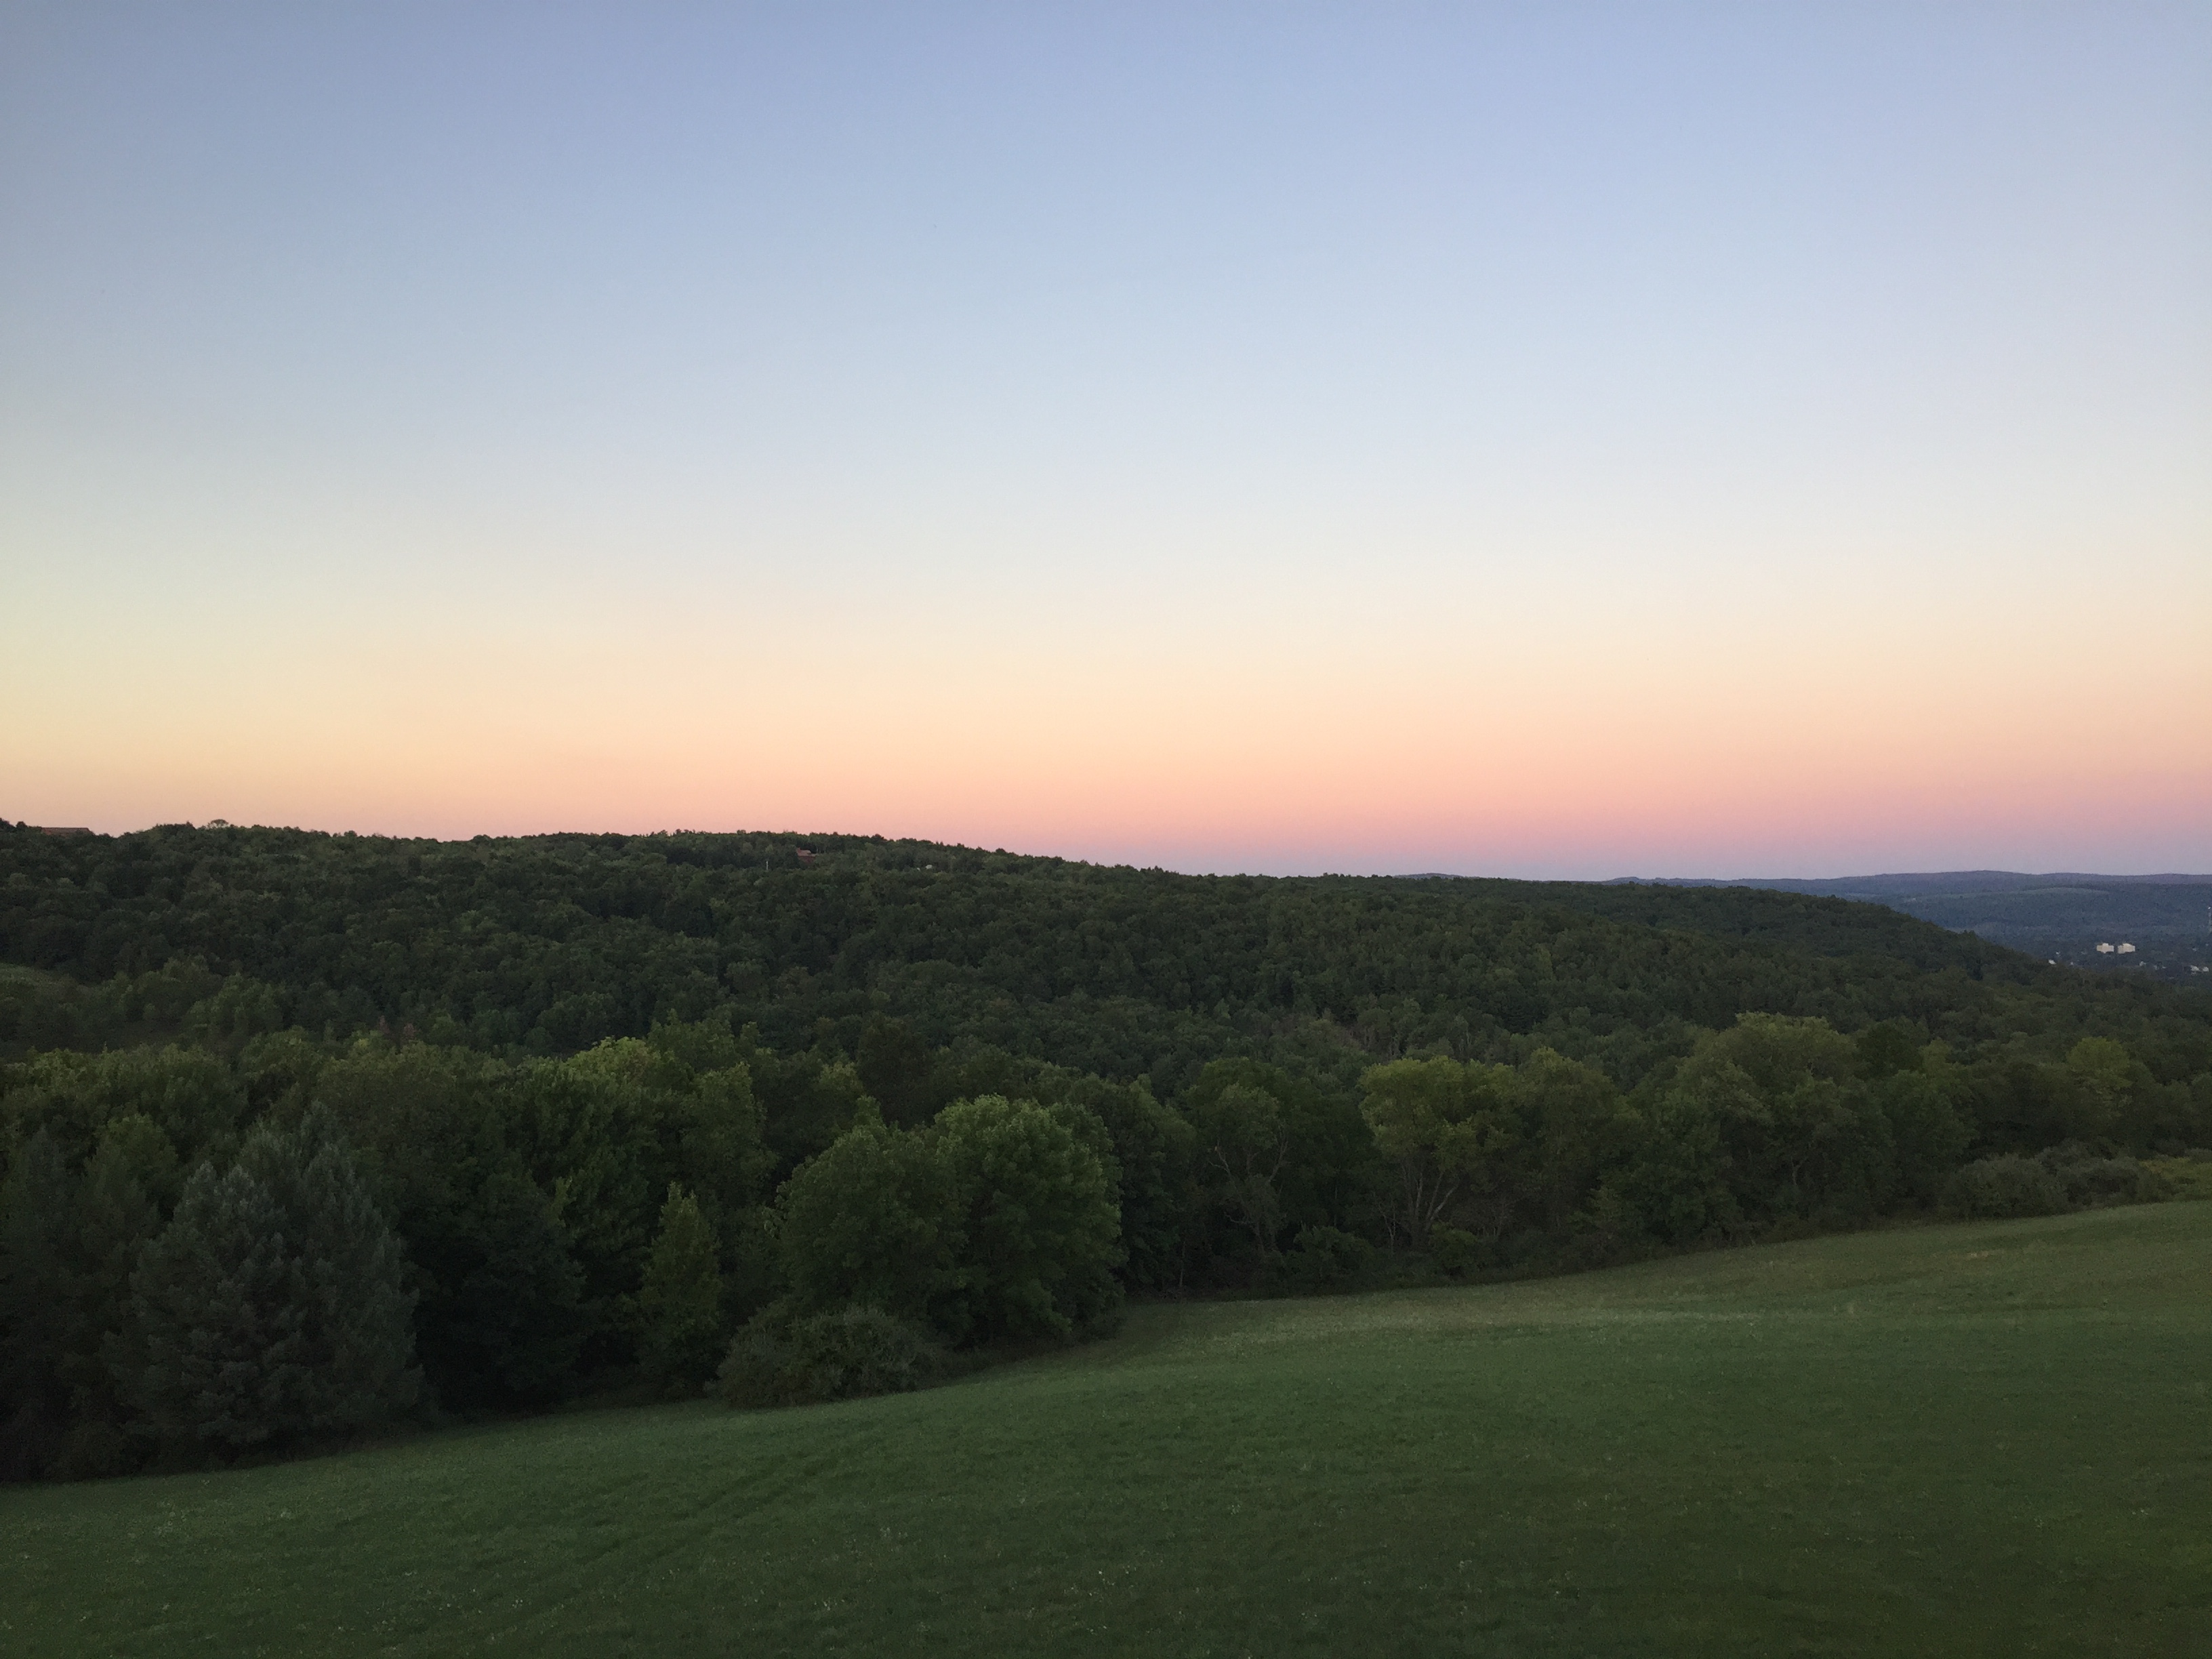
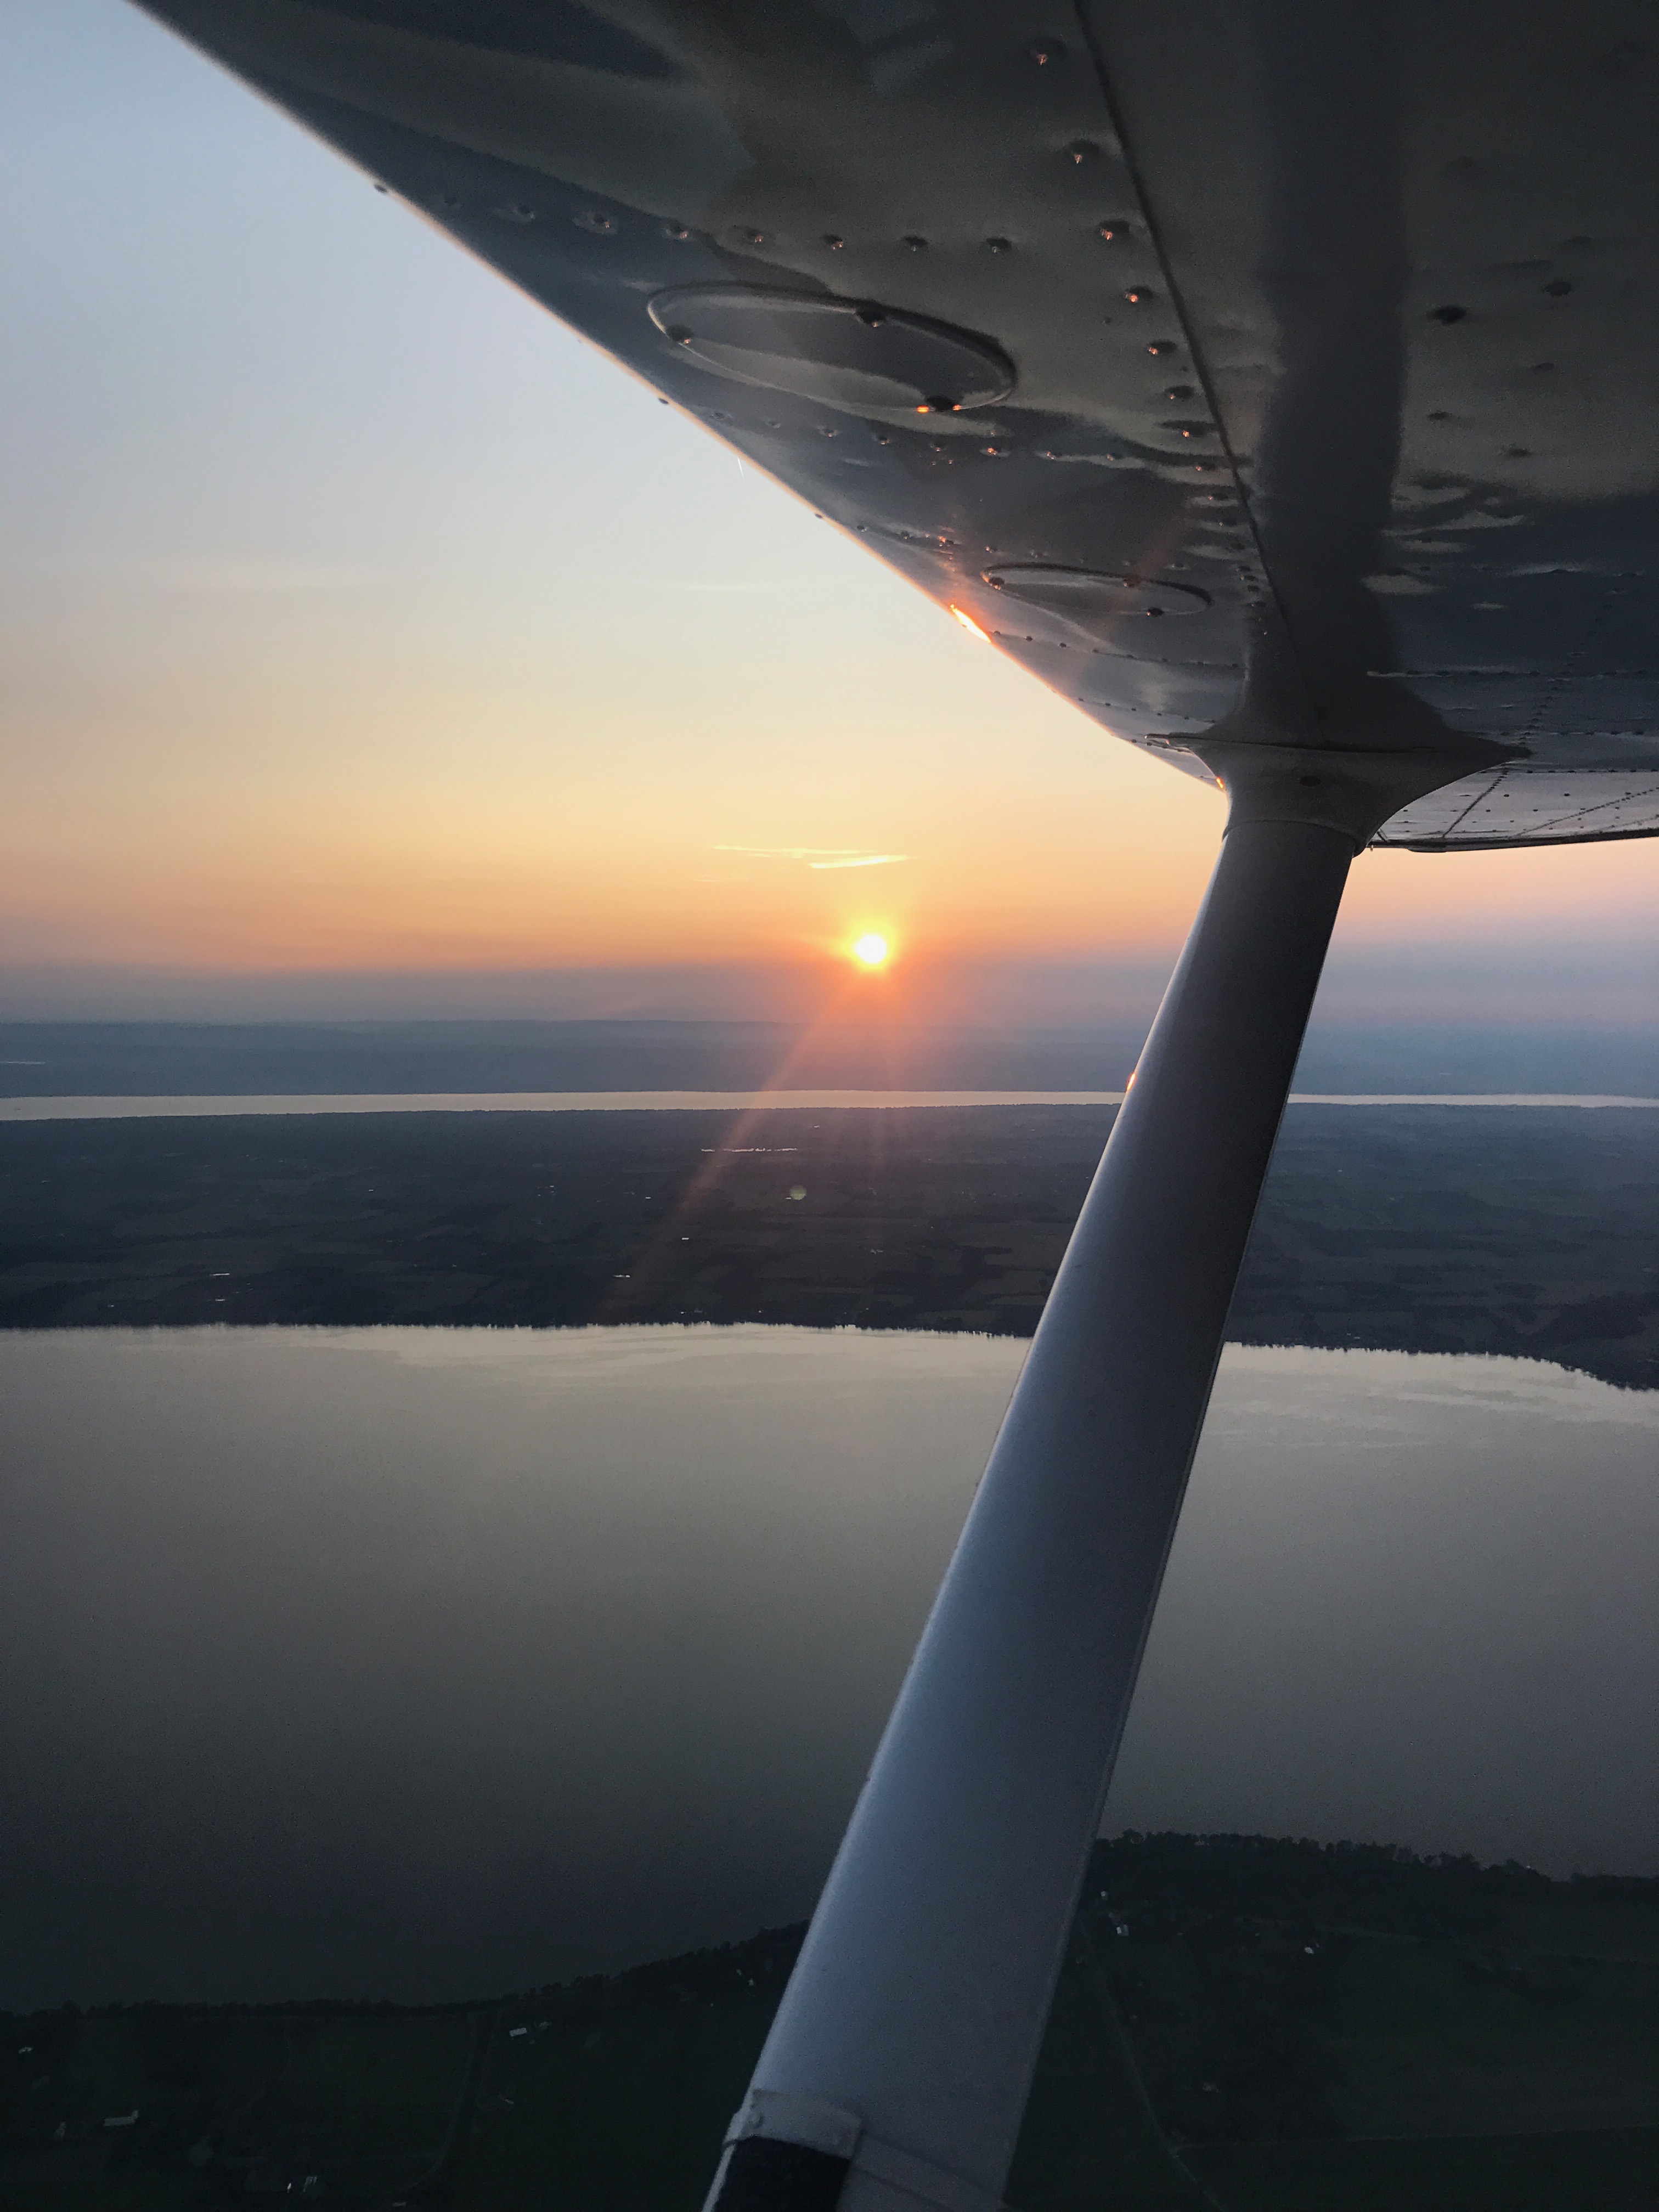
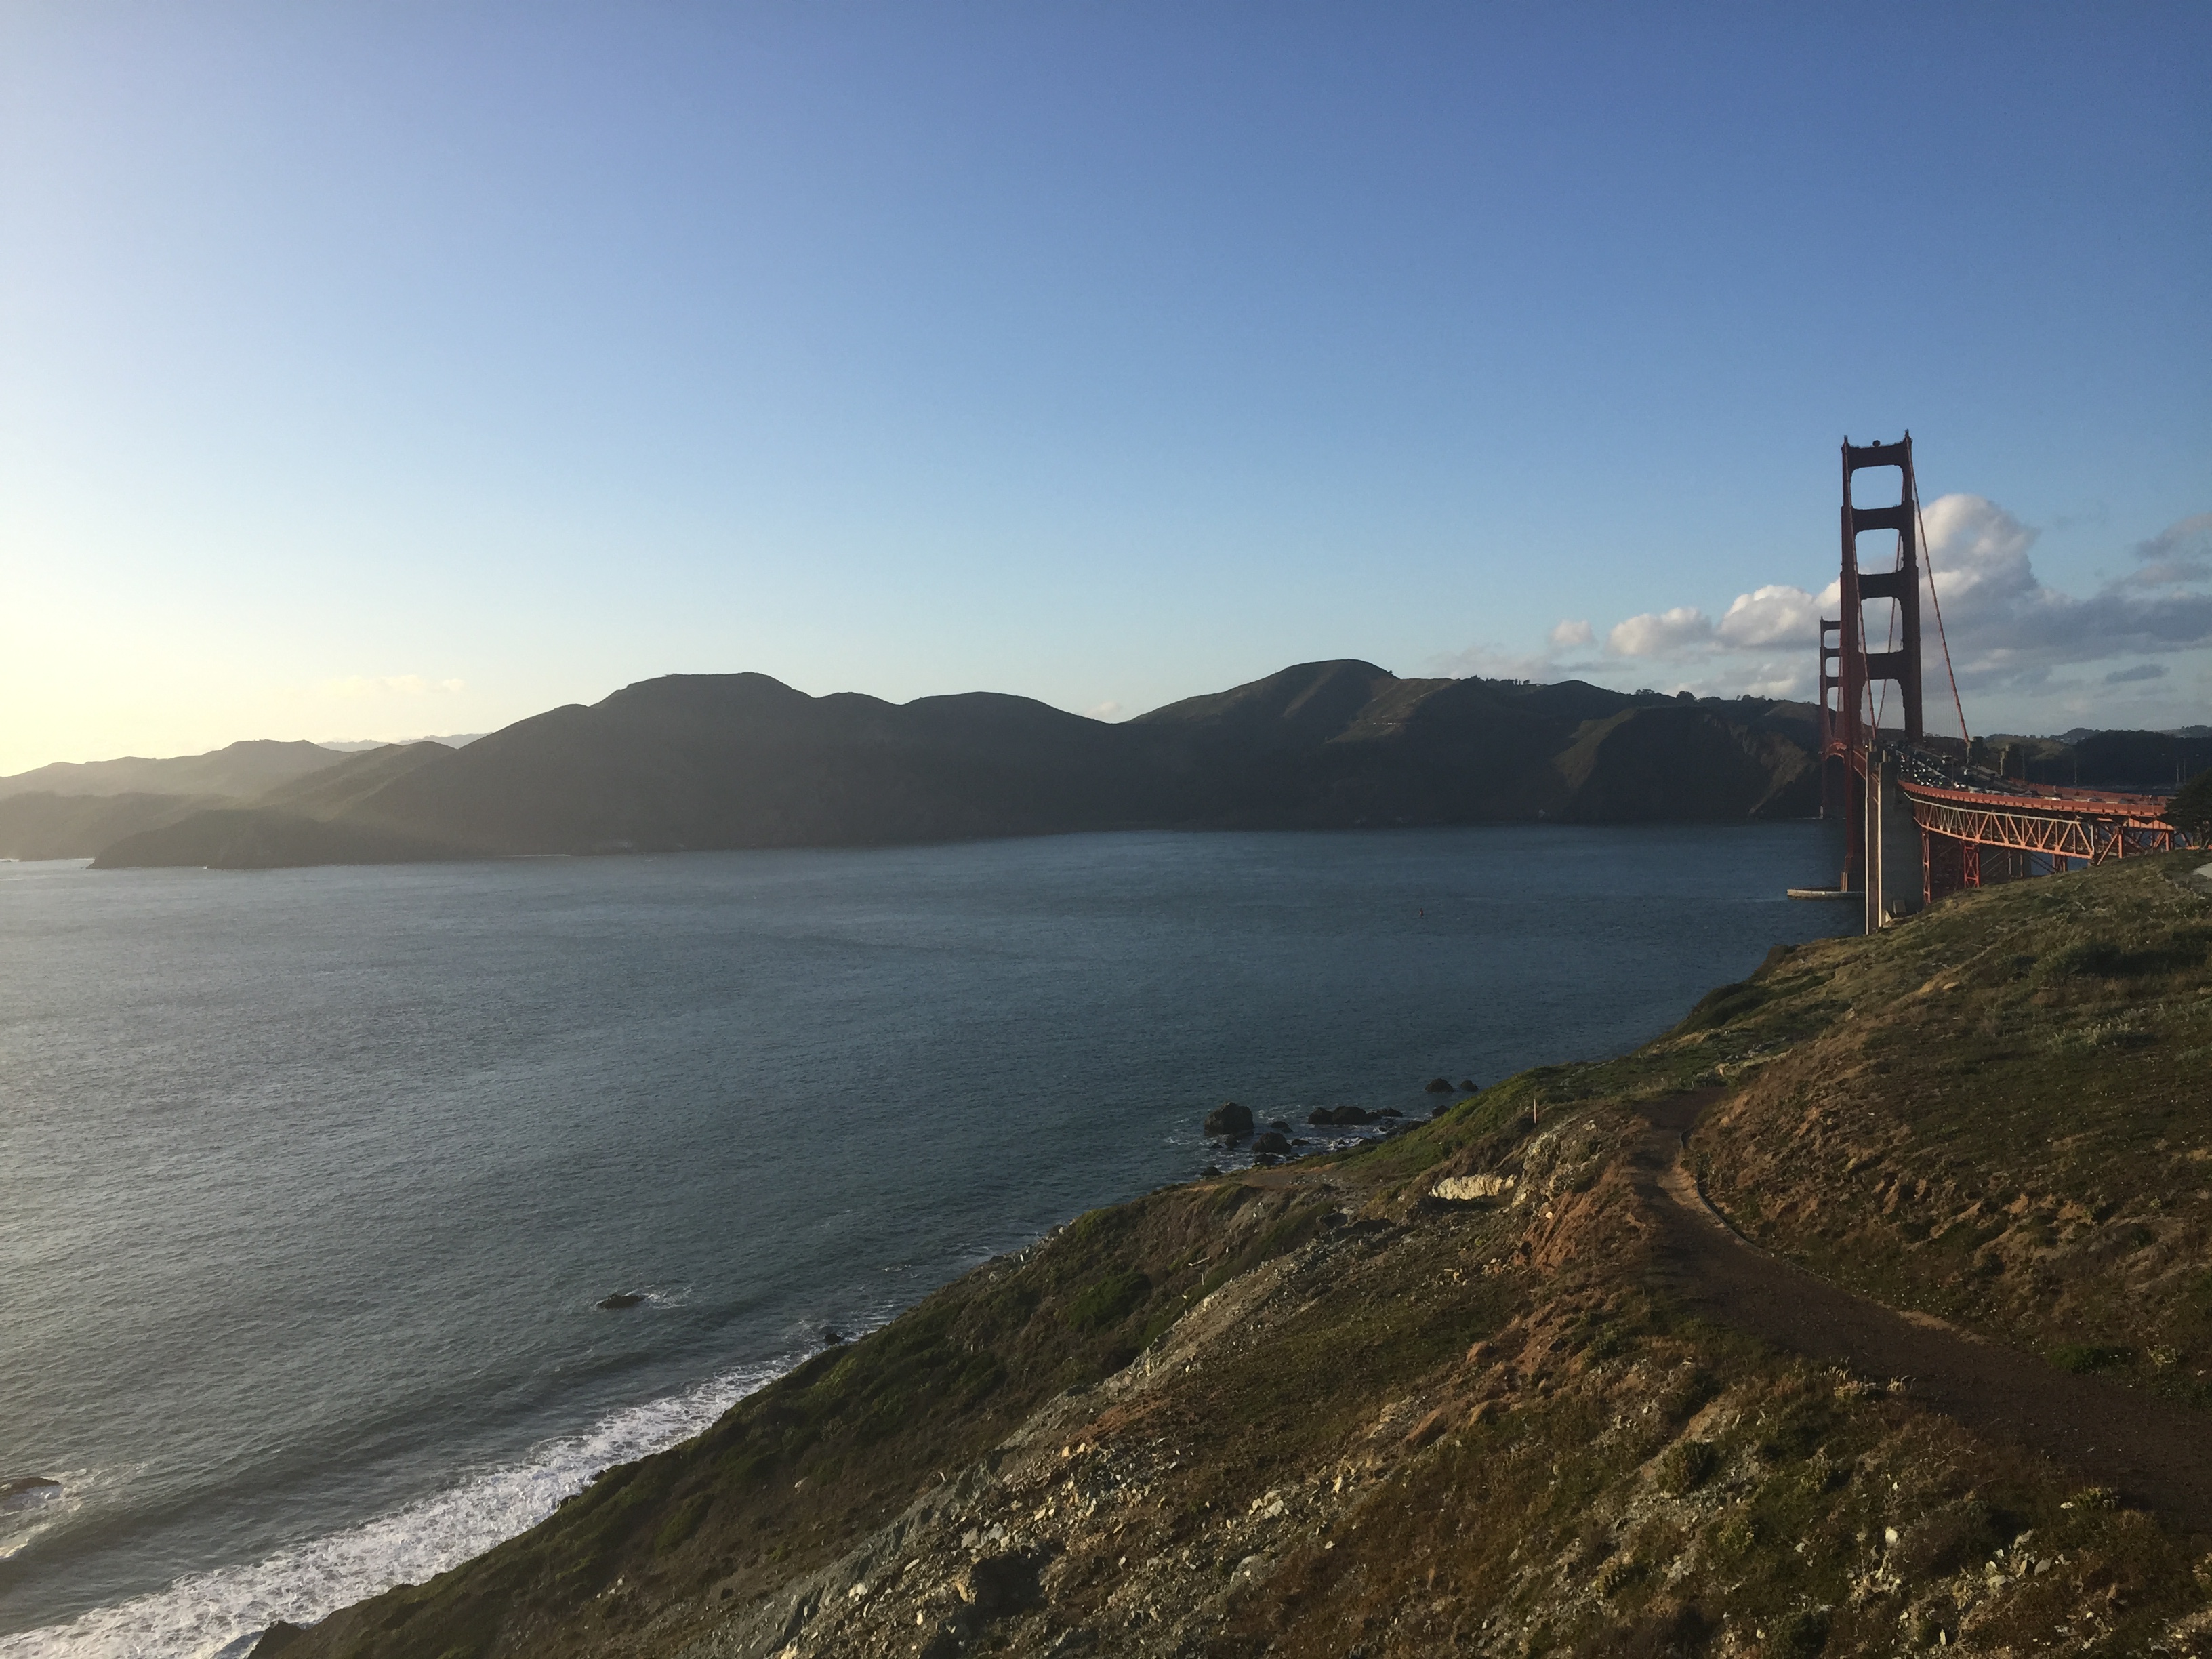
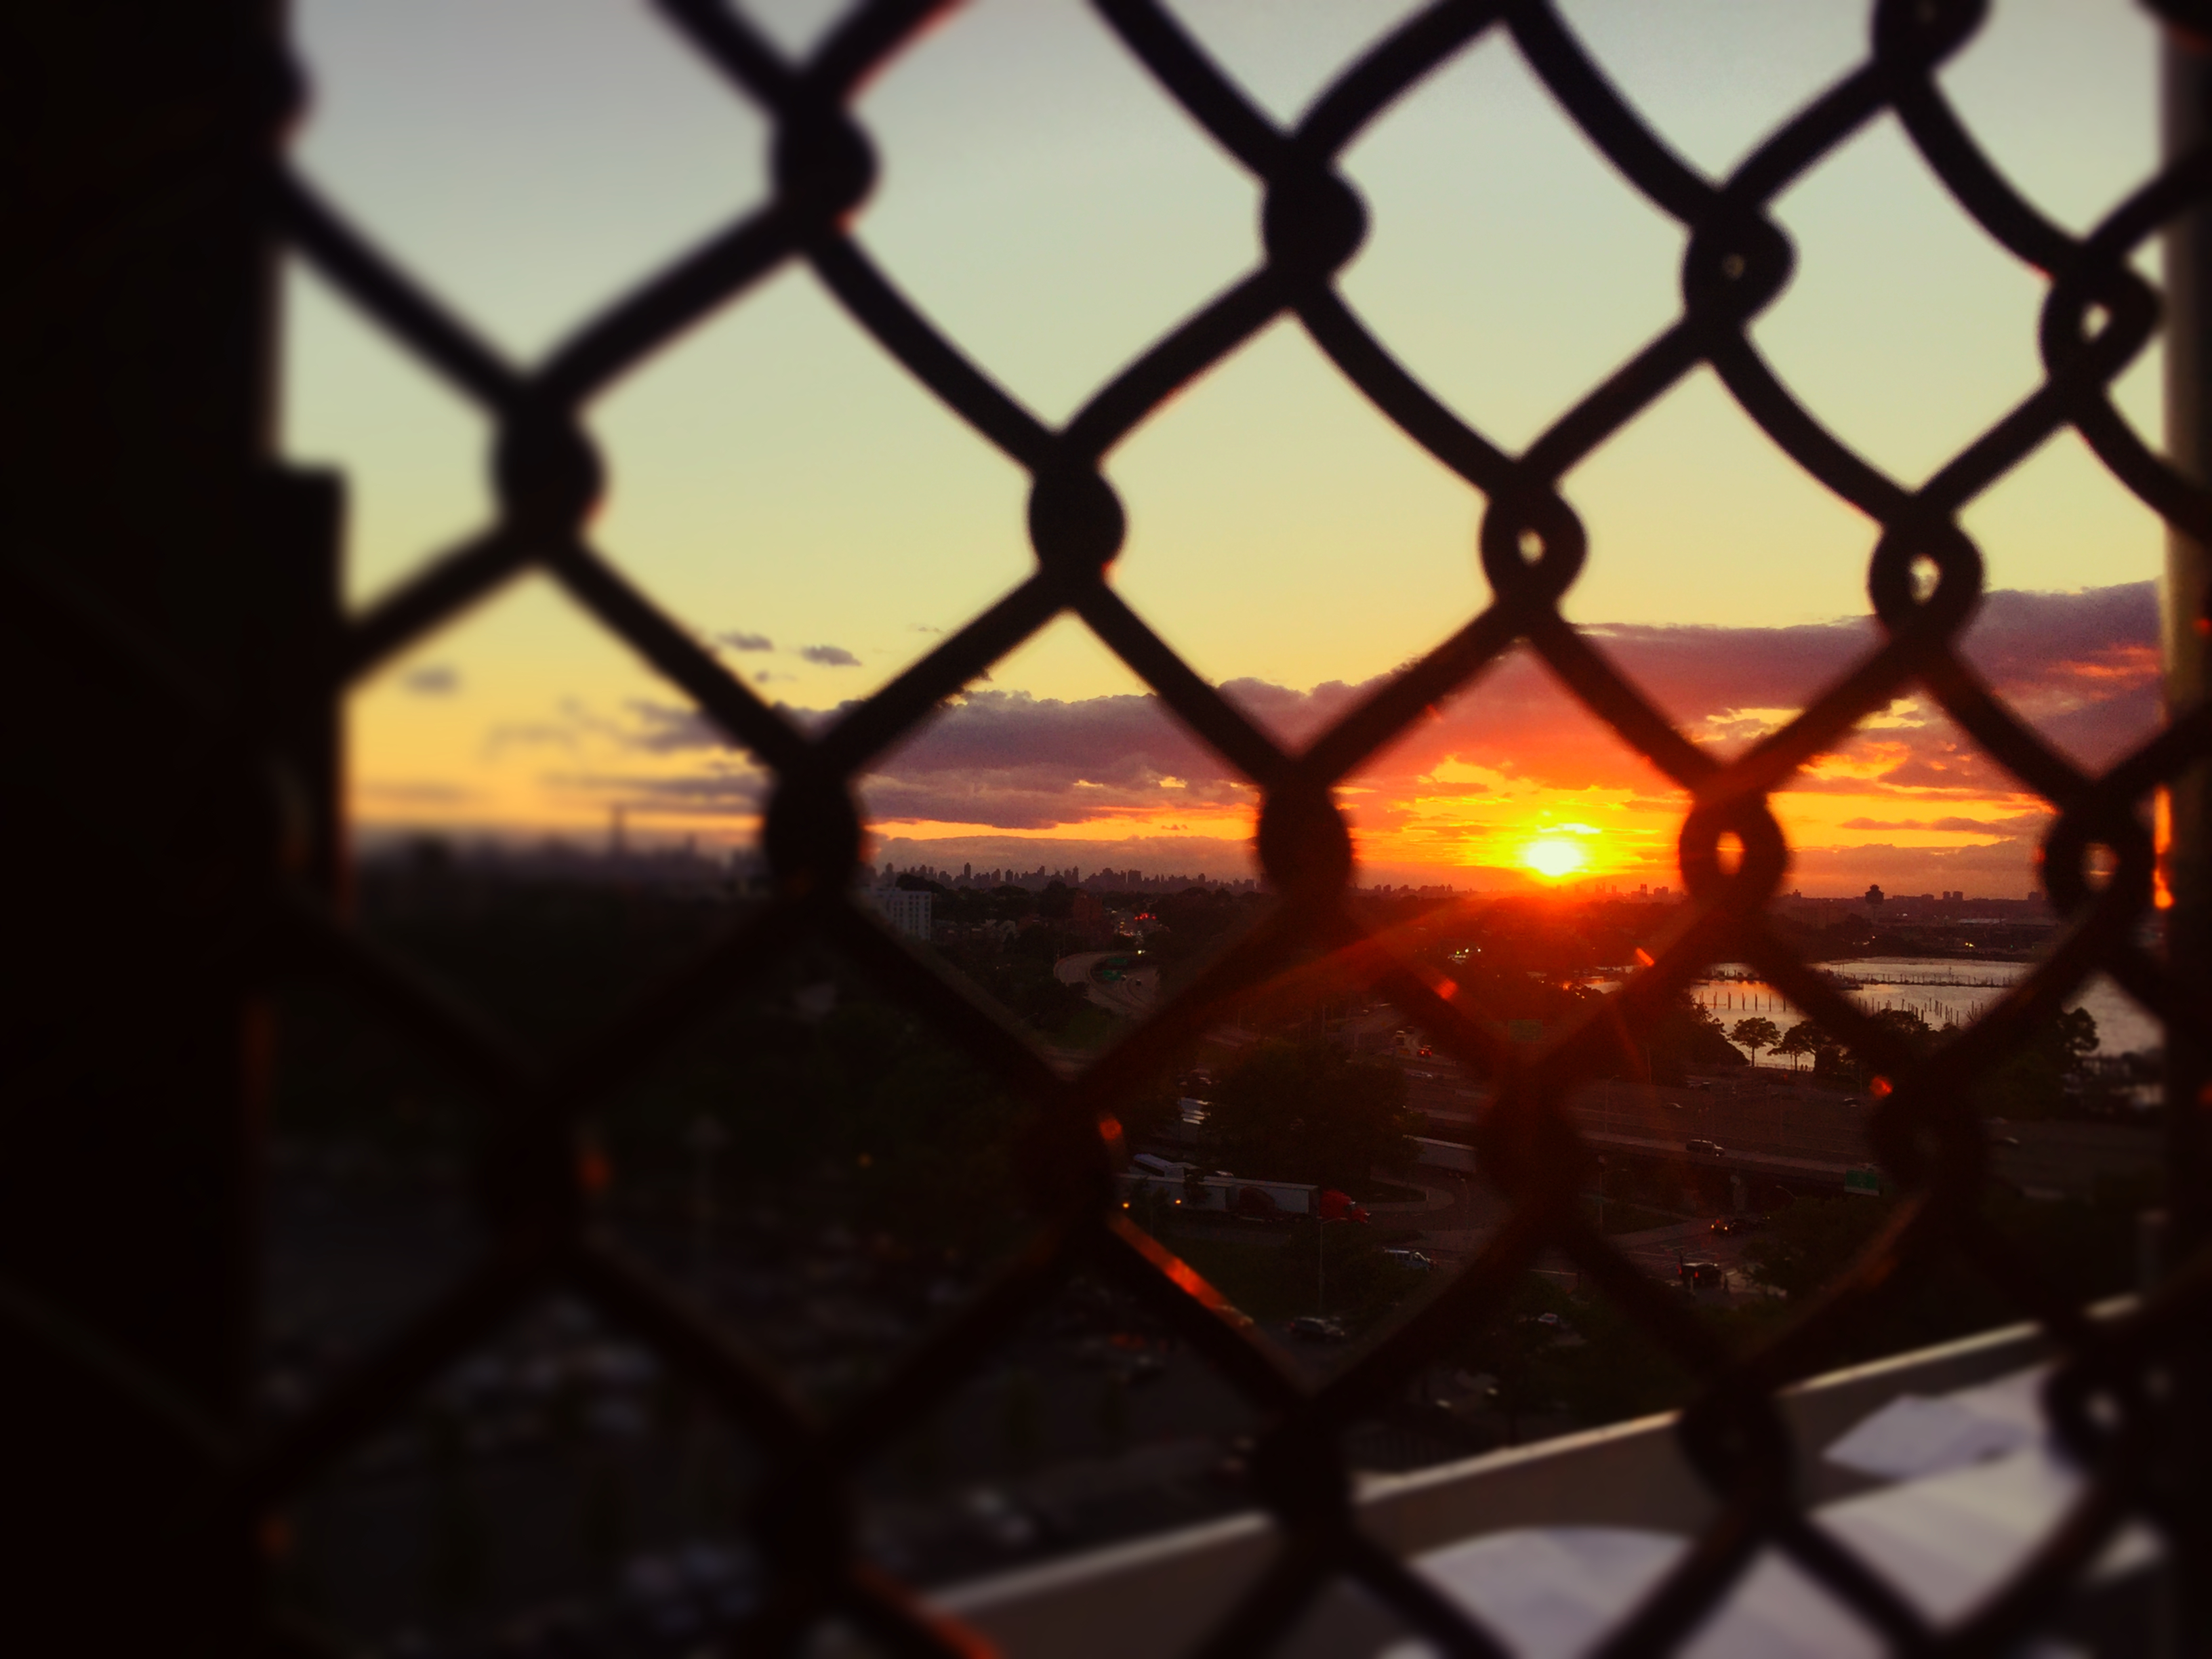
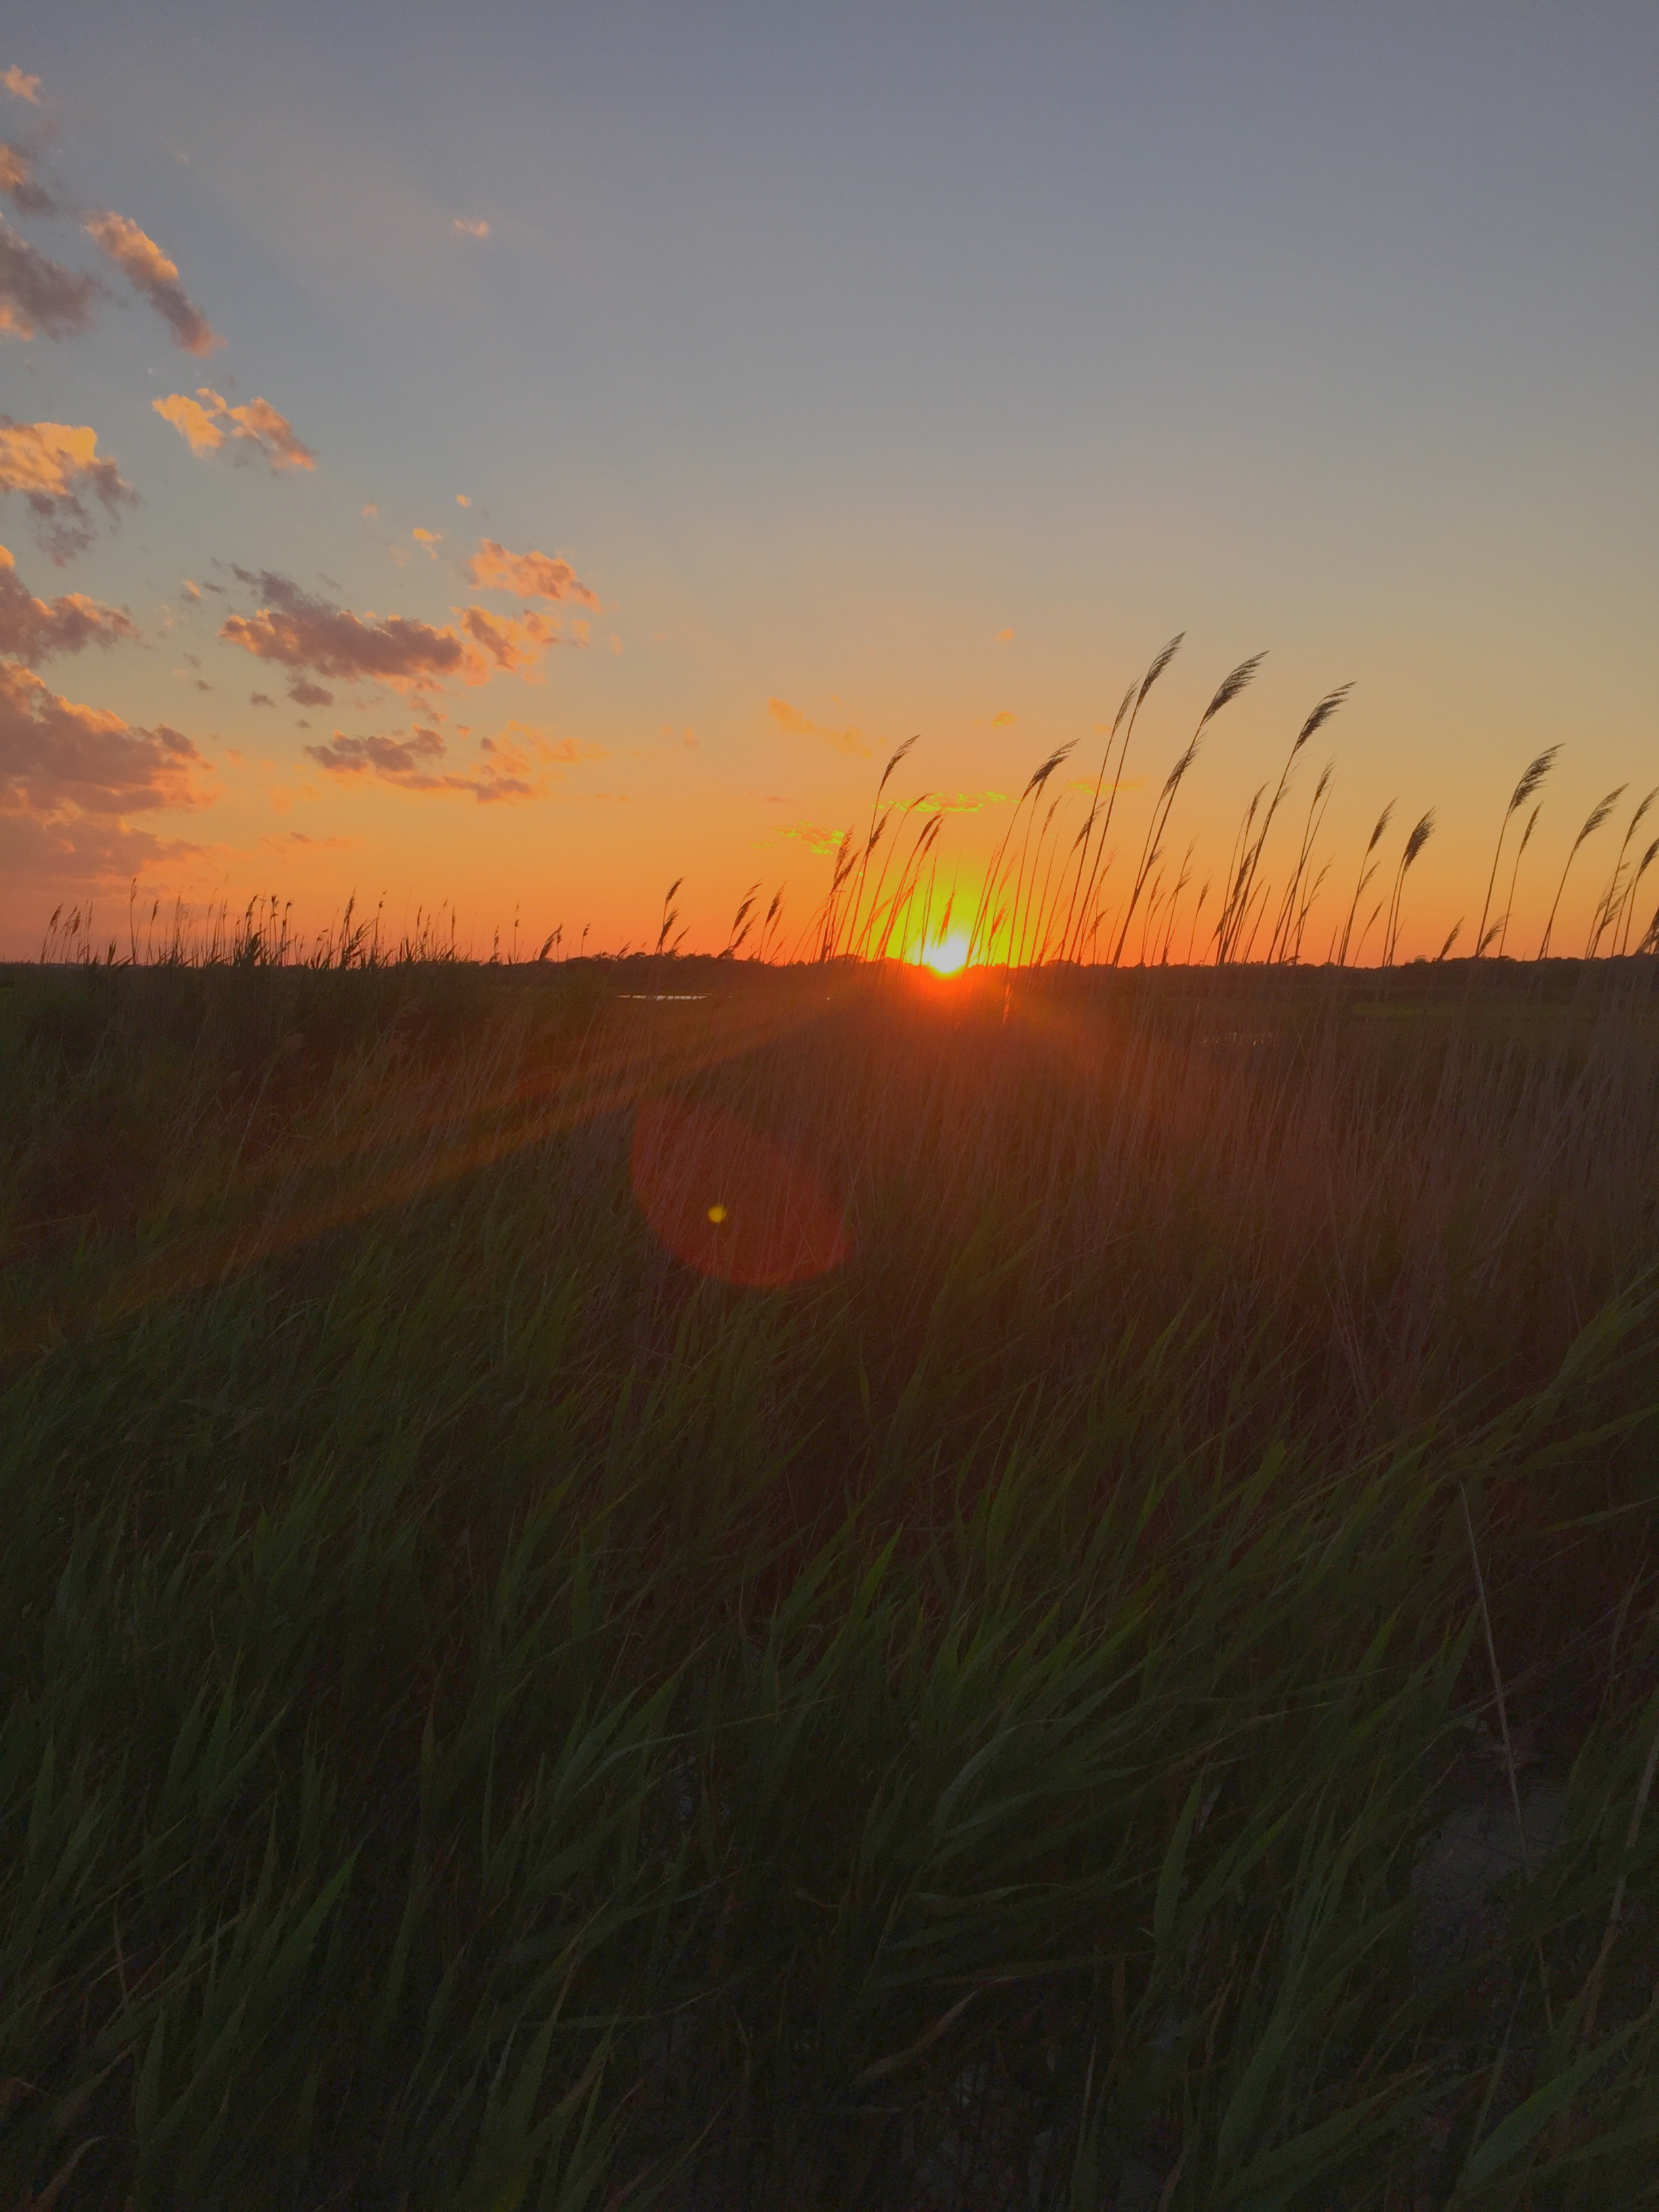
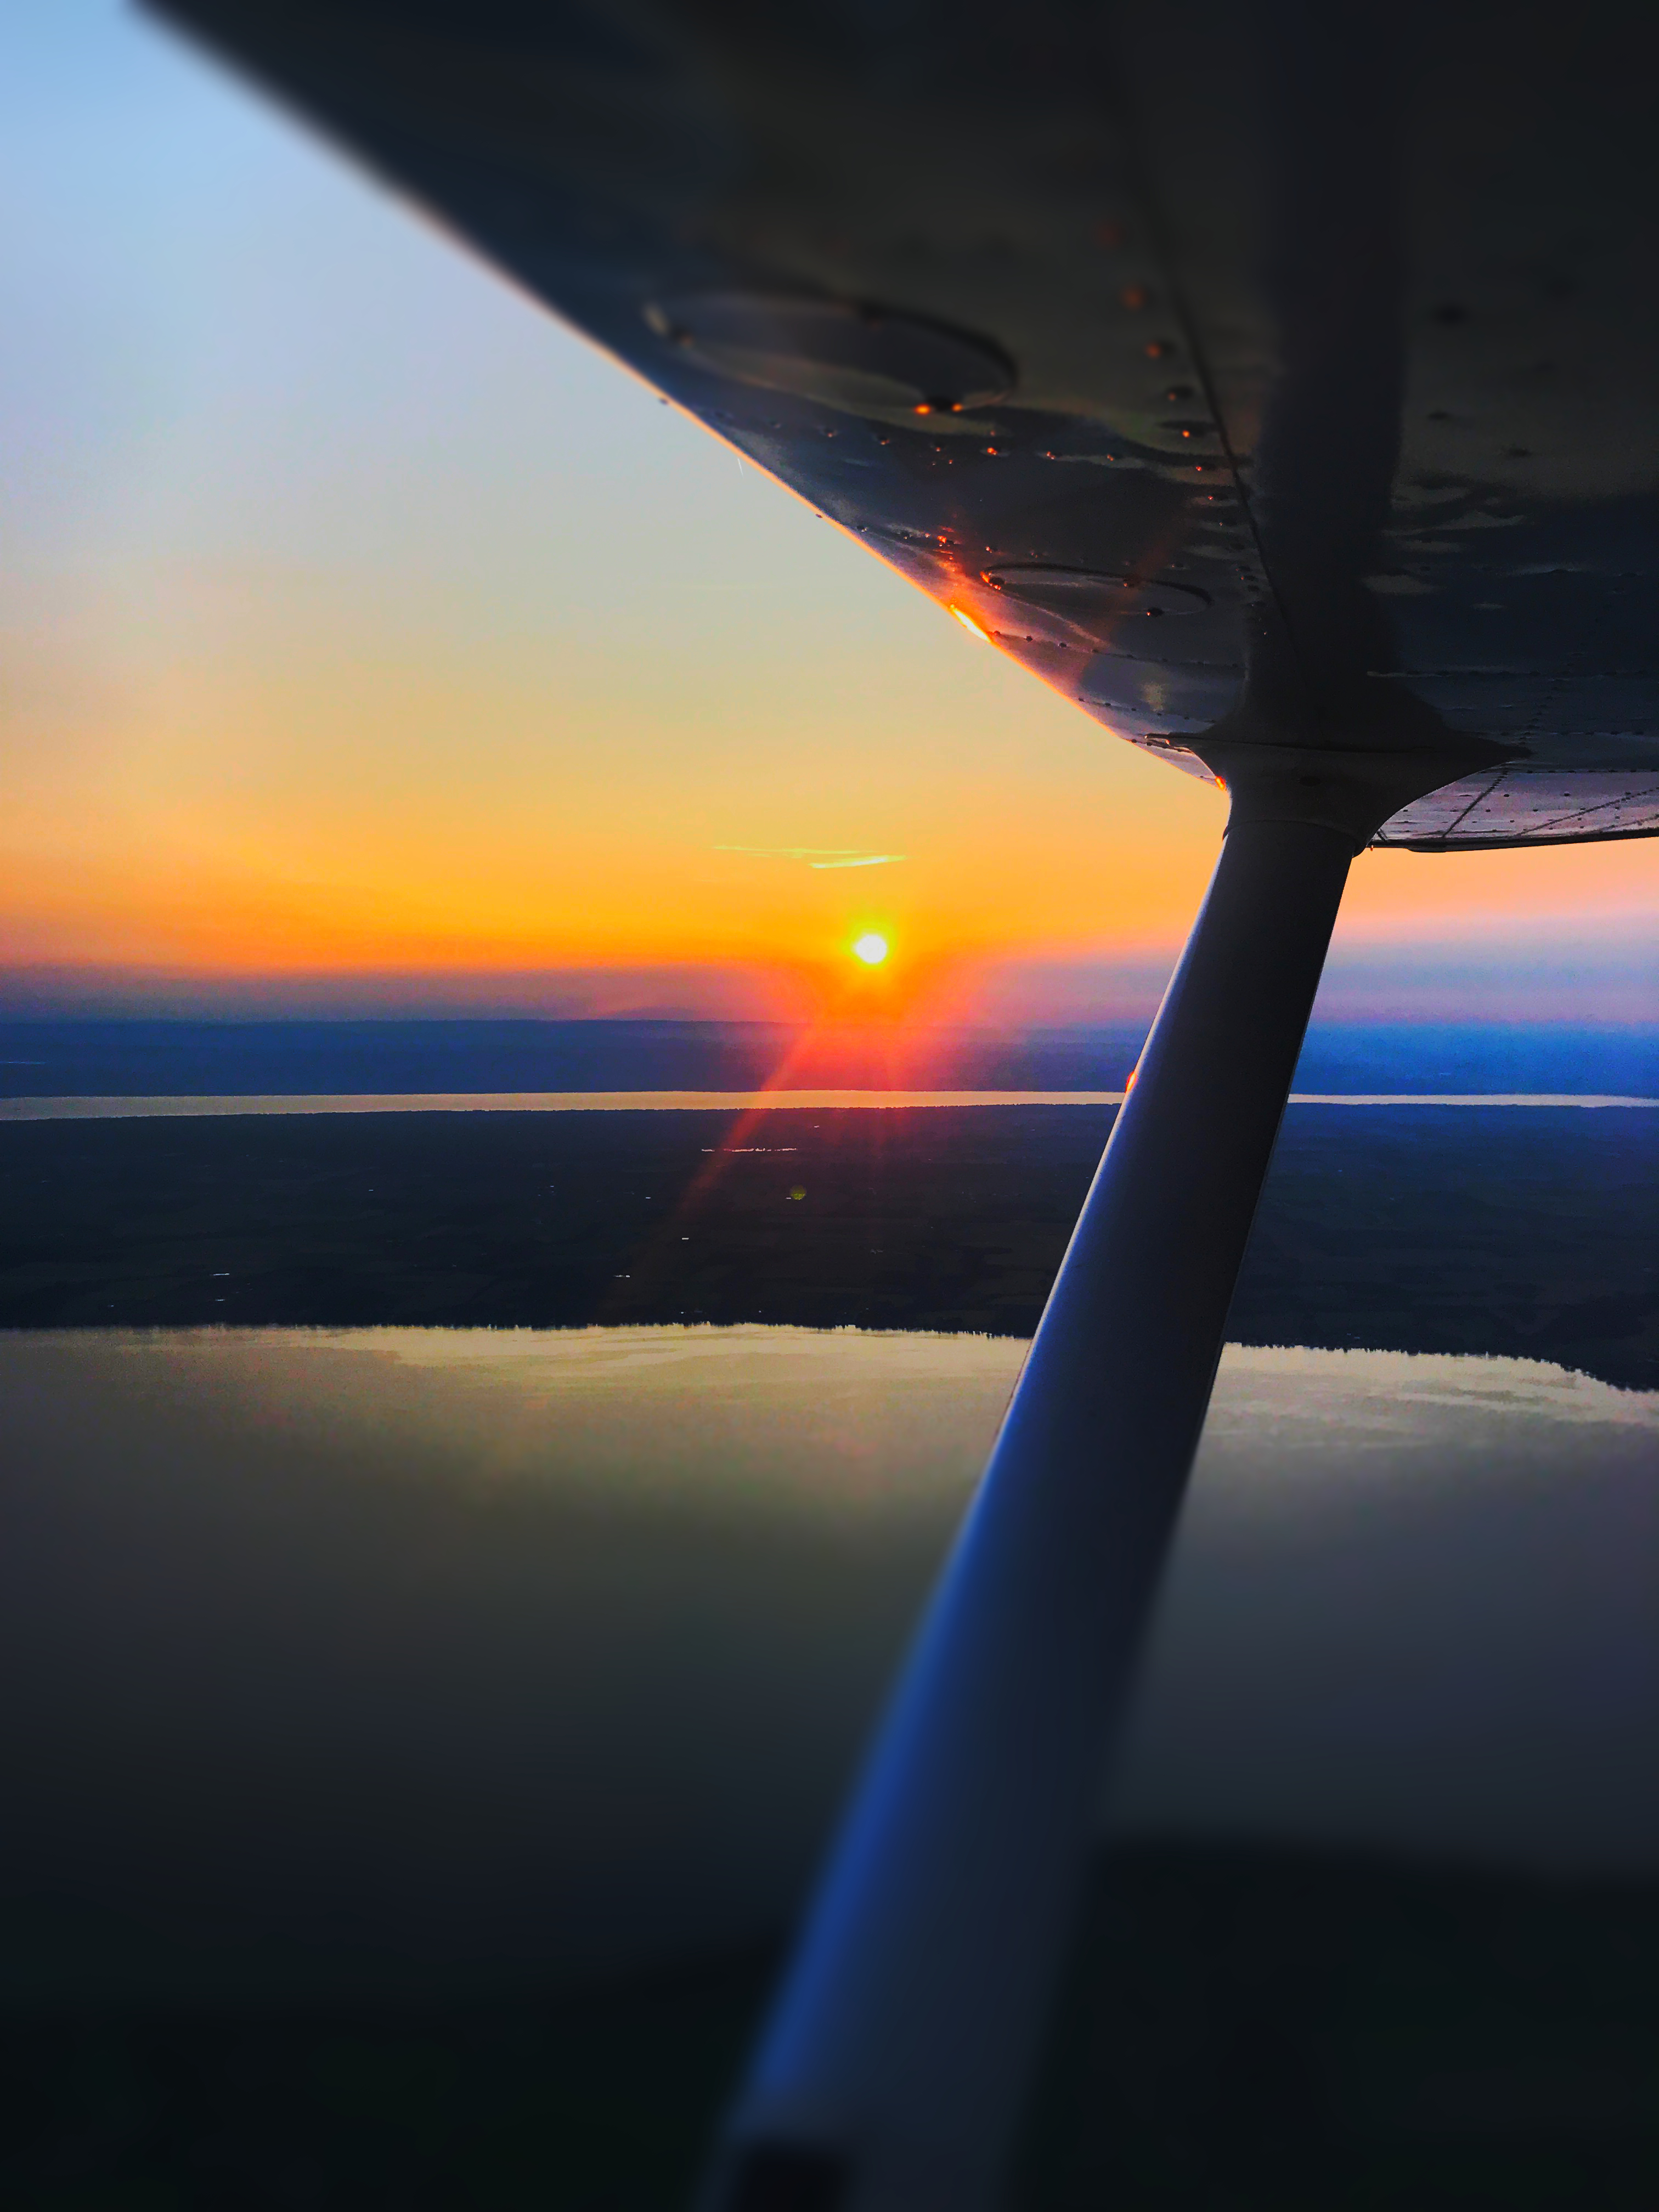
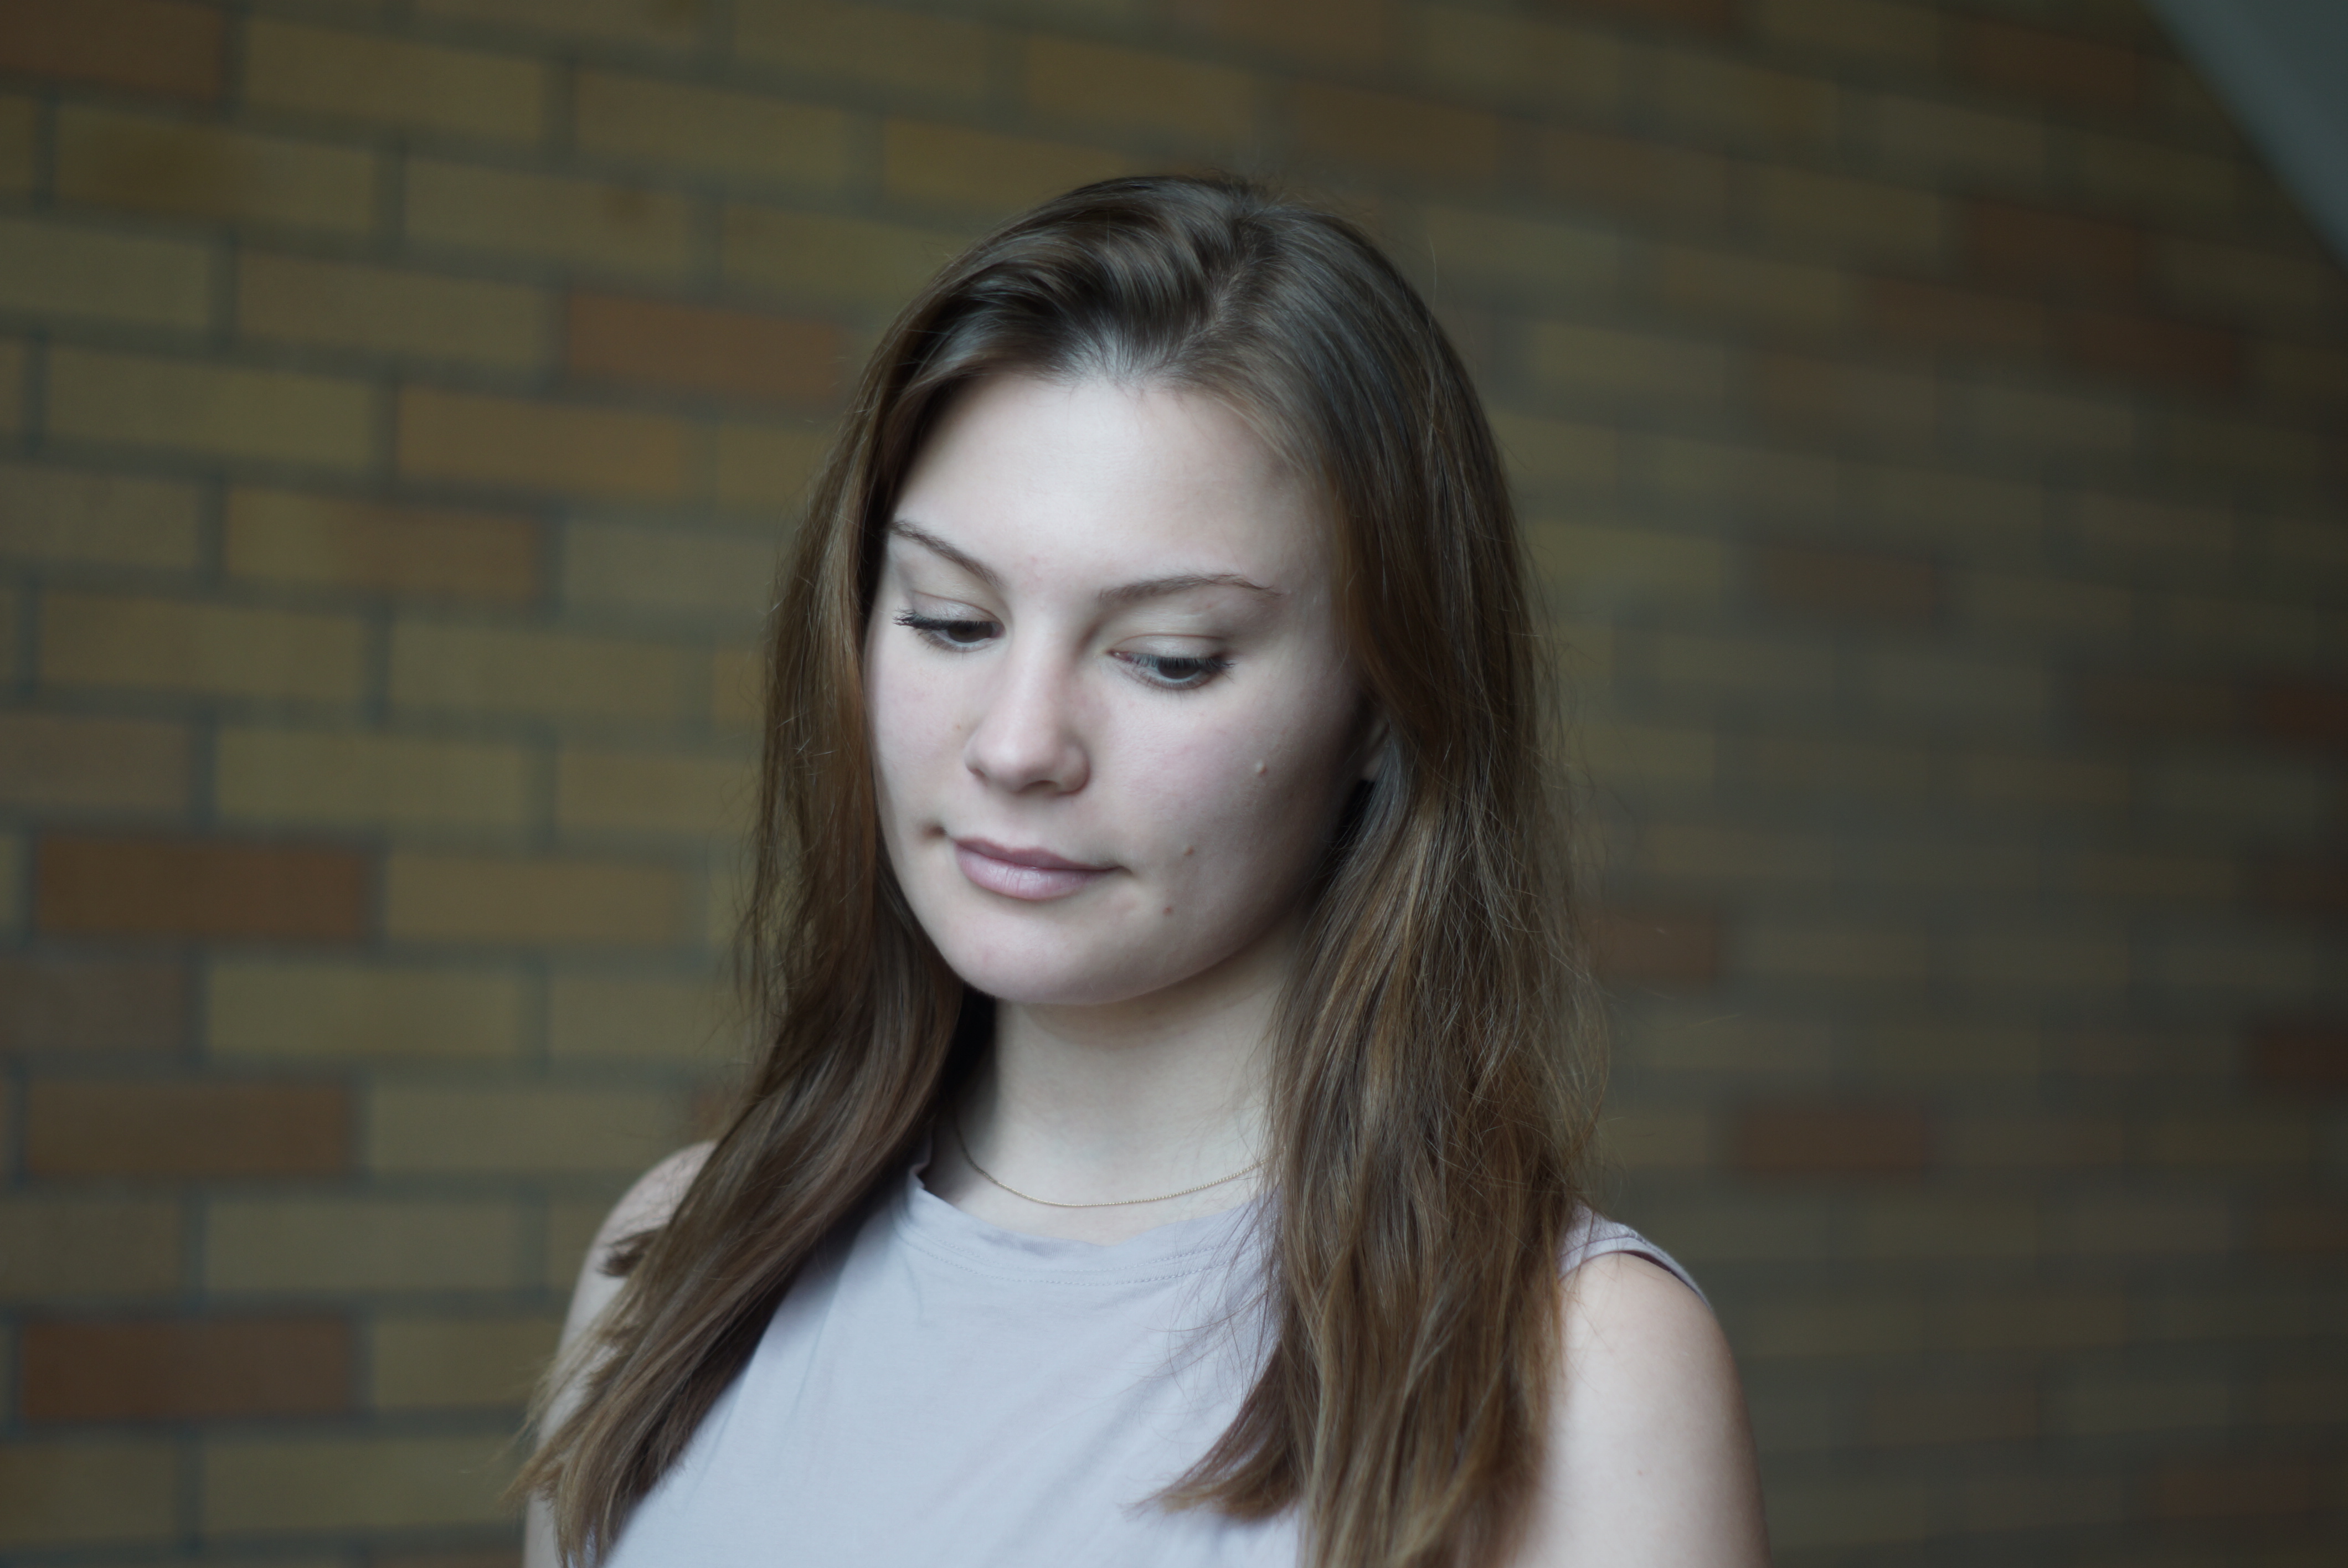
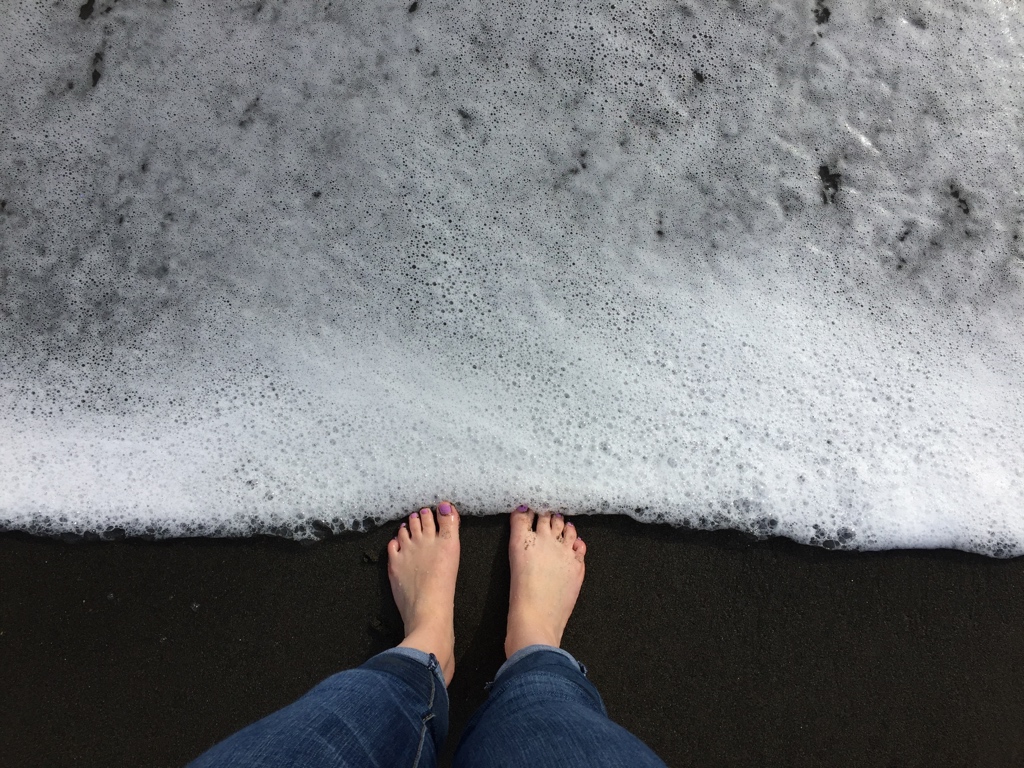
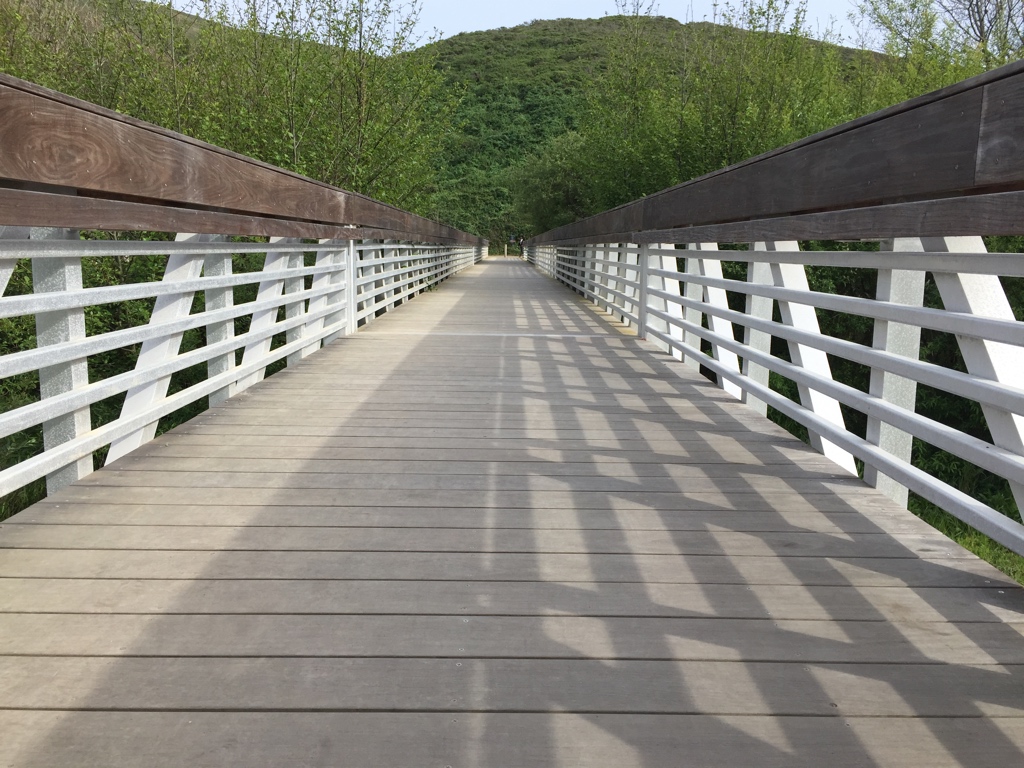
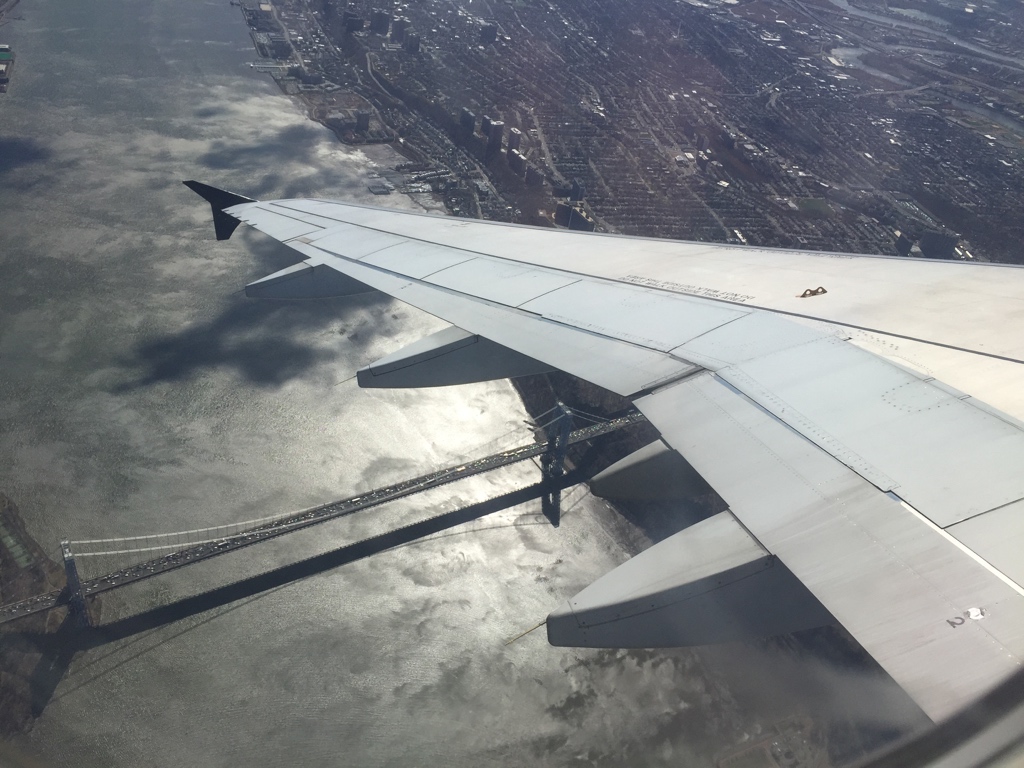
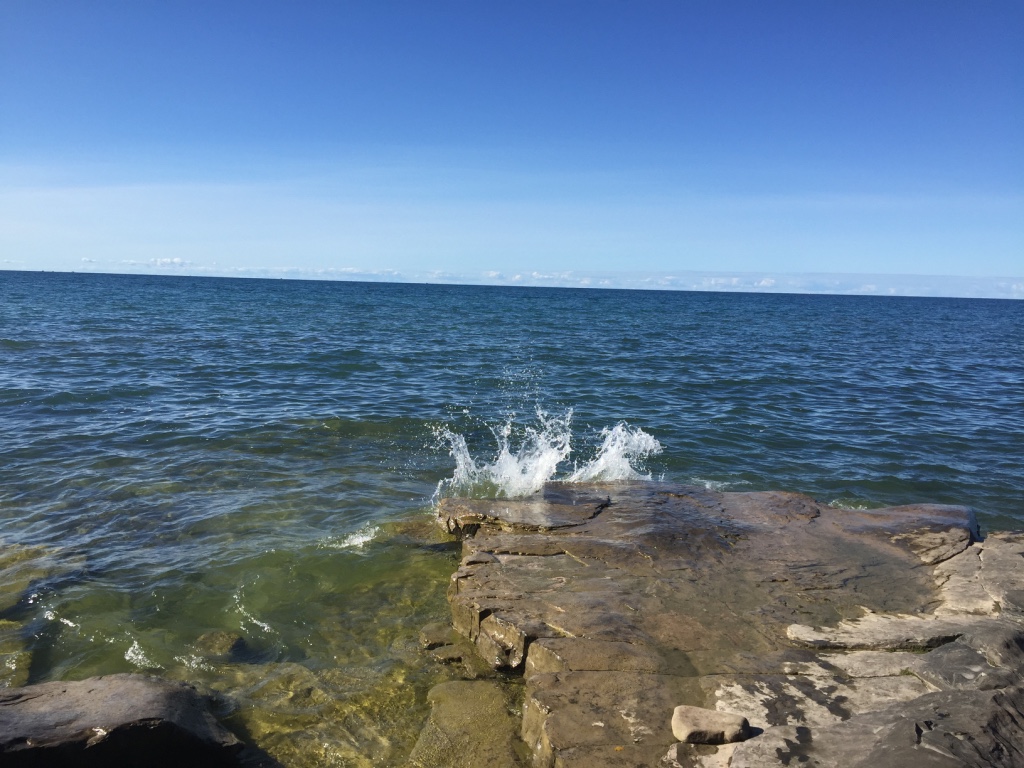
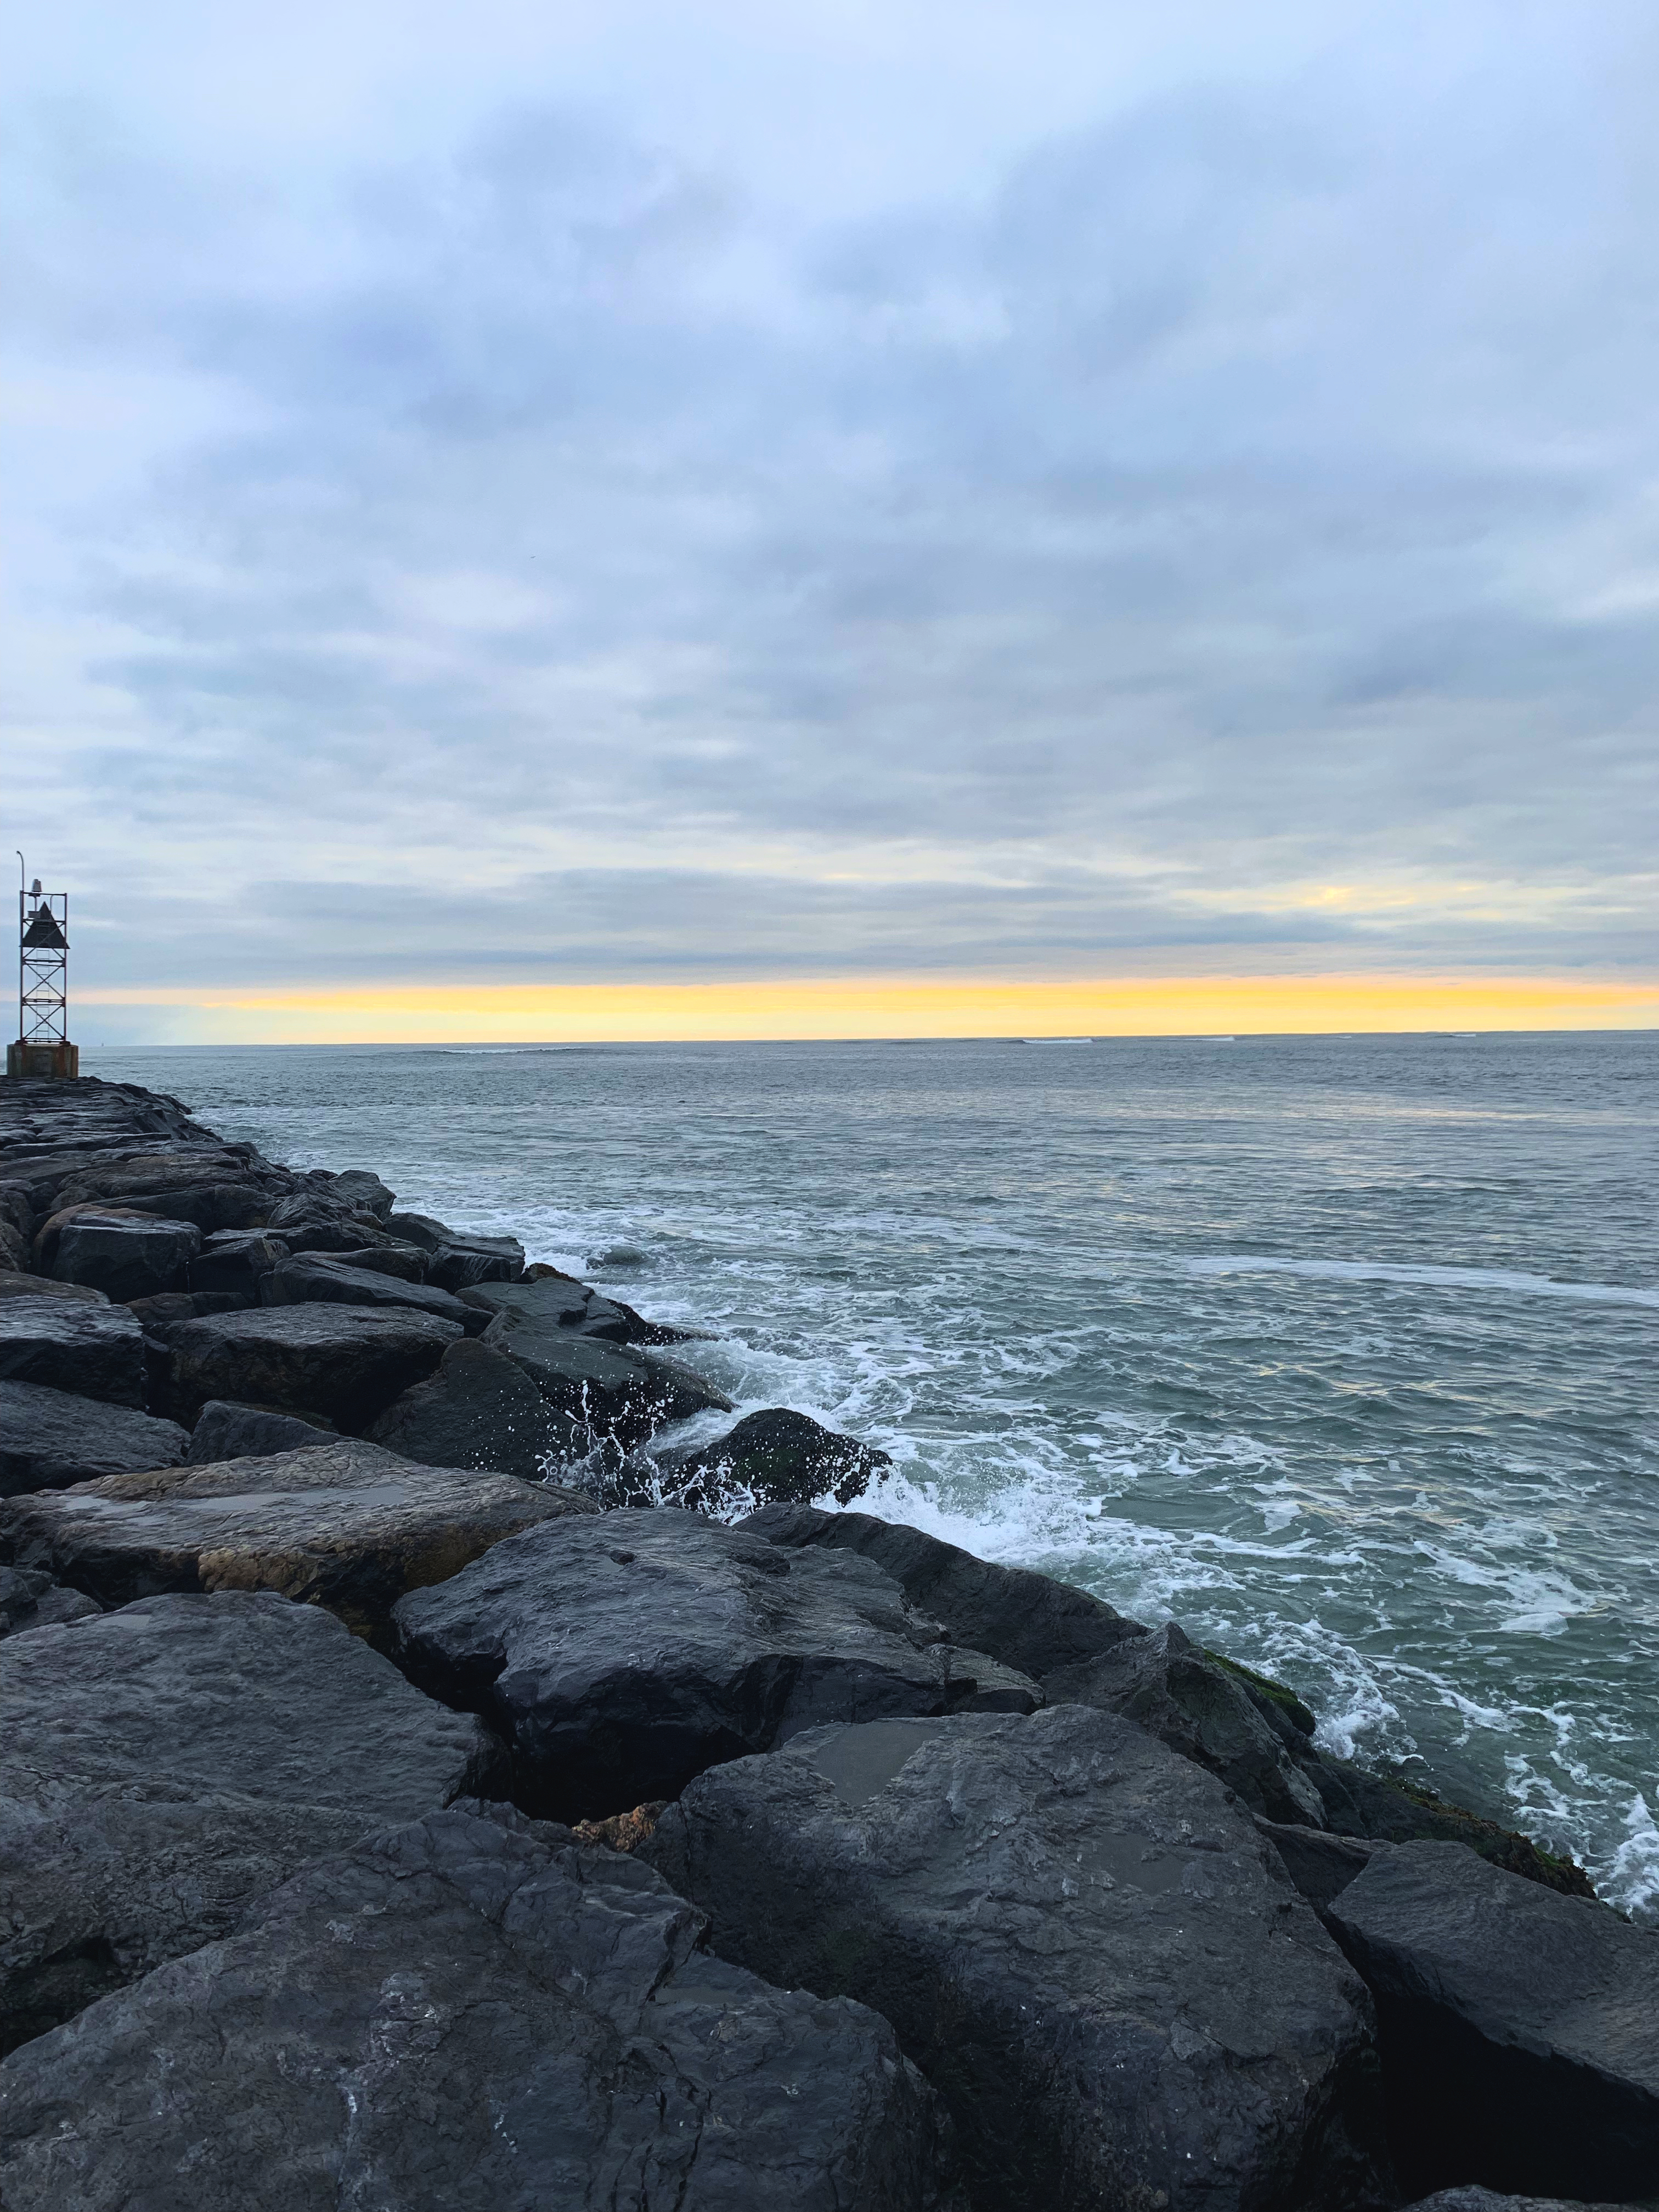
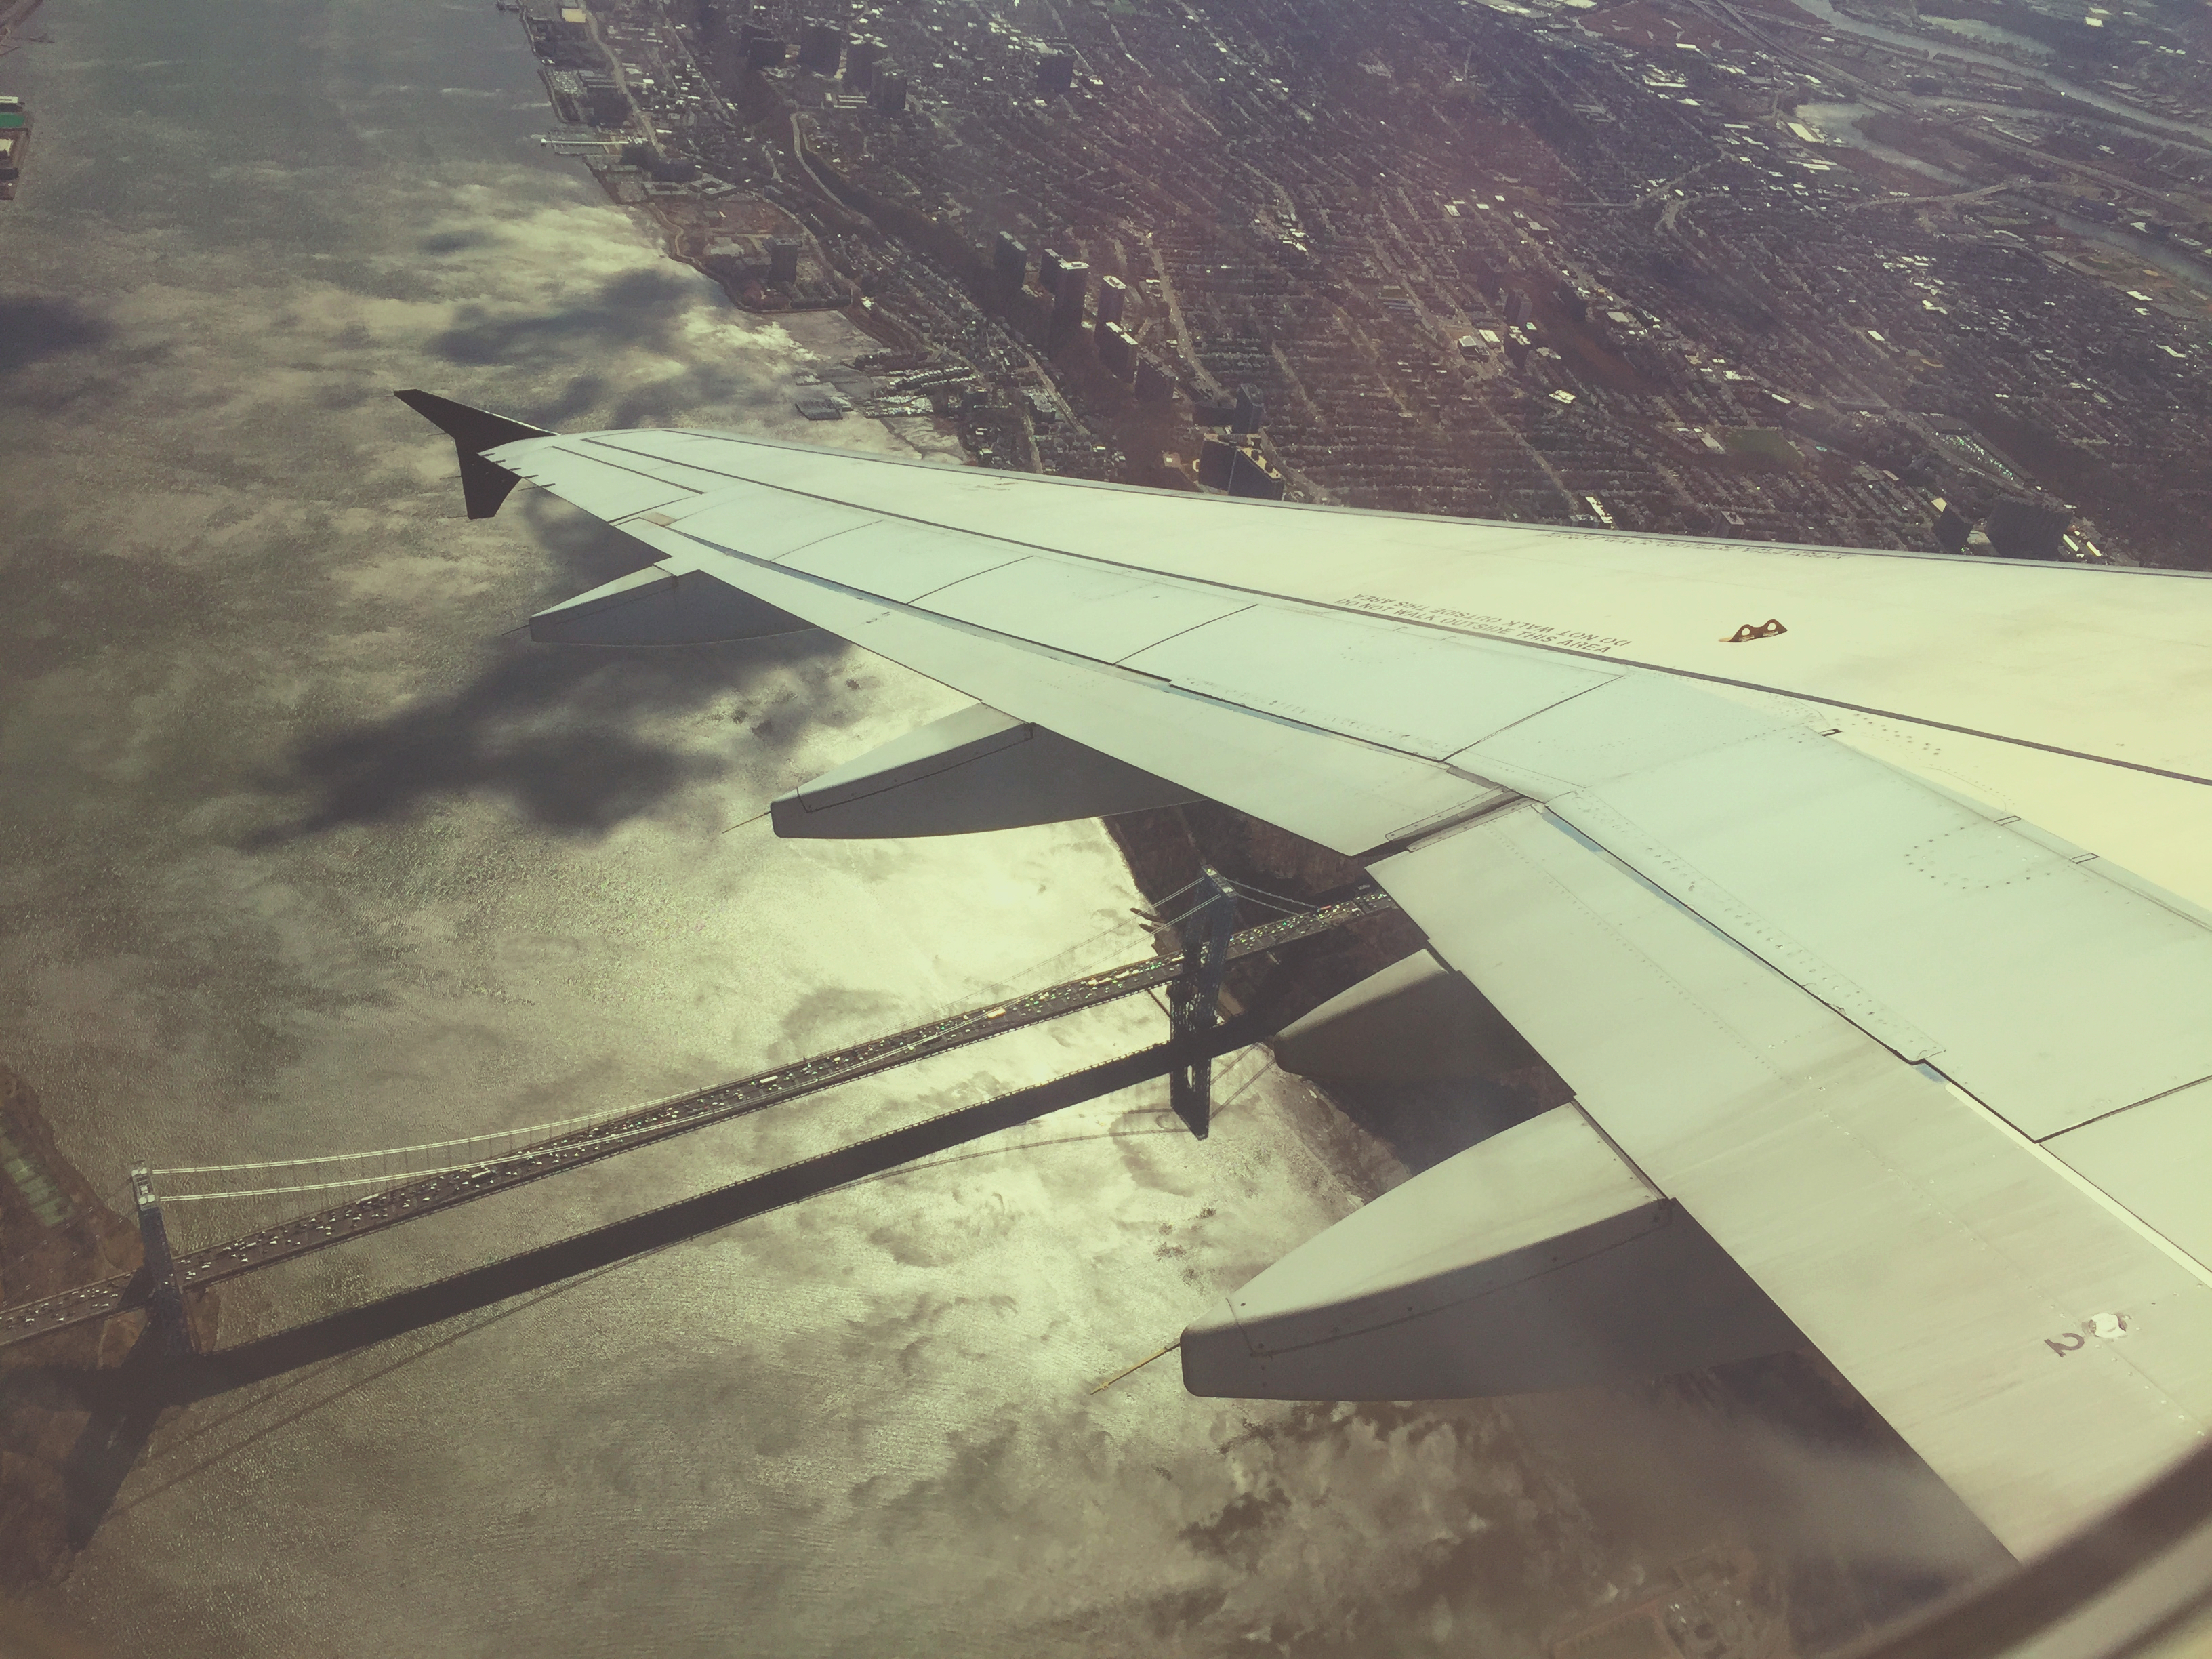
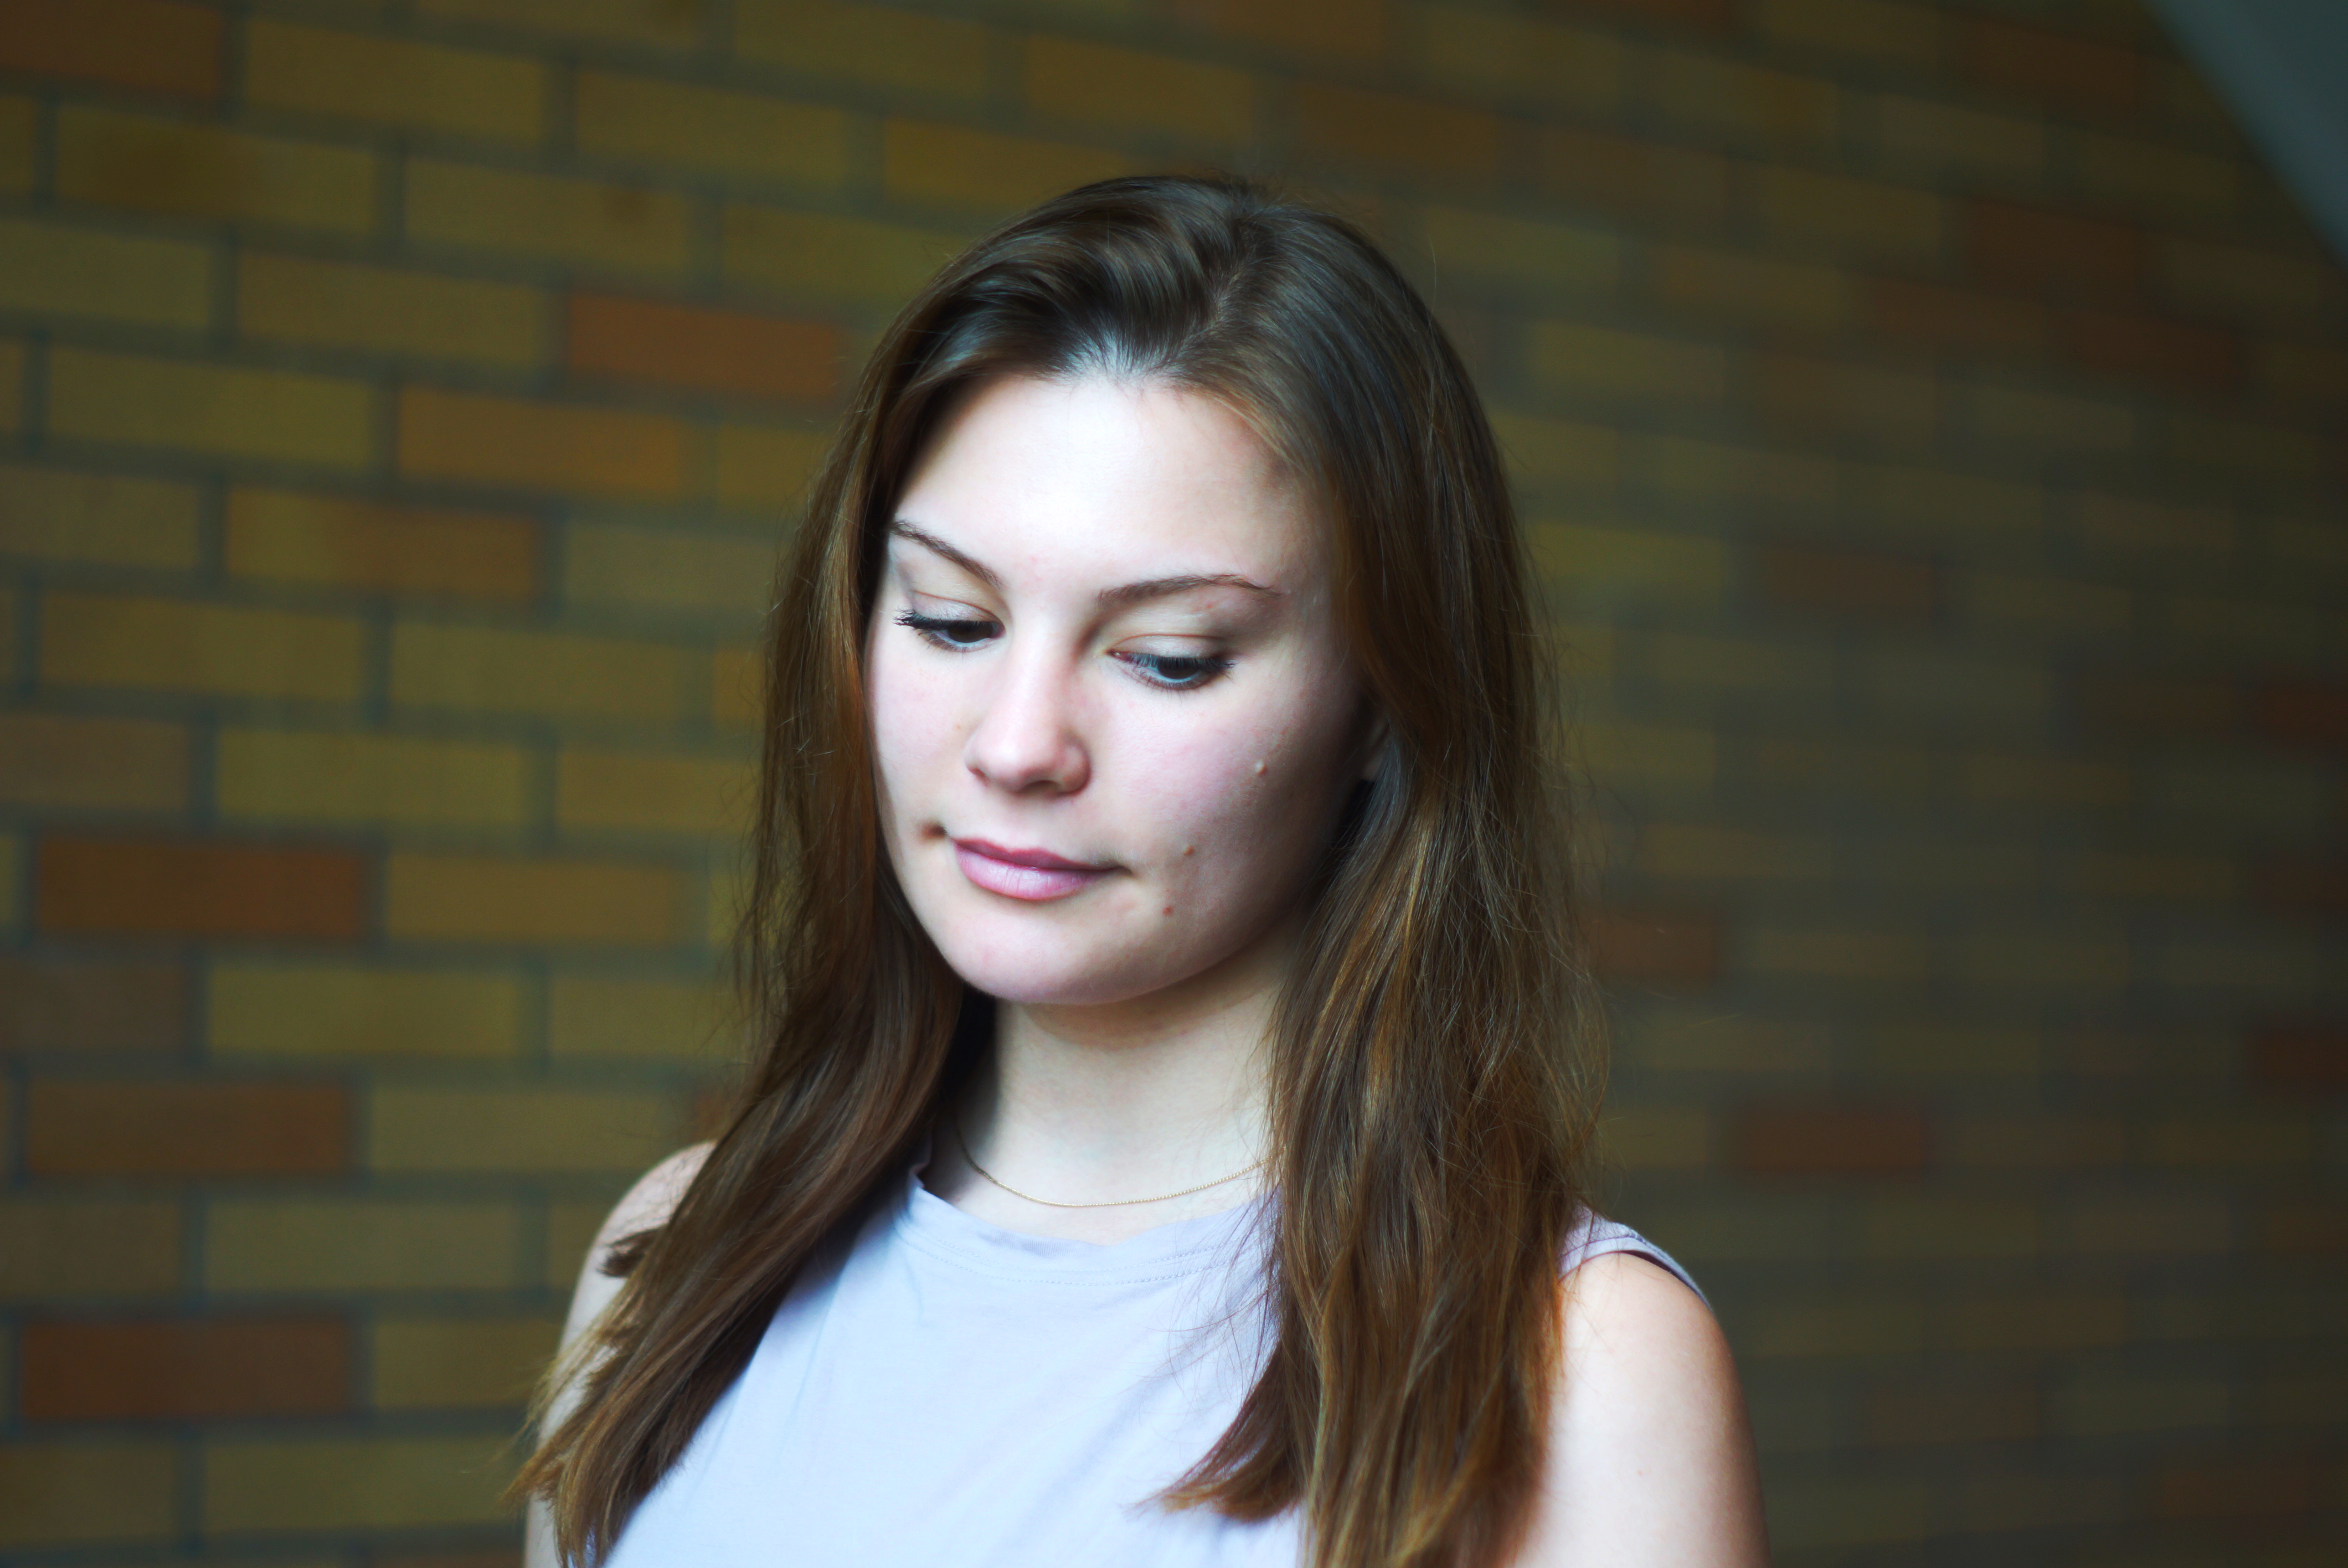
I like to focus on landscapes, mostly because they don’t talk back. *Kidding!
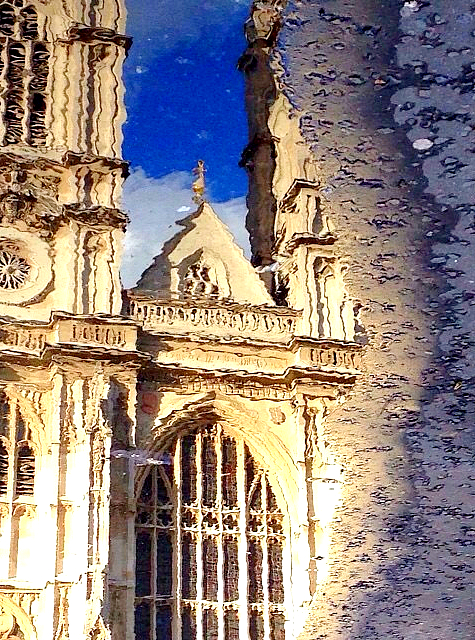
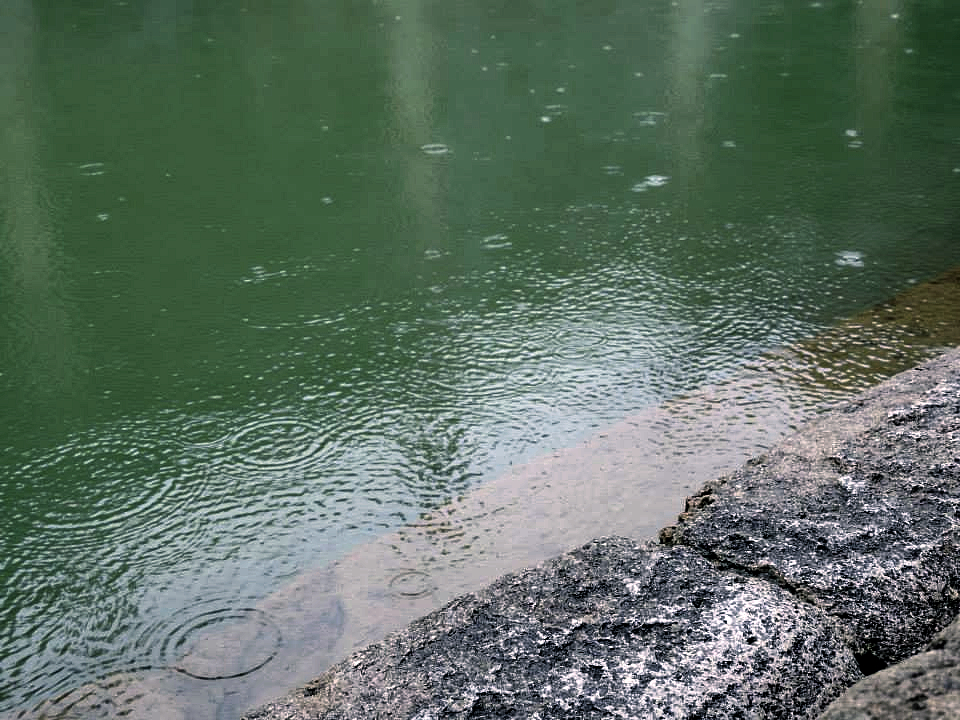
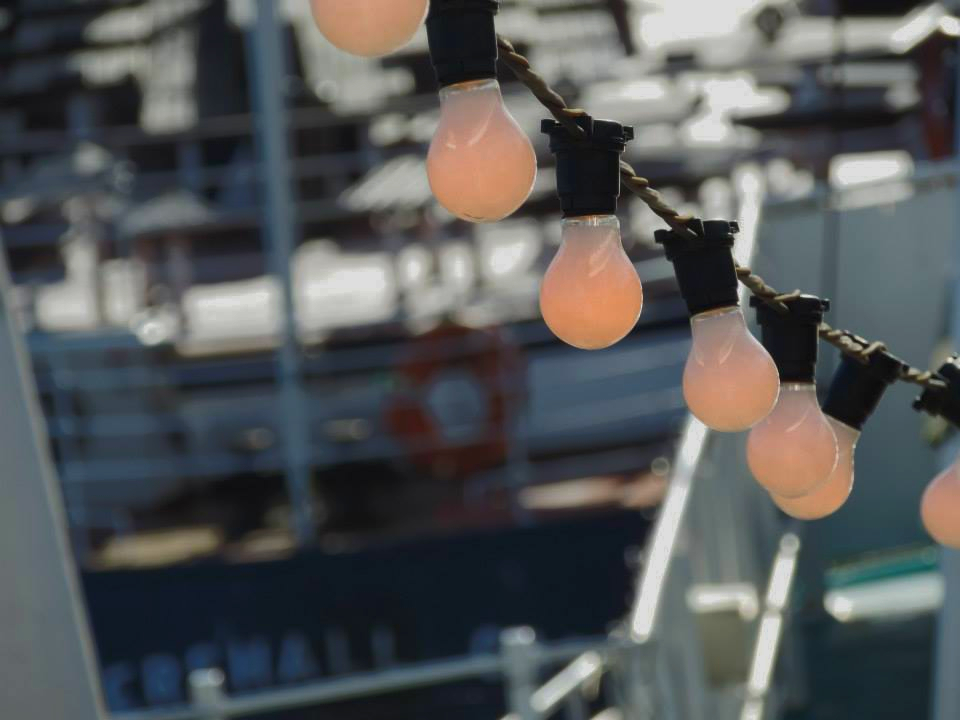
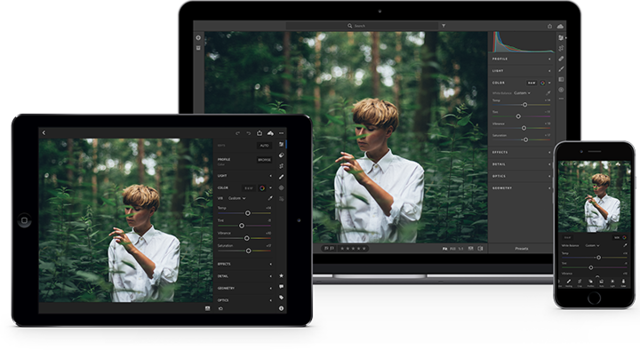
I really enjoyed this portion of this project because it forced my to go through all of the 10,000 pictures I have accumulated on my laptop over the course of 5 years. I uploaded my favorite ones to my flickr account.
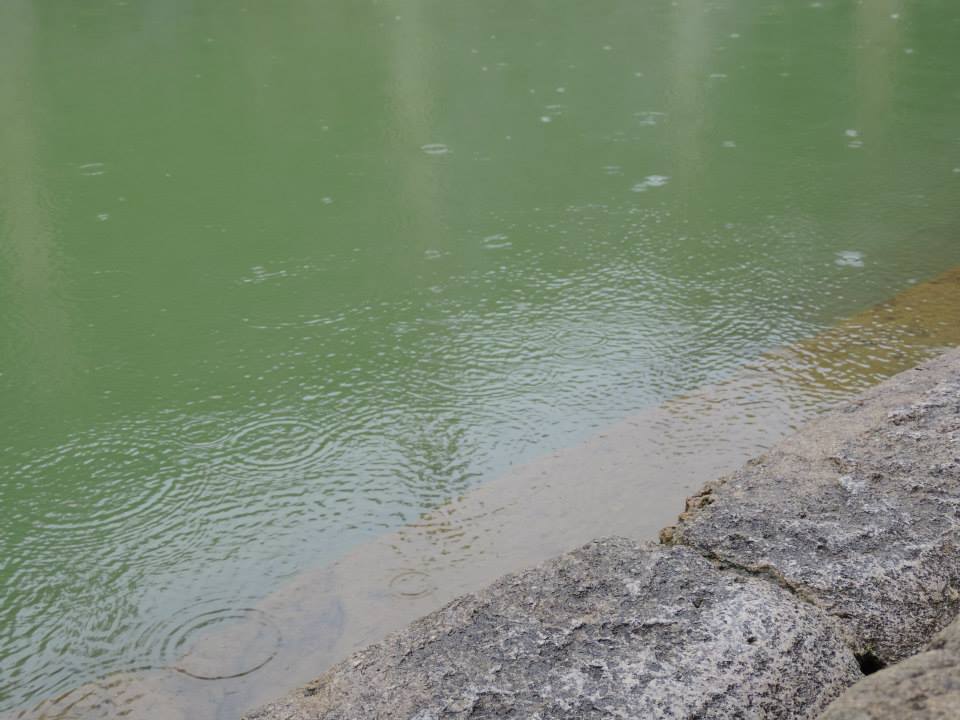
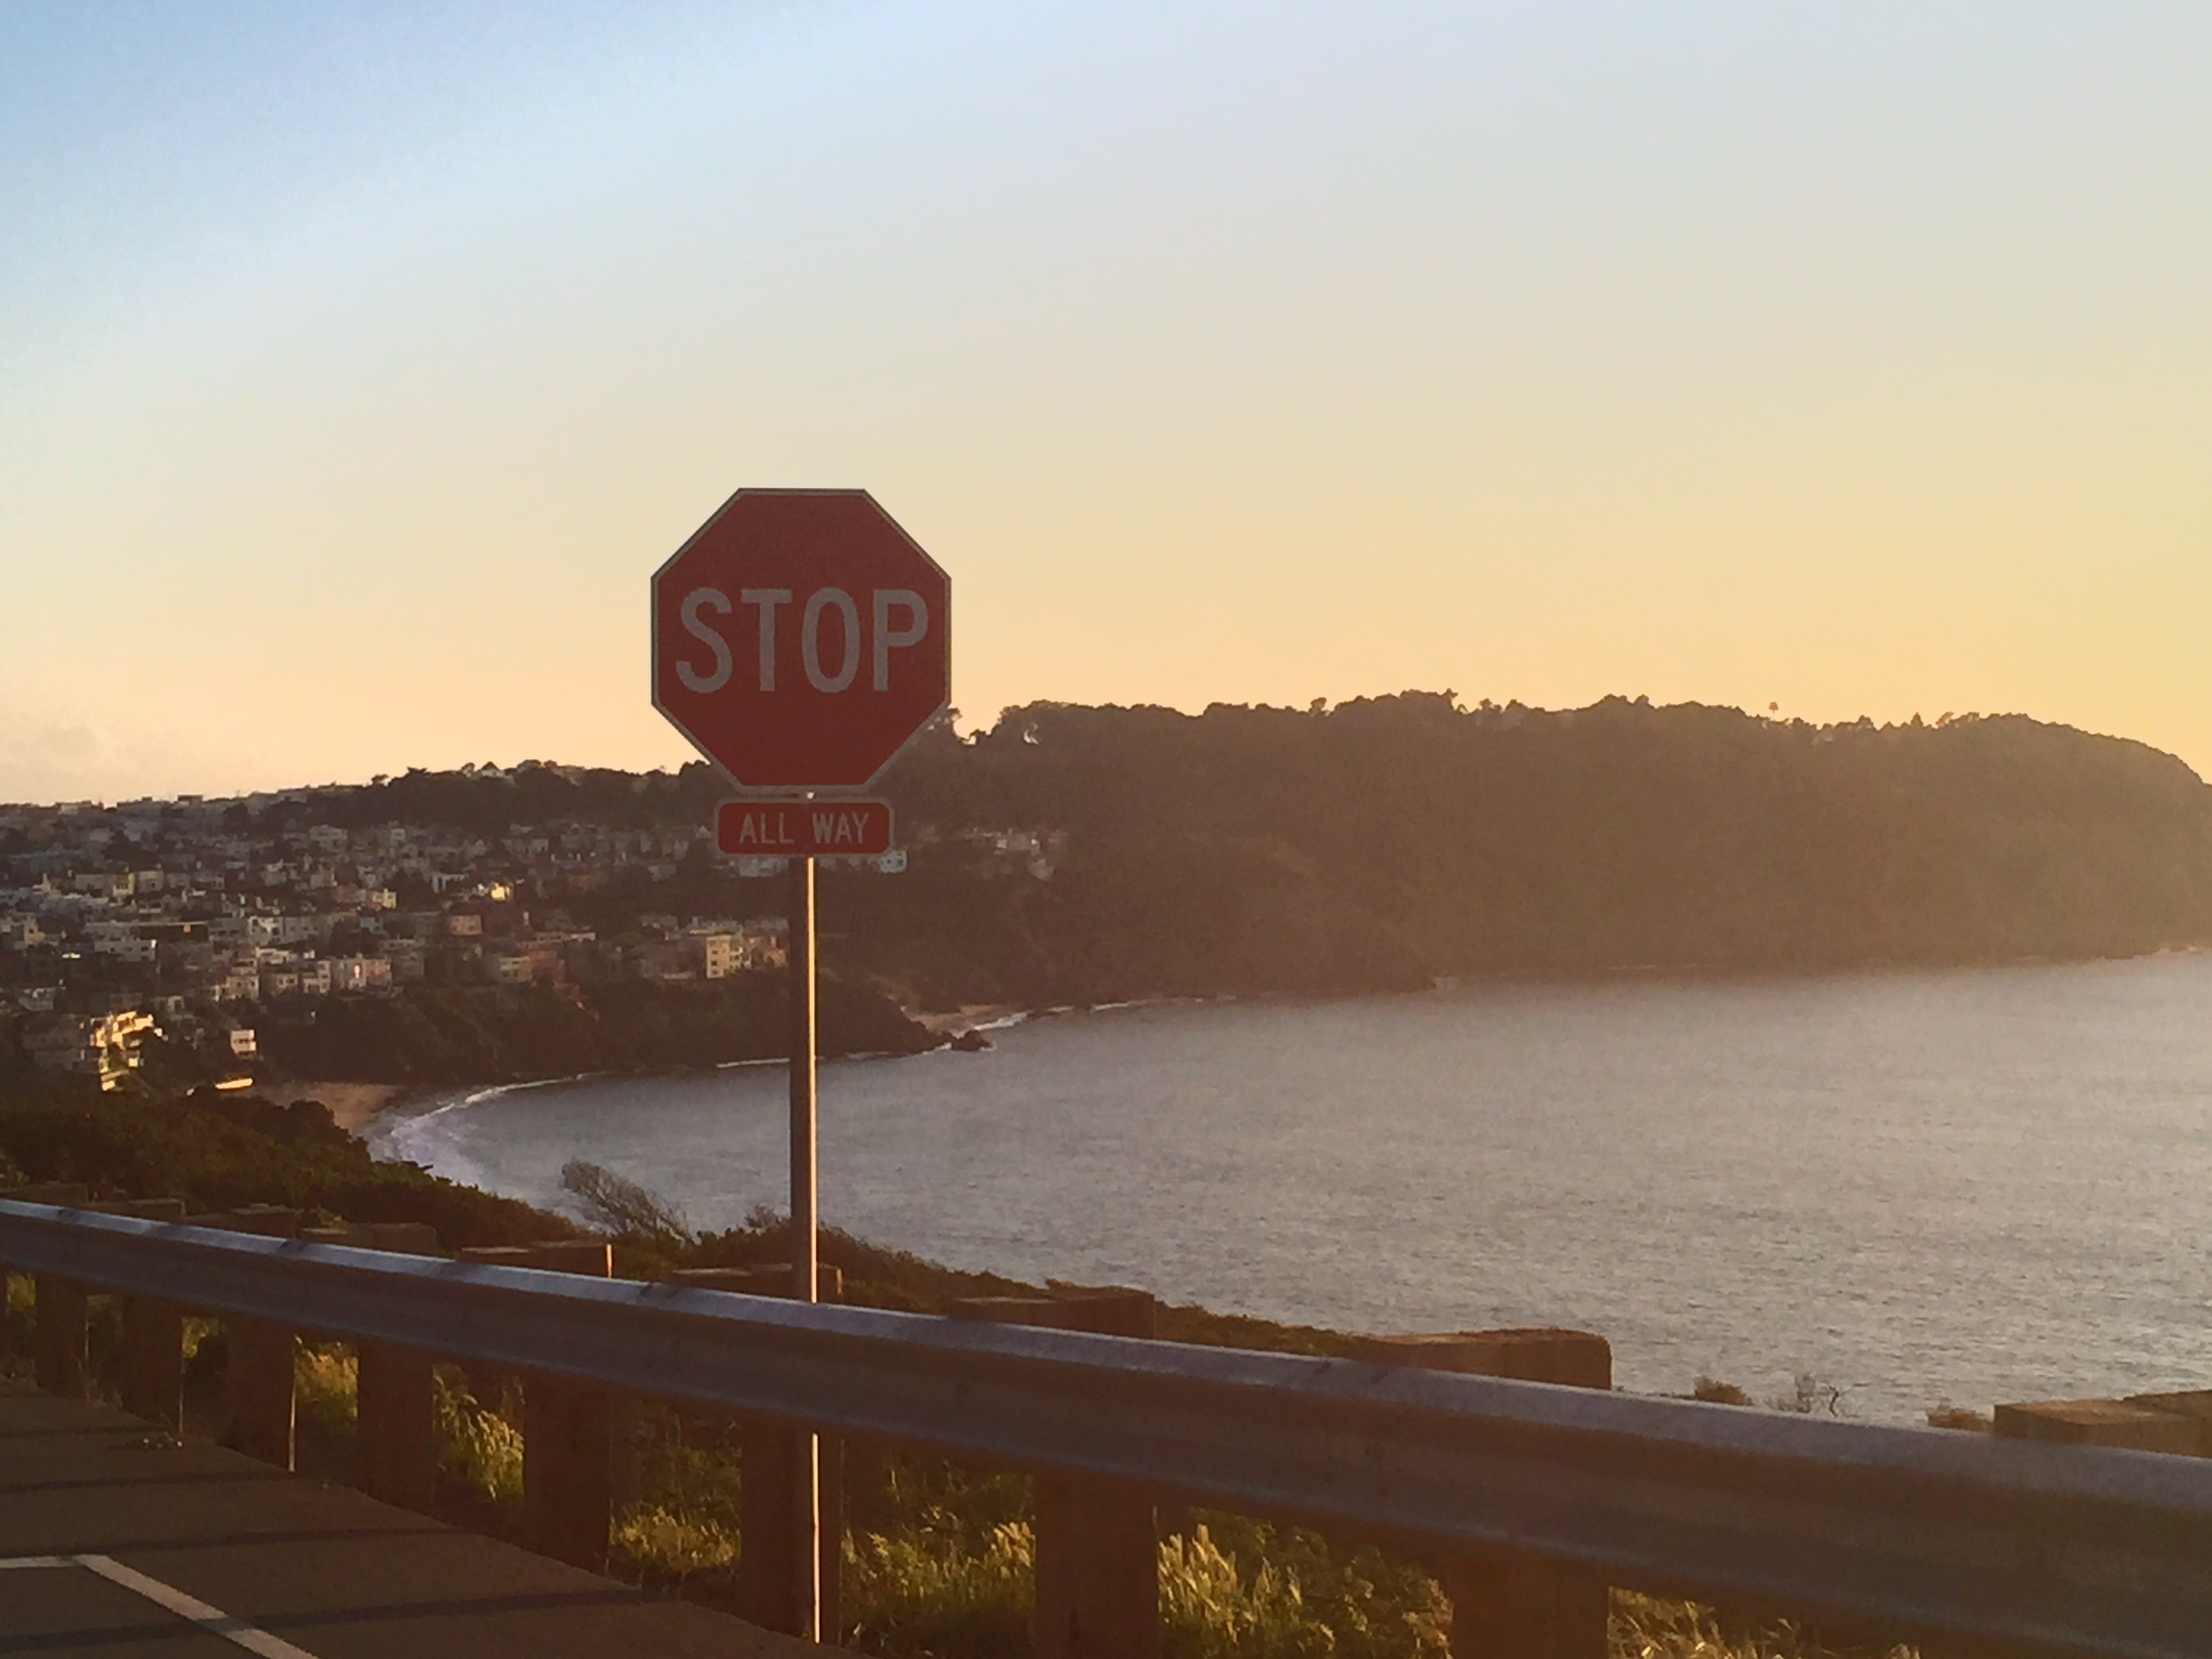
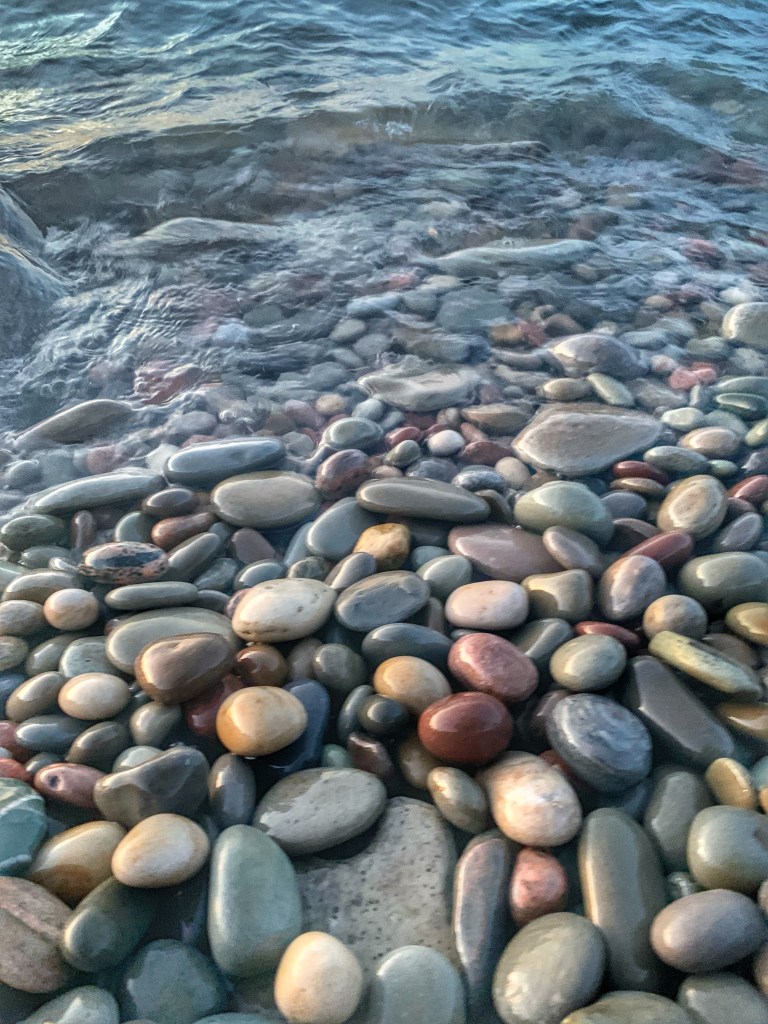
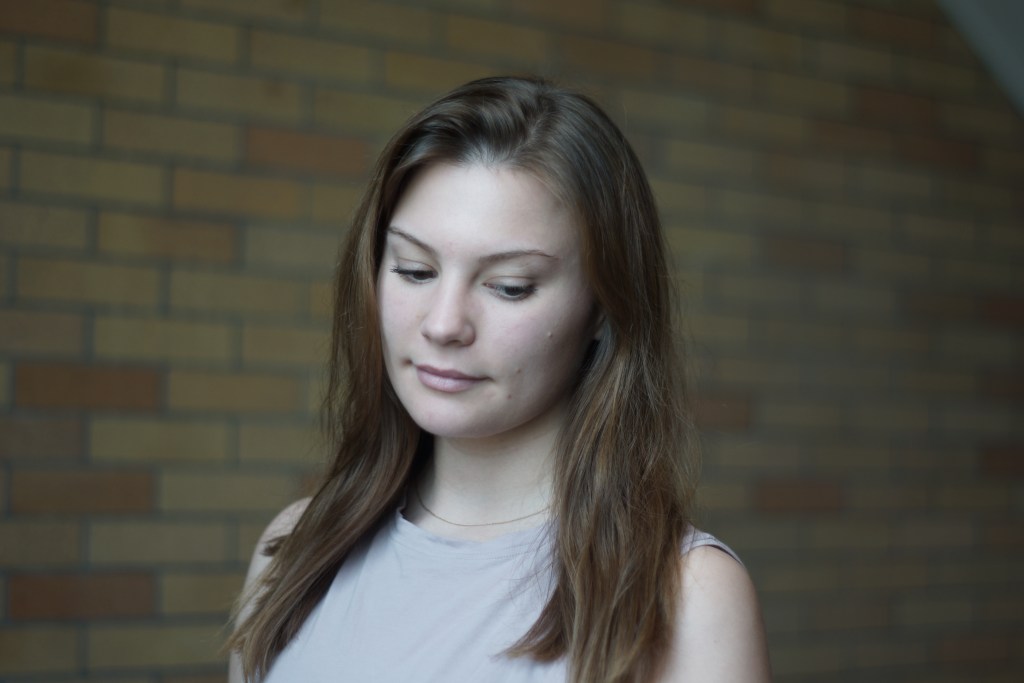
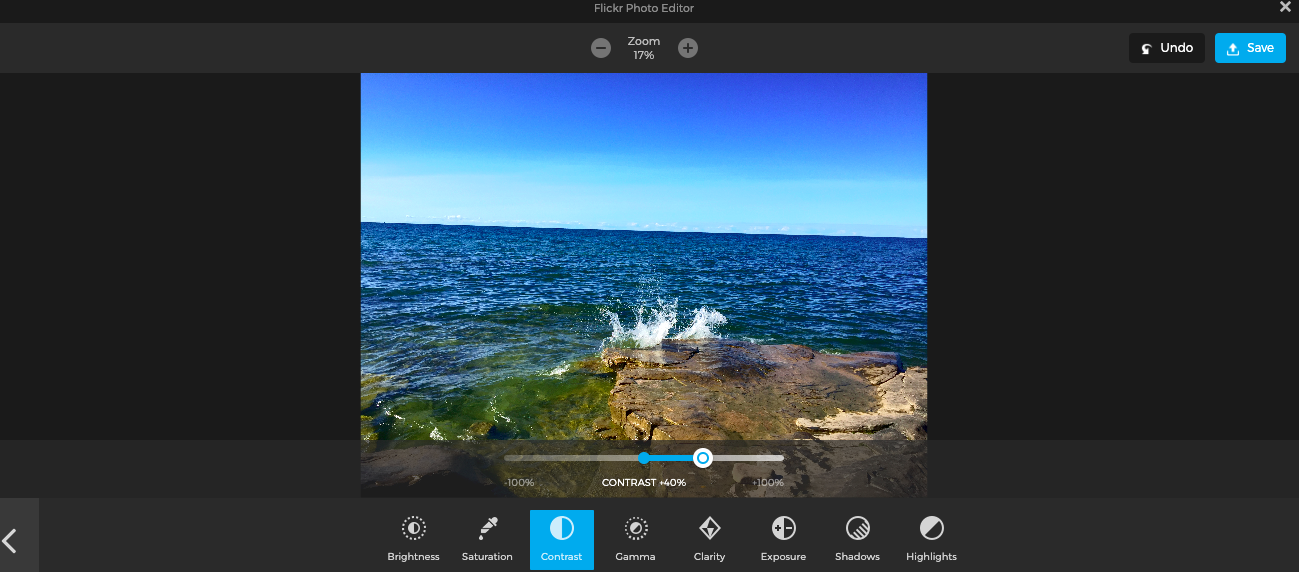
I chose to edit the pictures right in flickr because it’s easier than to send them back and forth to my phone to edit them using an app, and potentially losing some quality along the way. Here are some of the before versions of the pictures
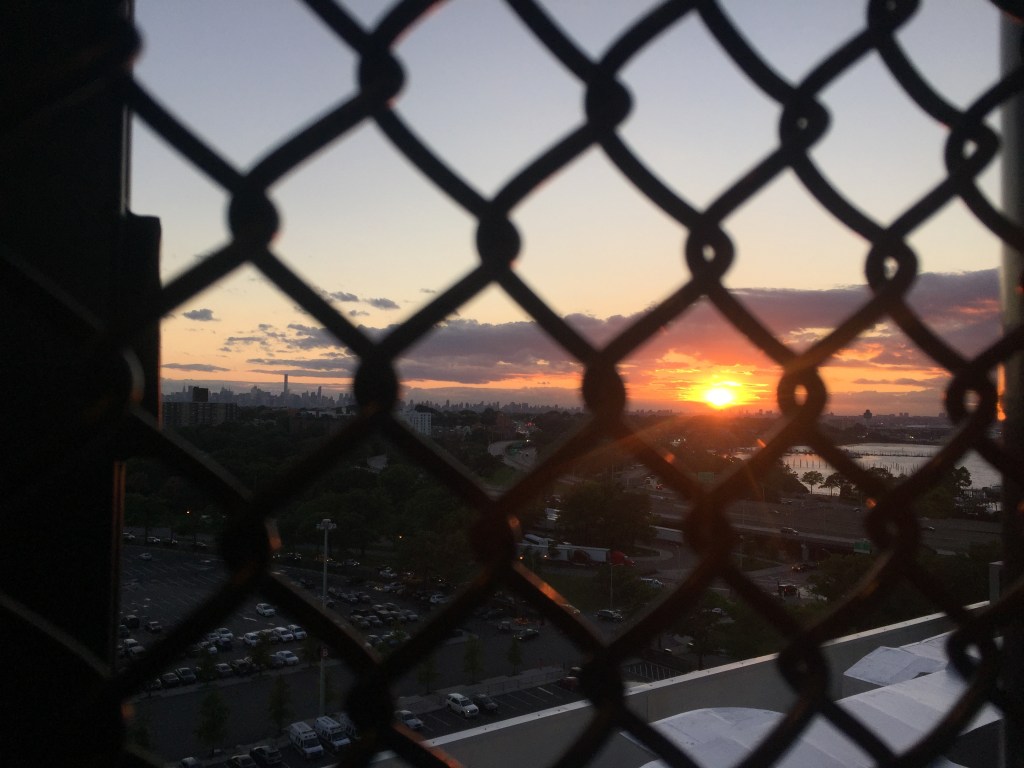
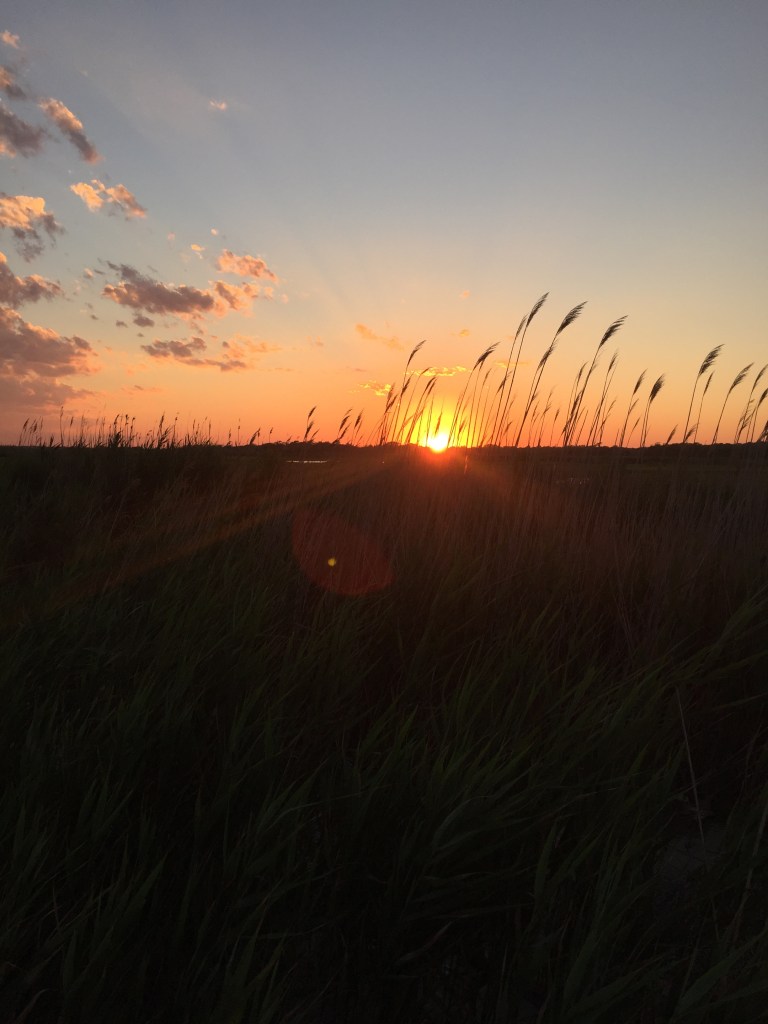
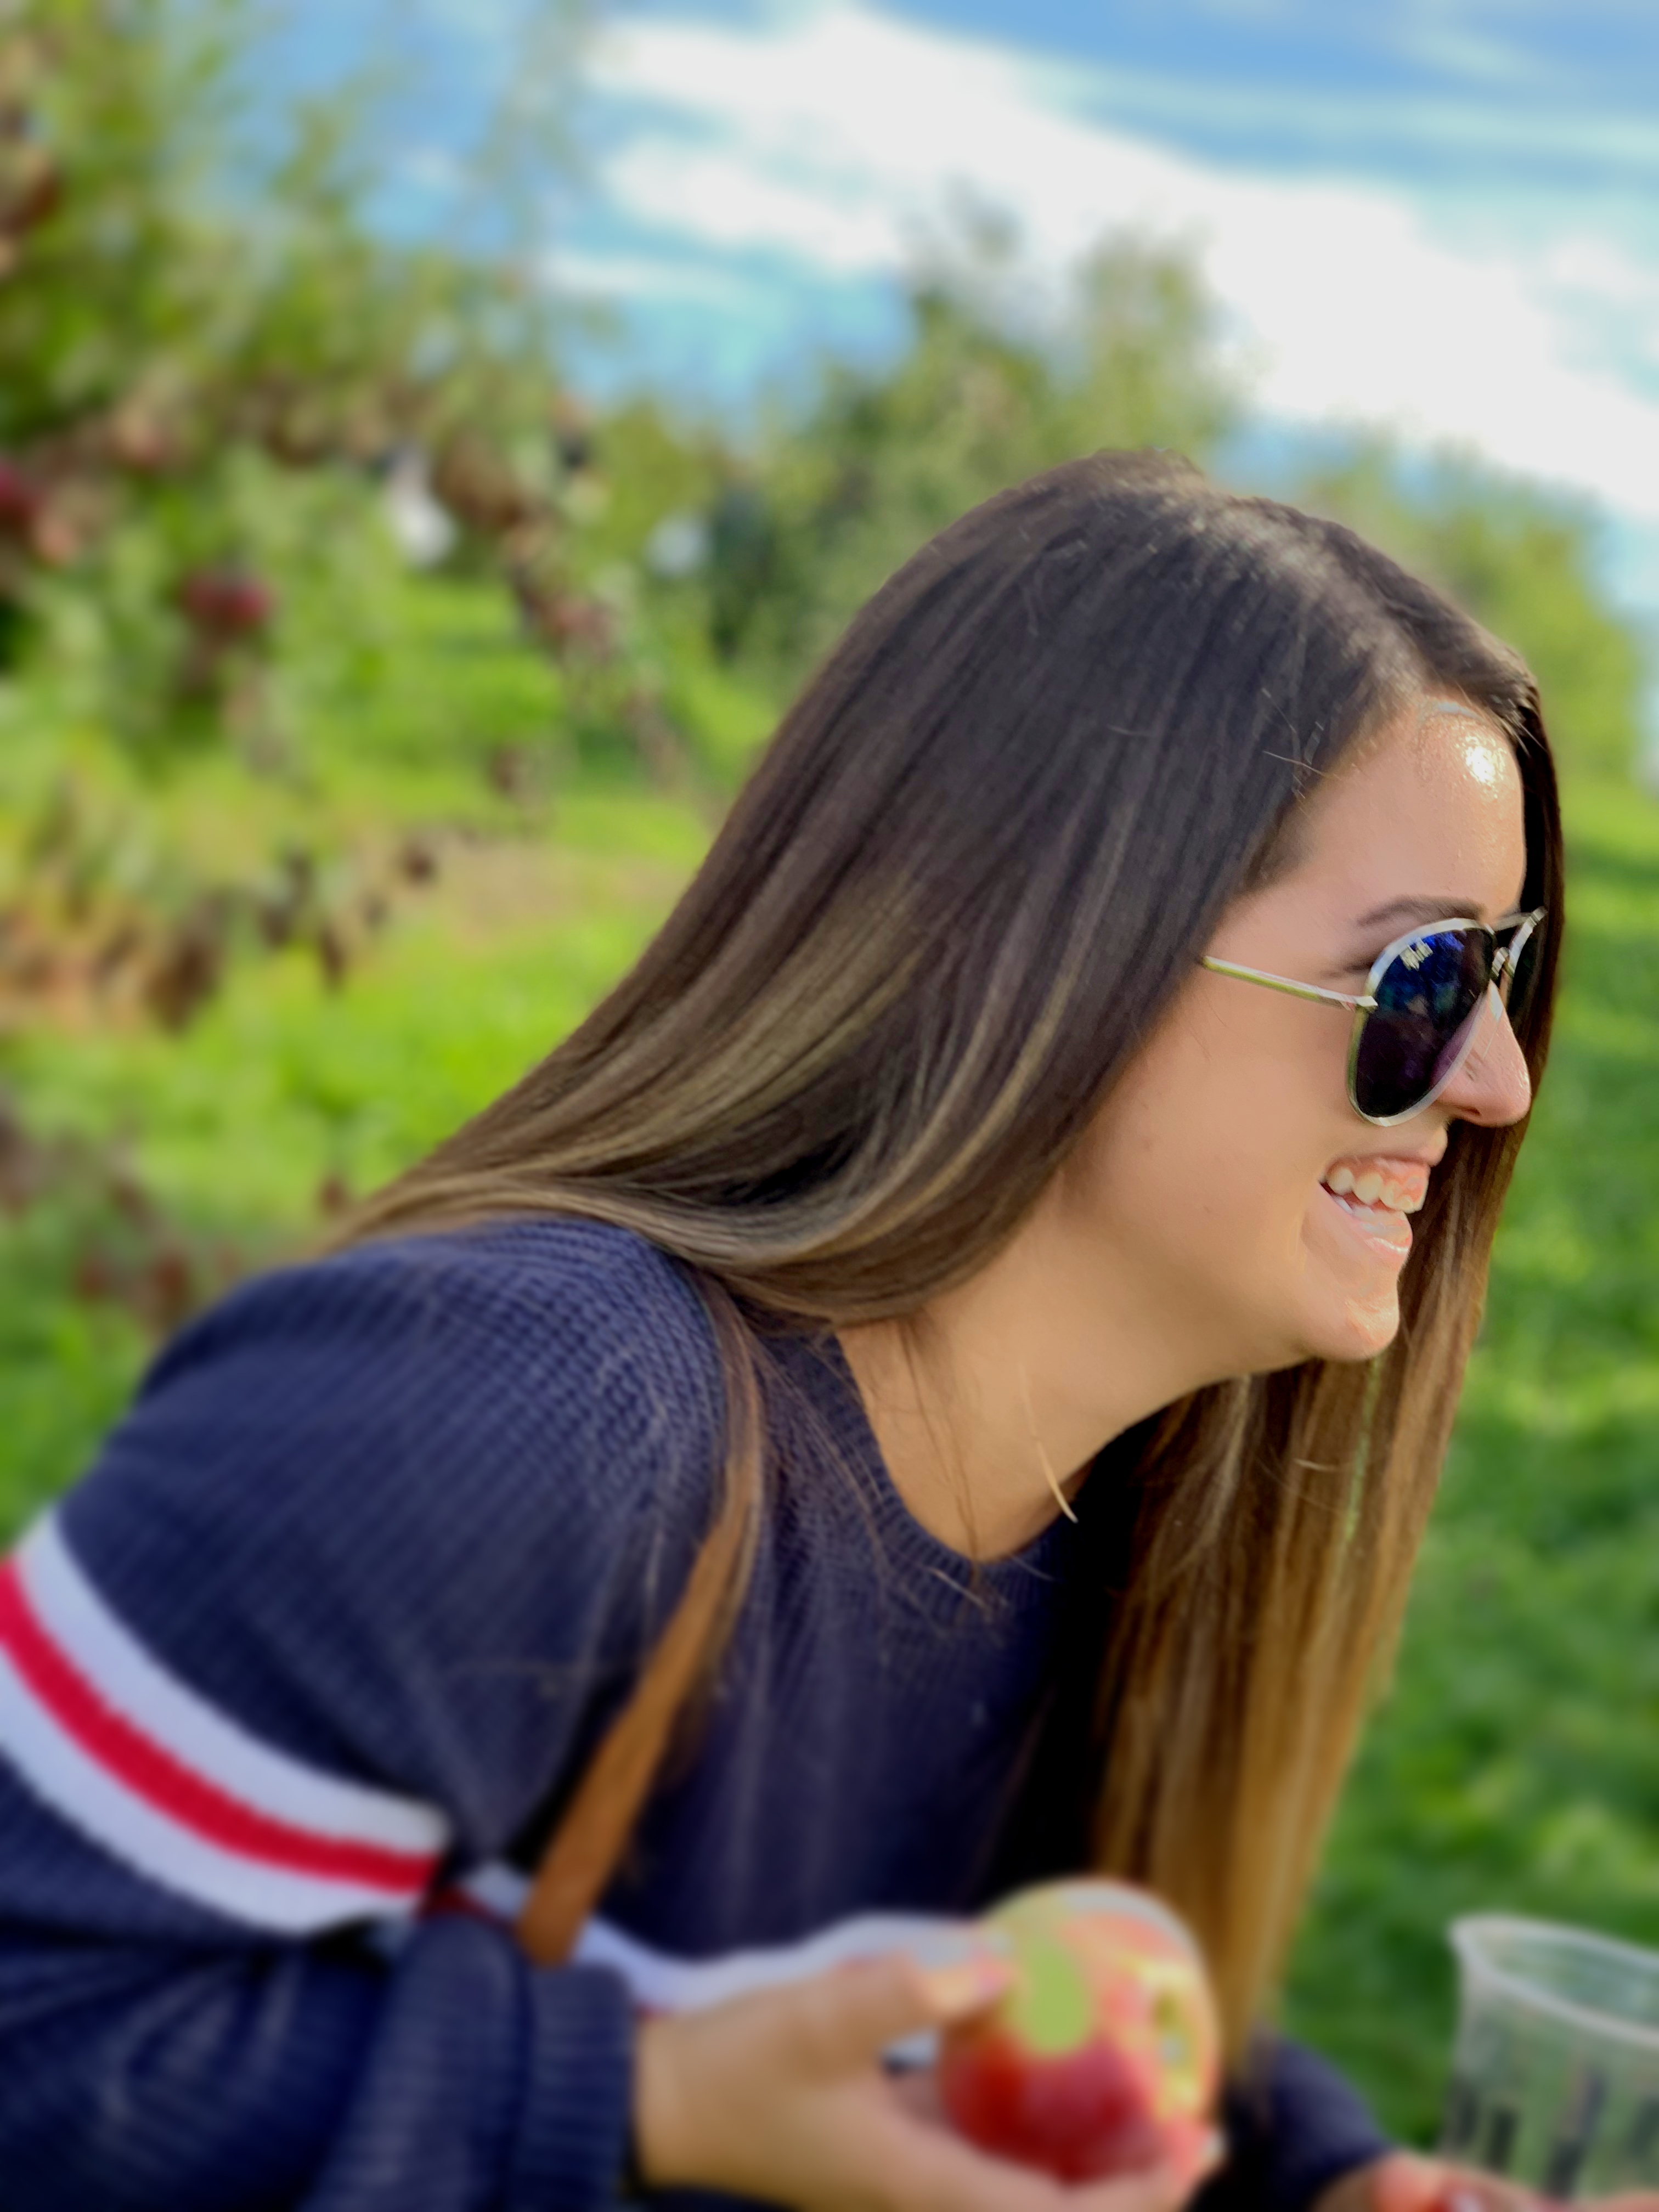
Before
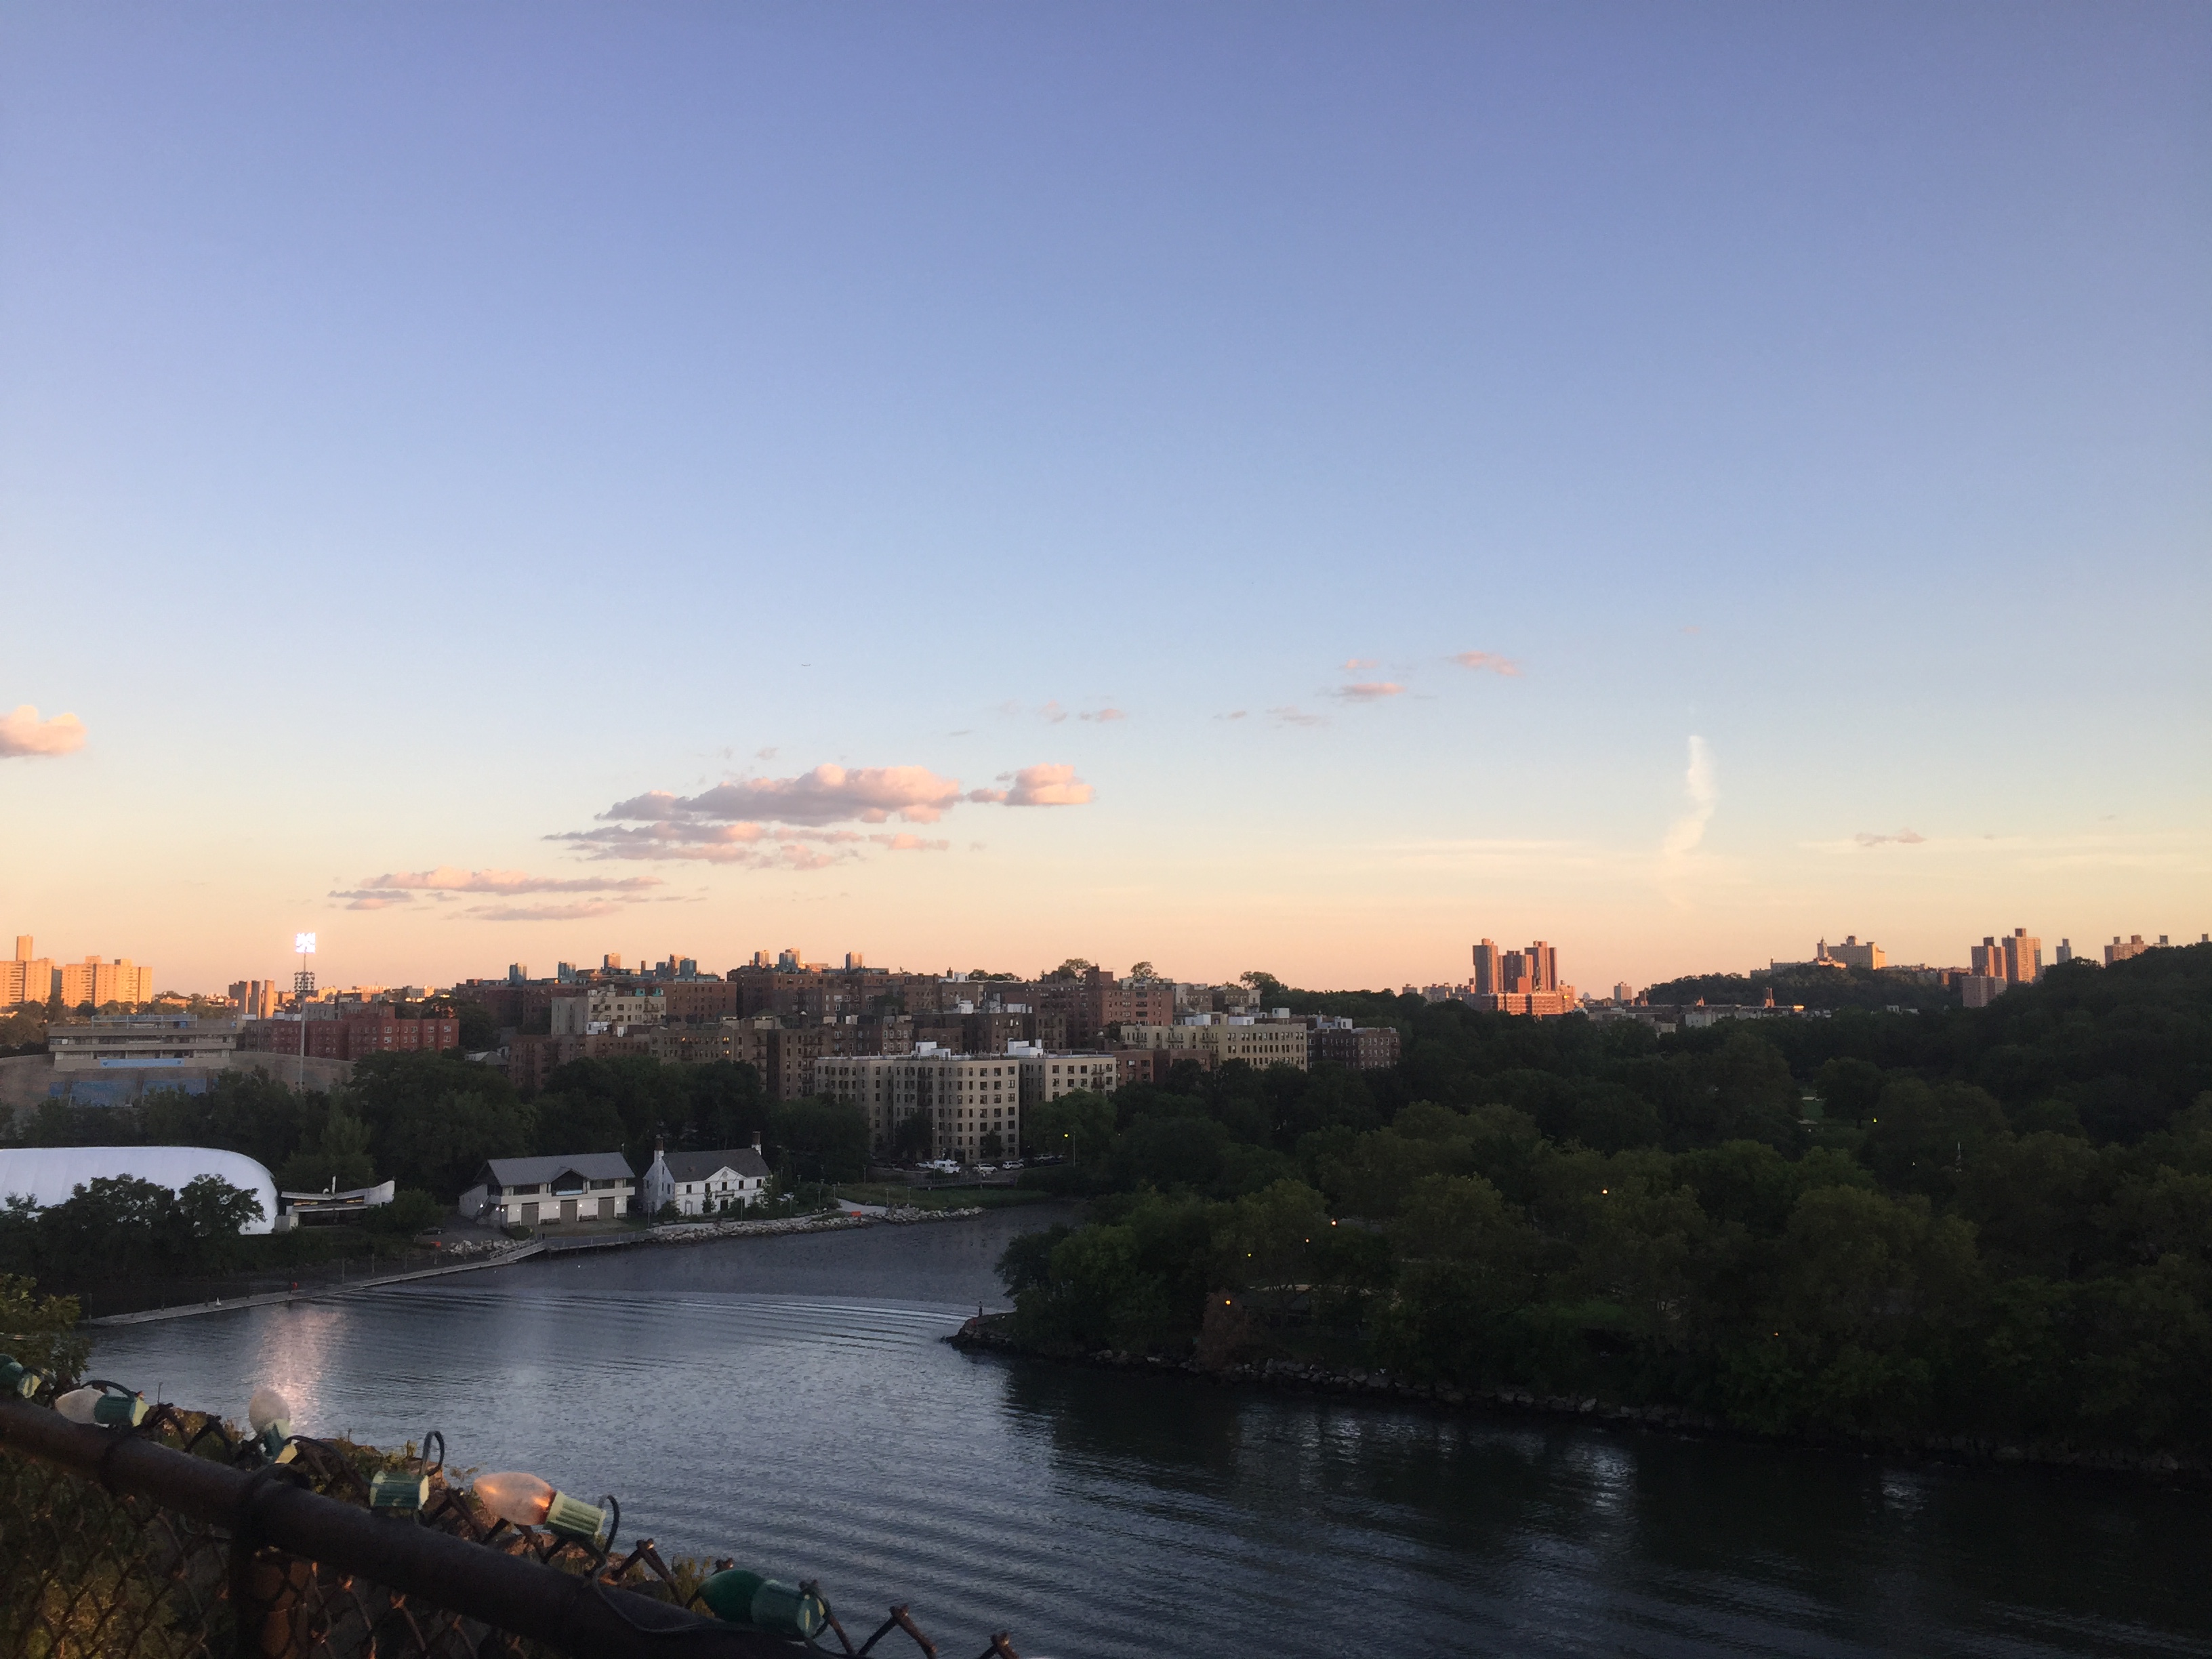
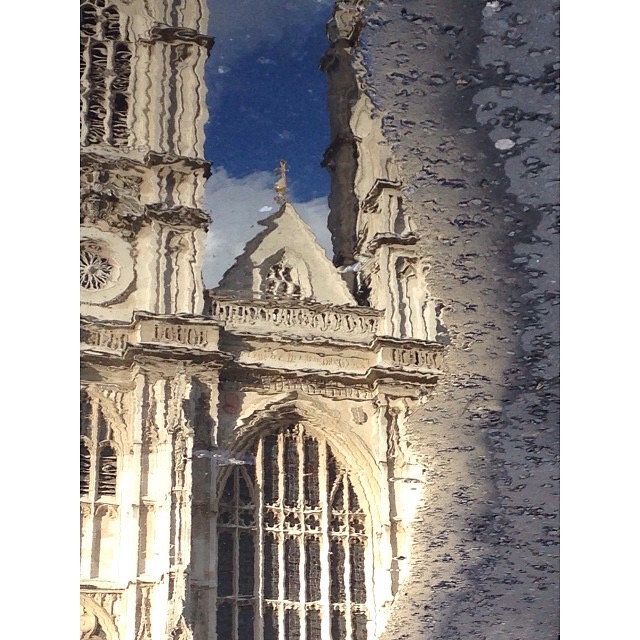
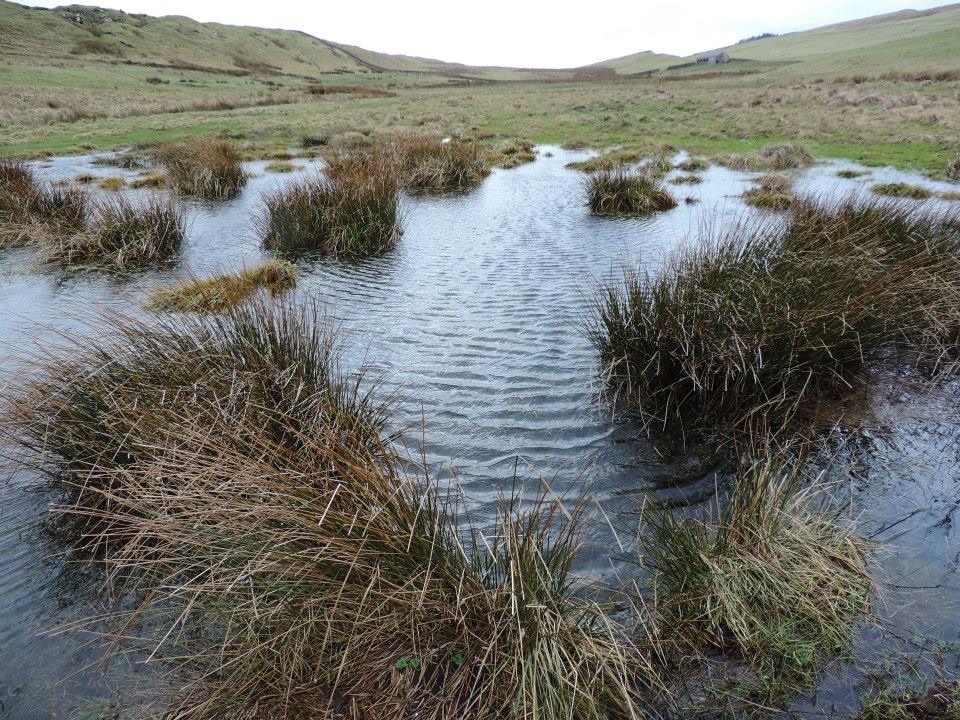
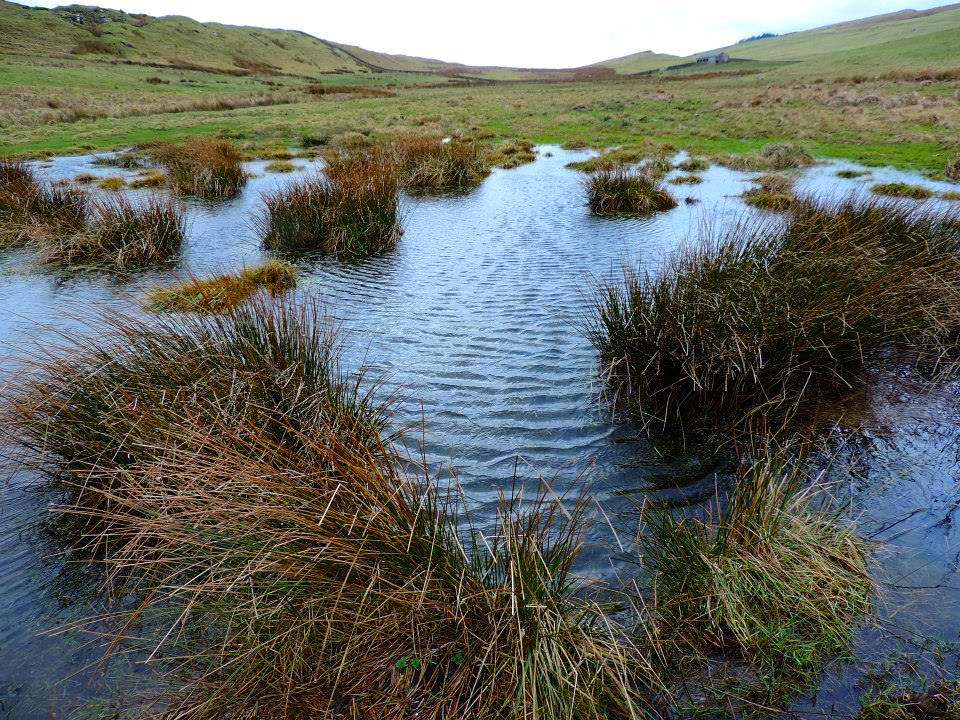
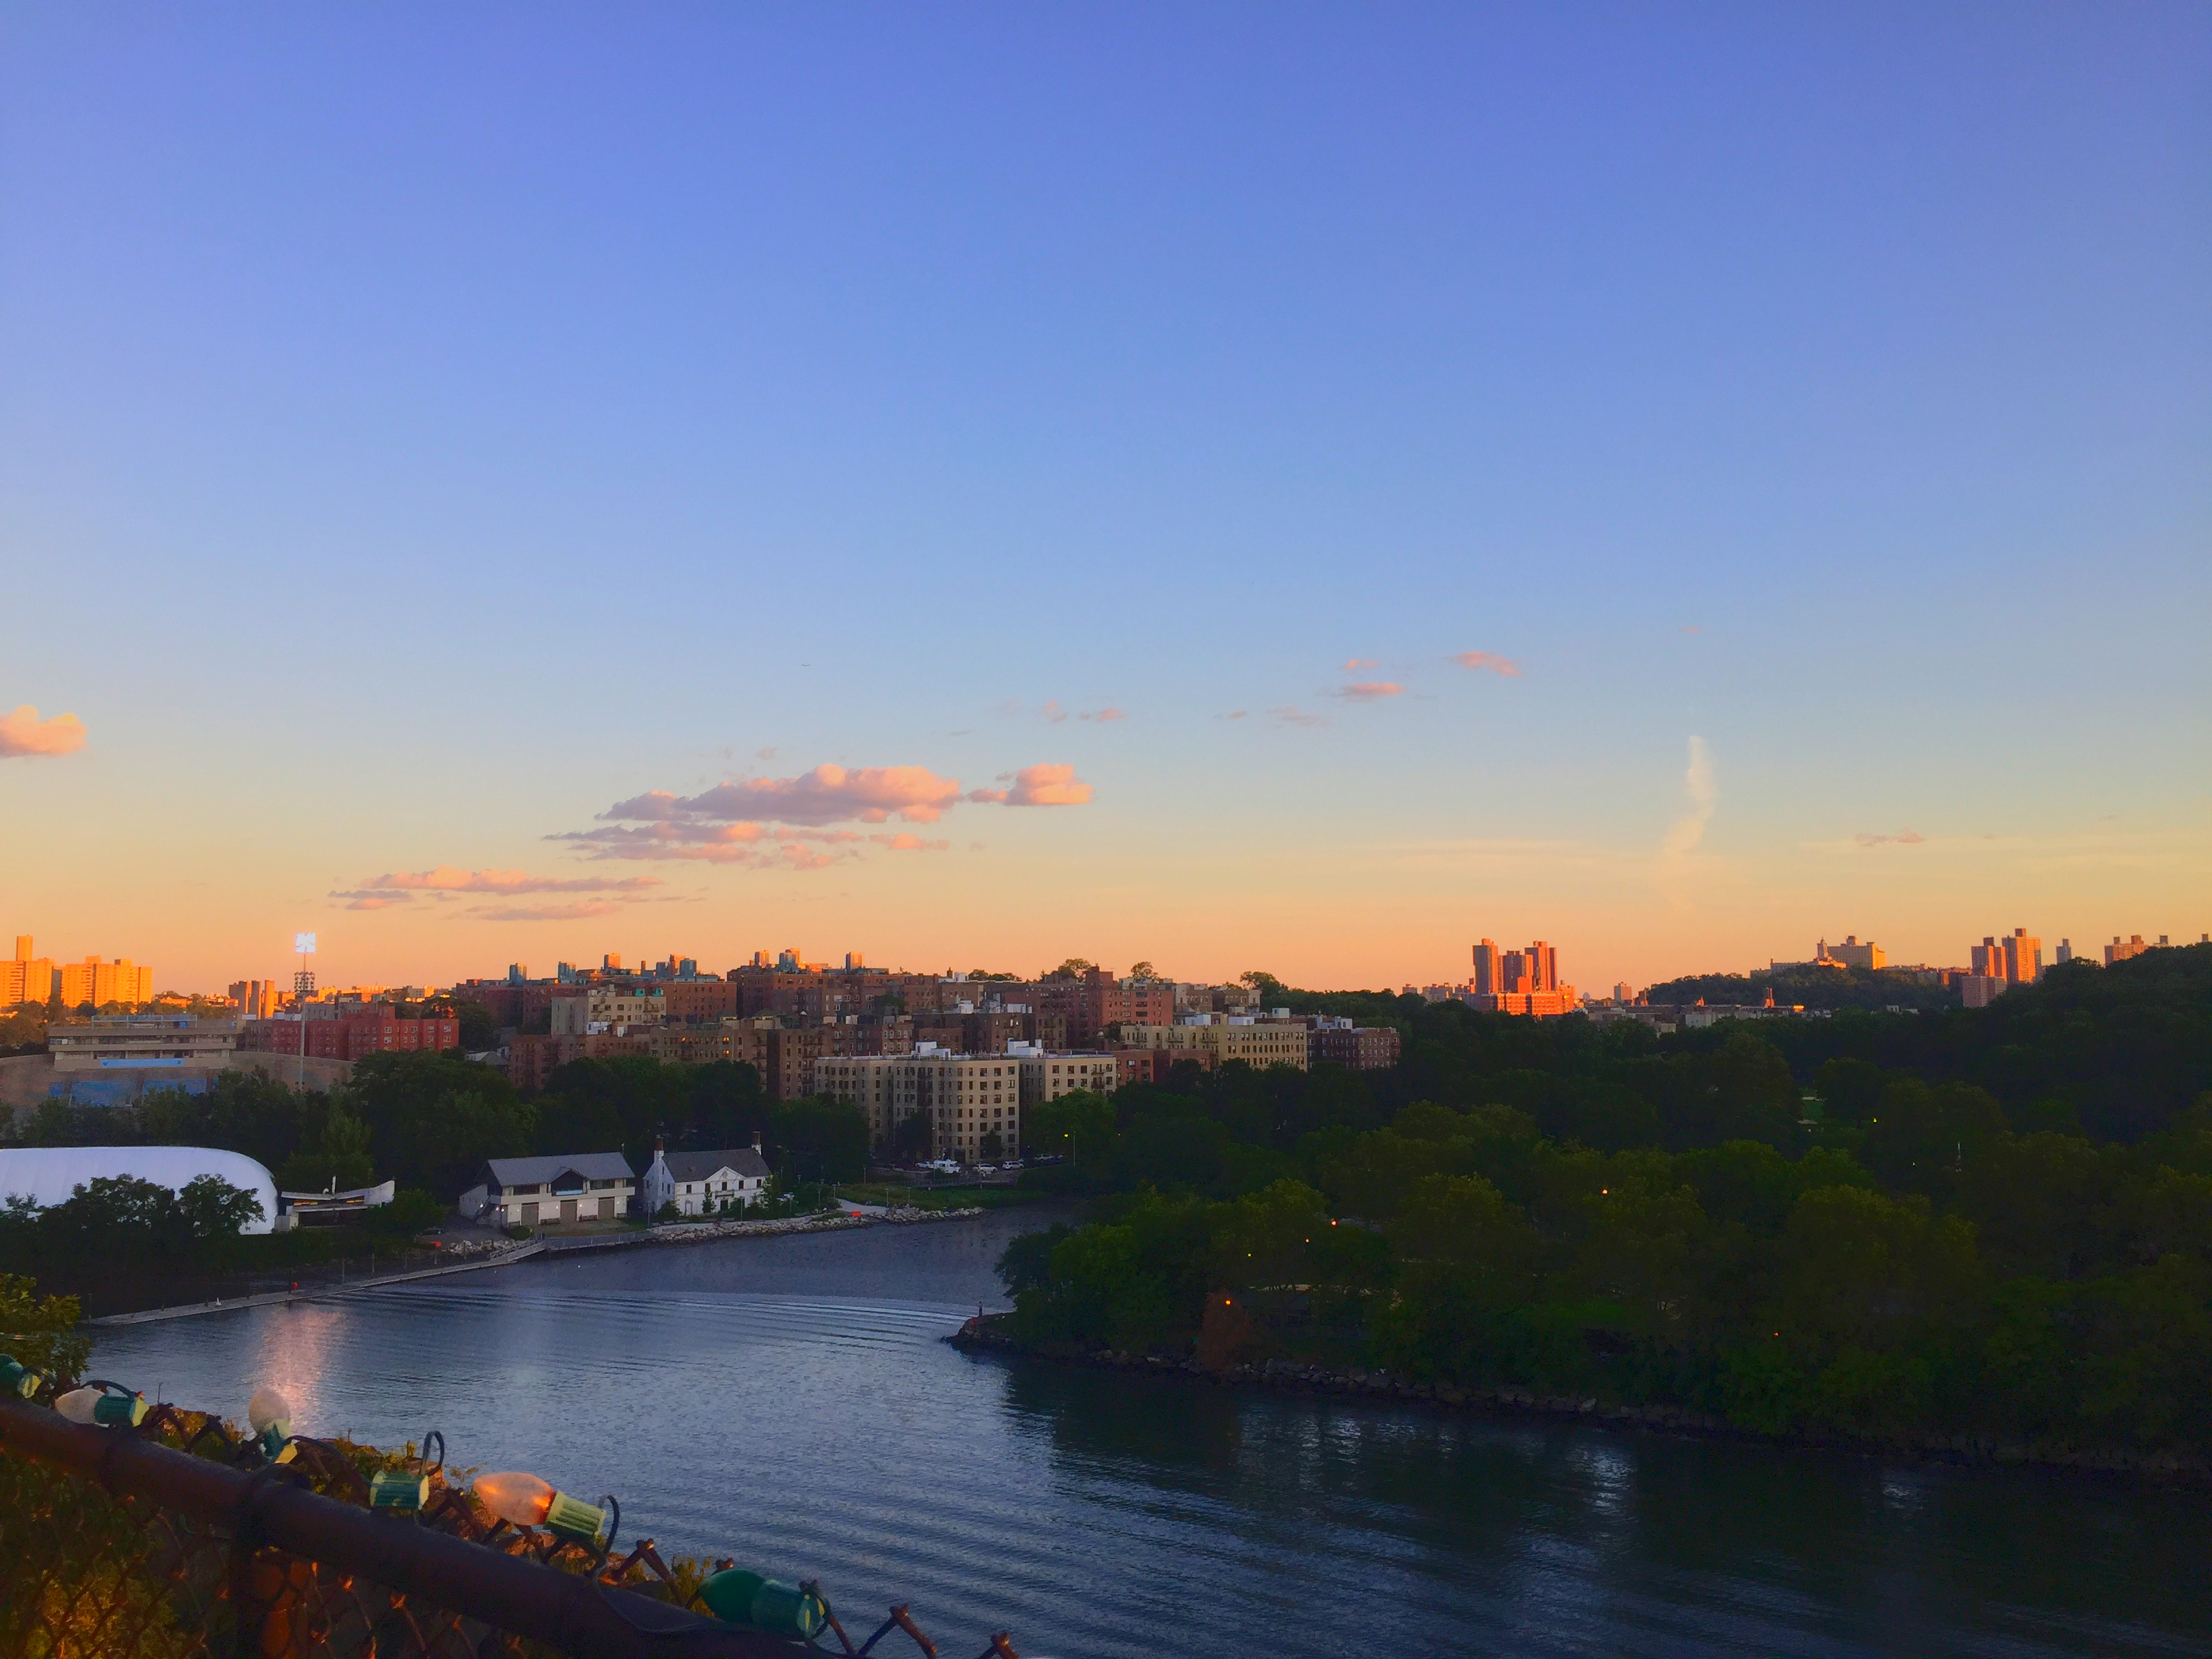
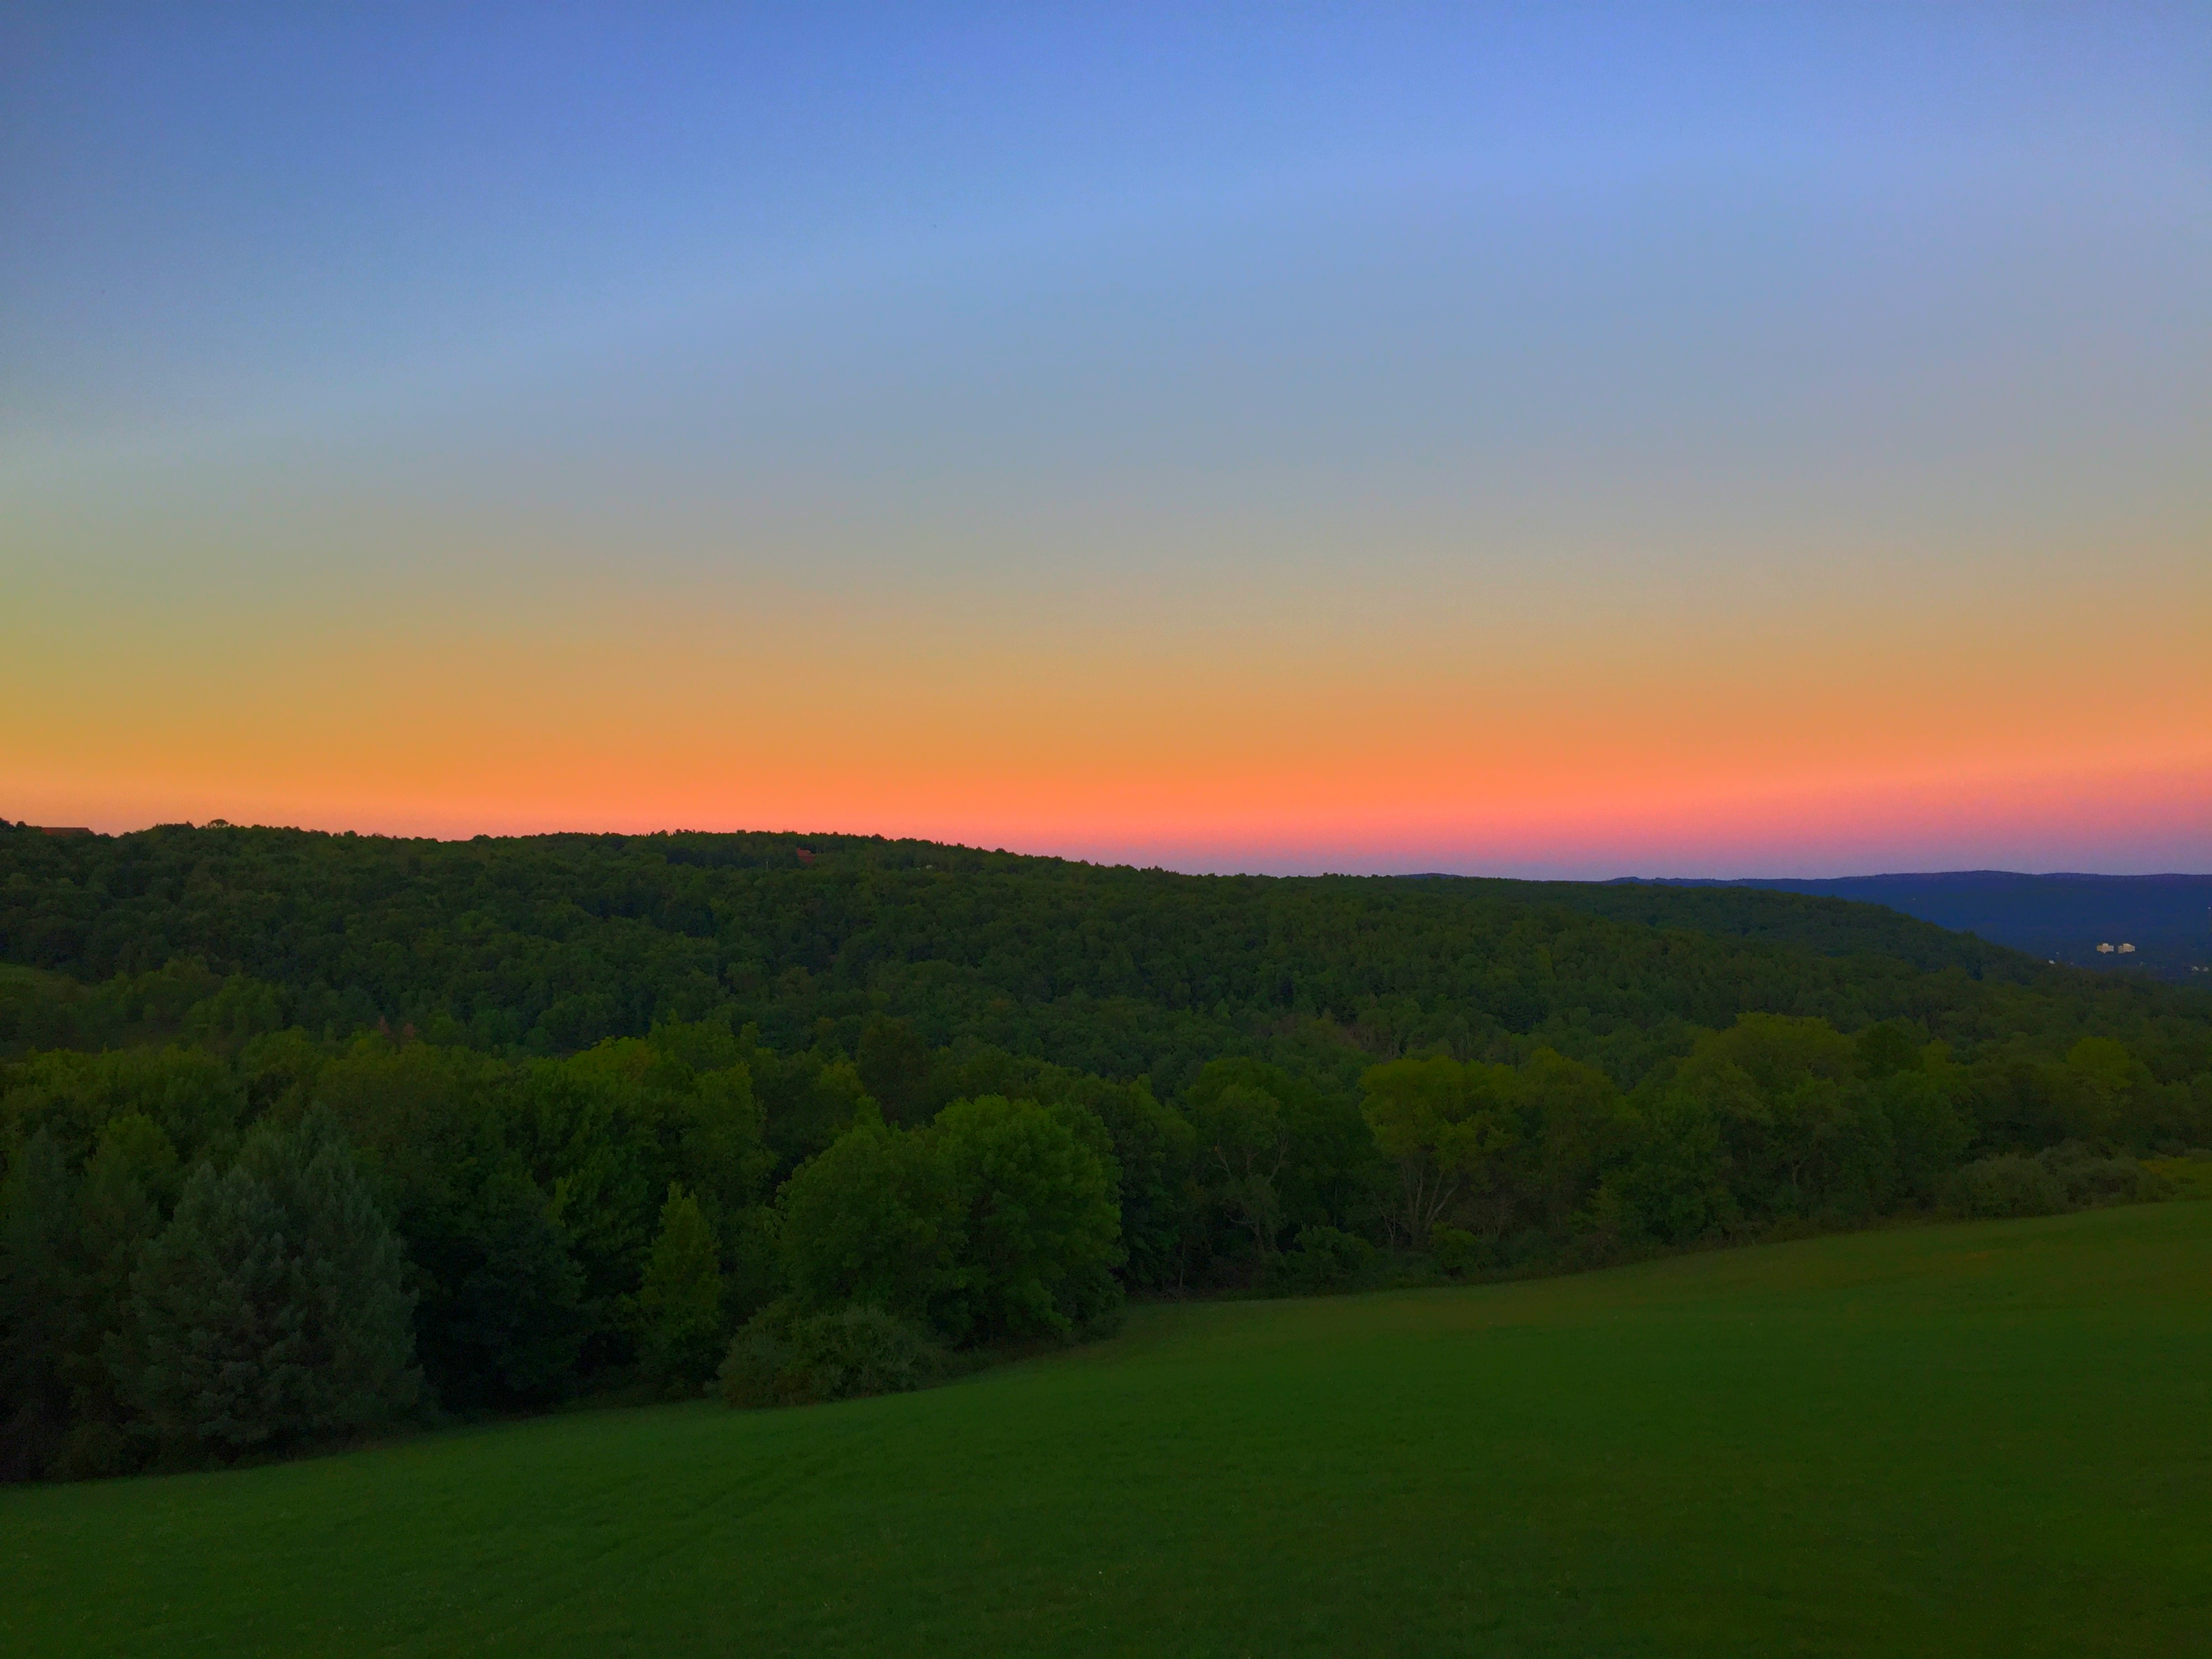
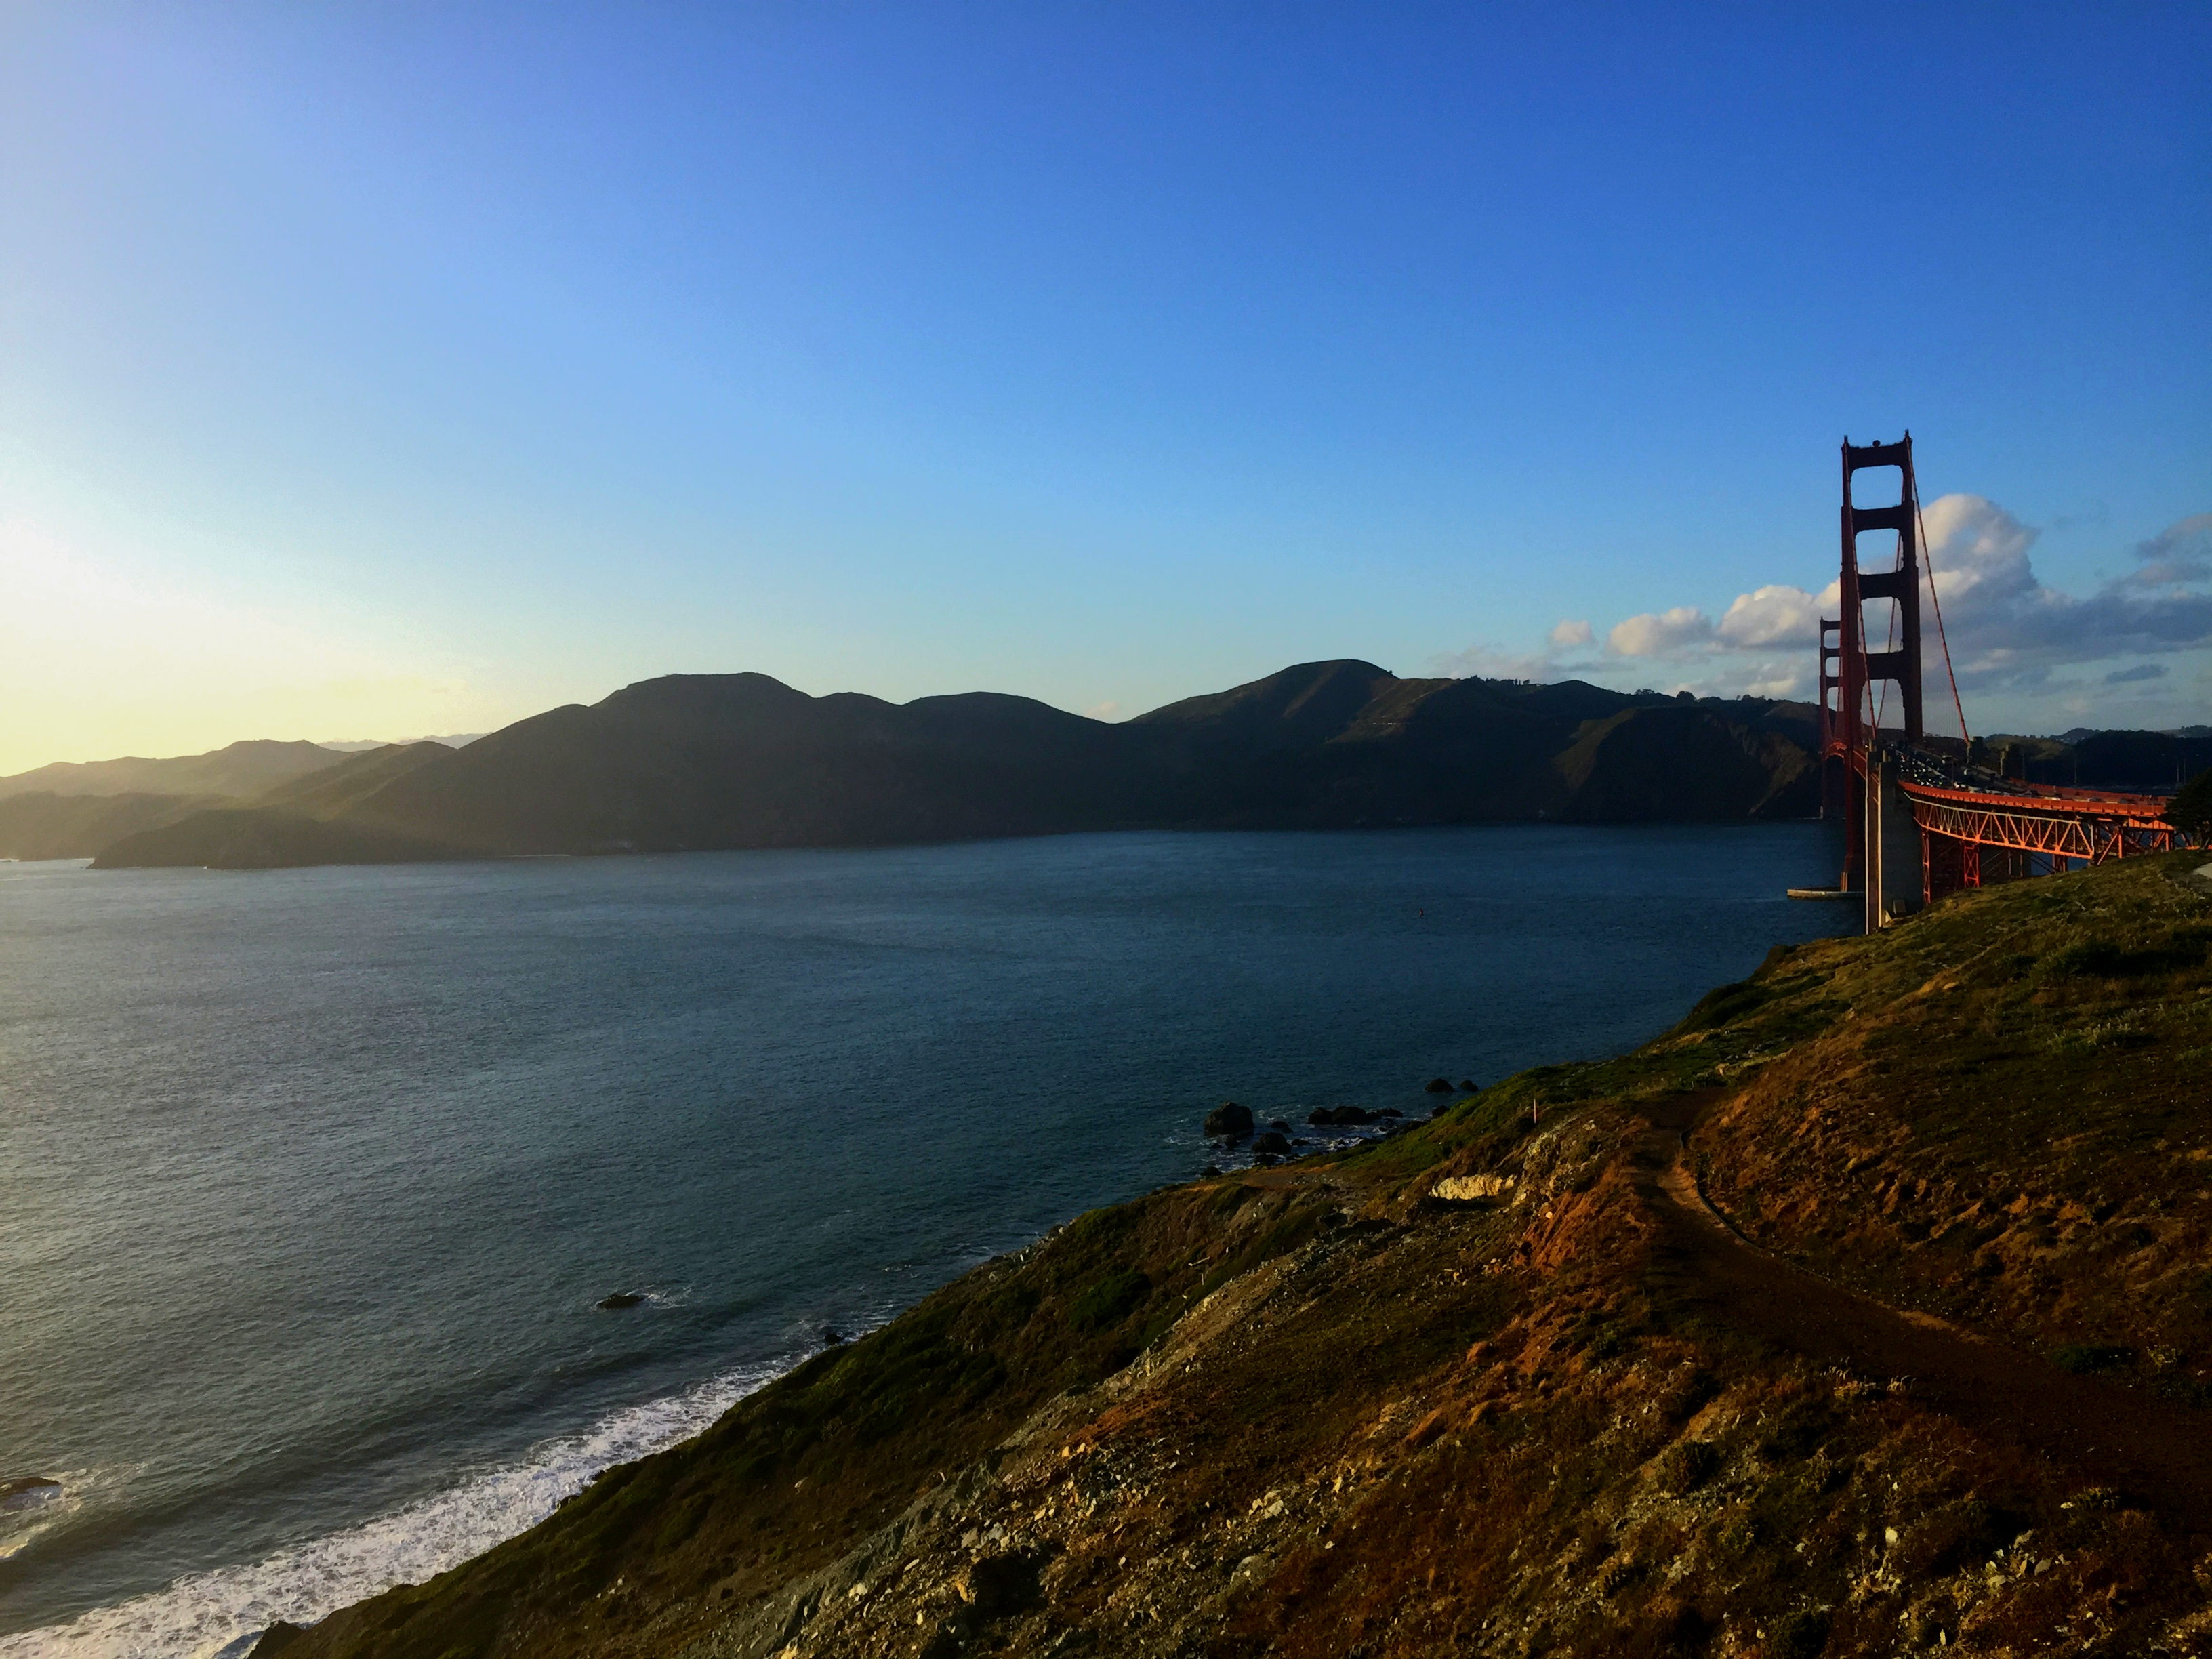
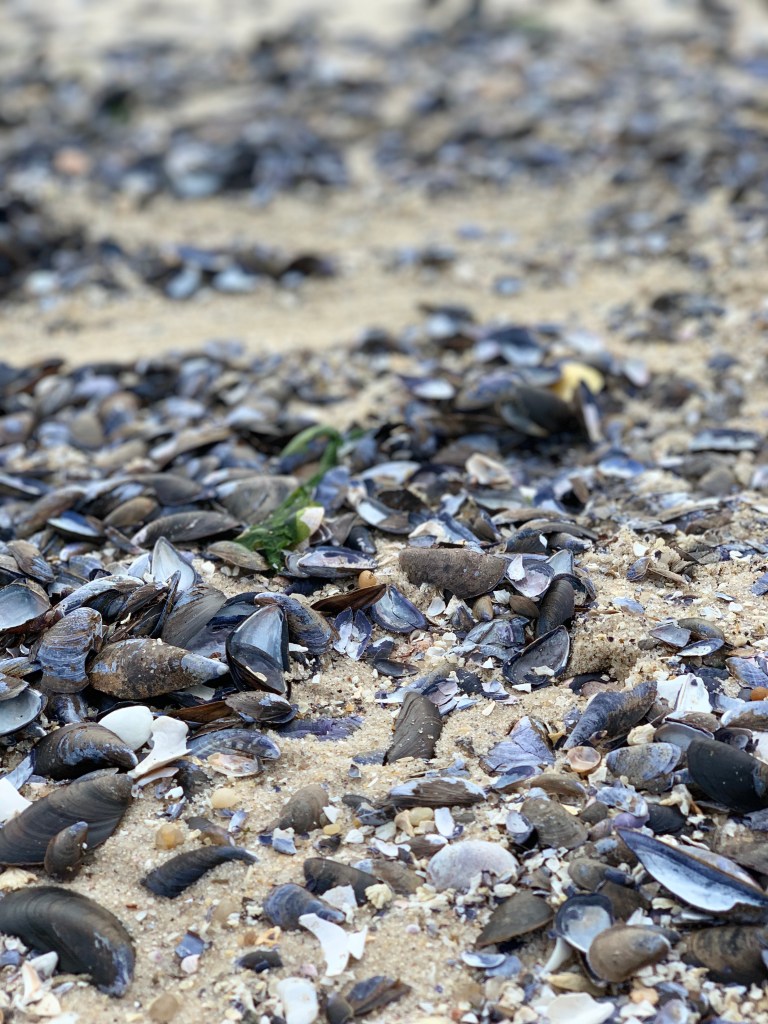
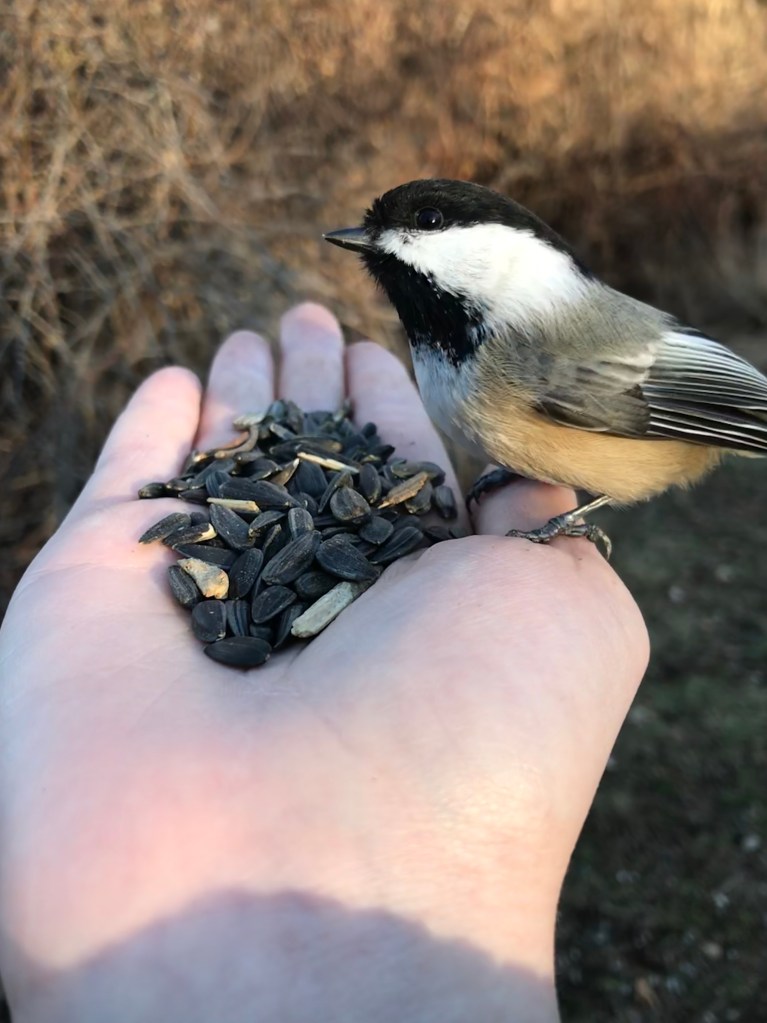
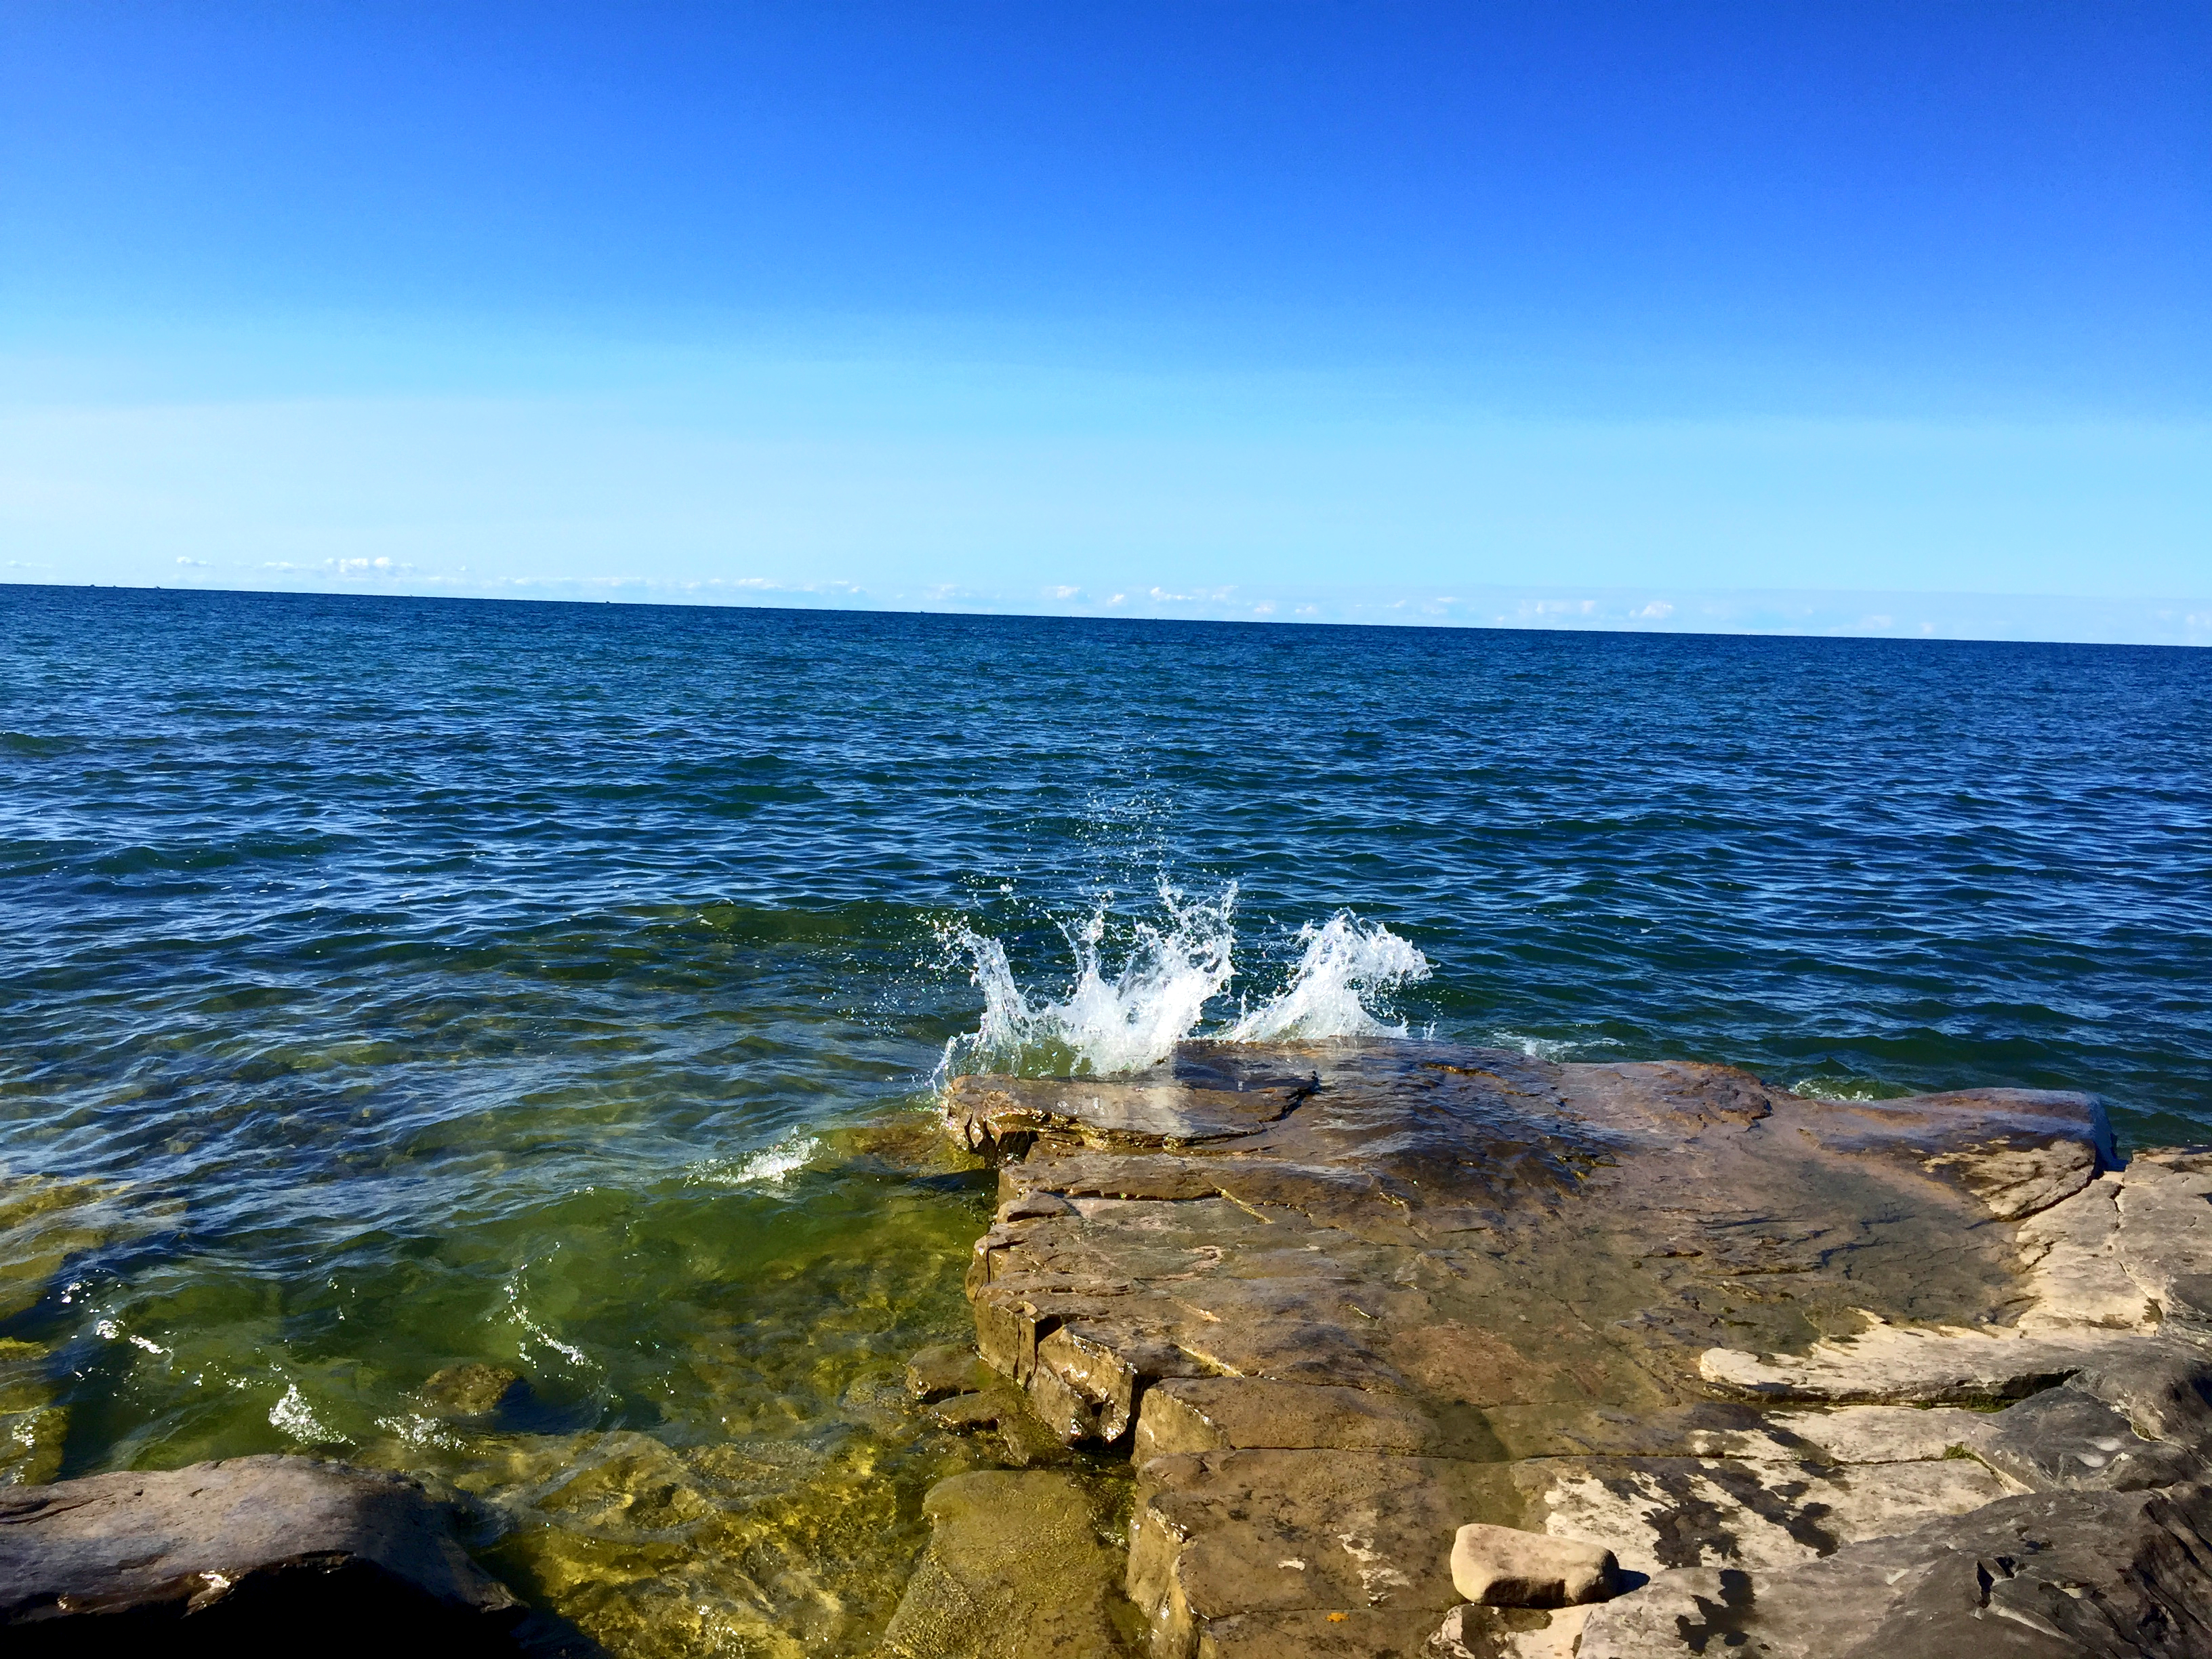
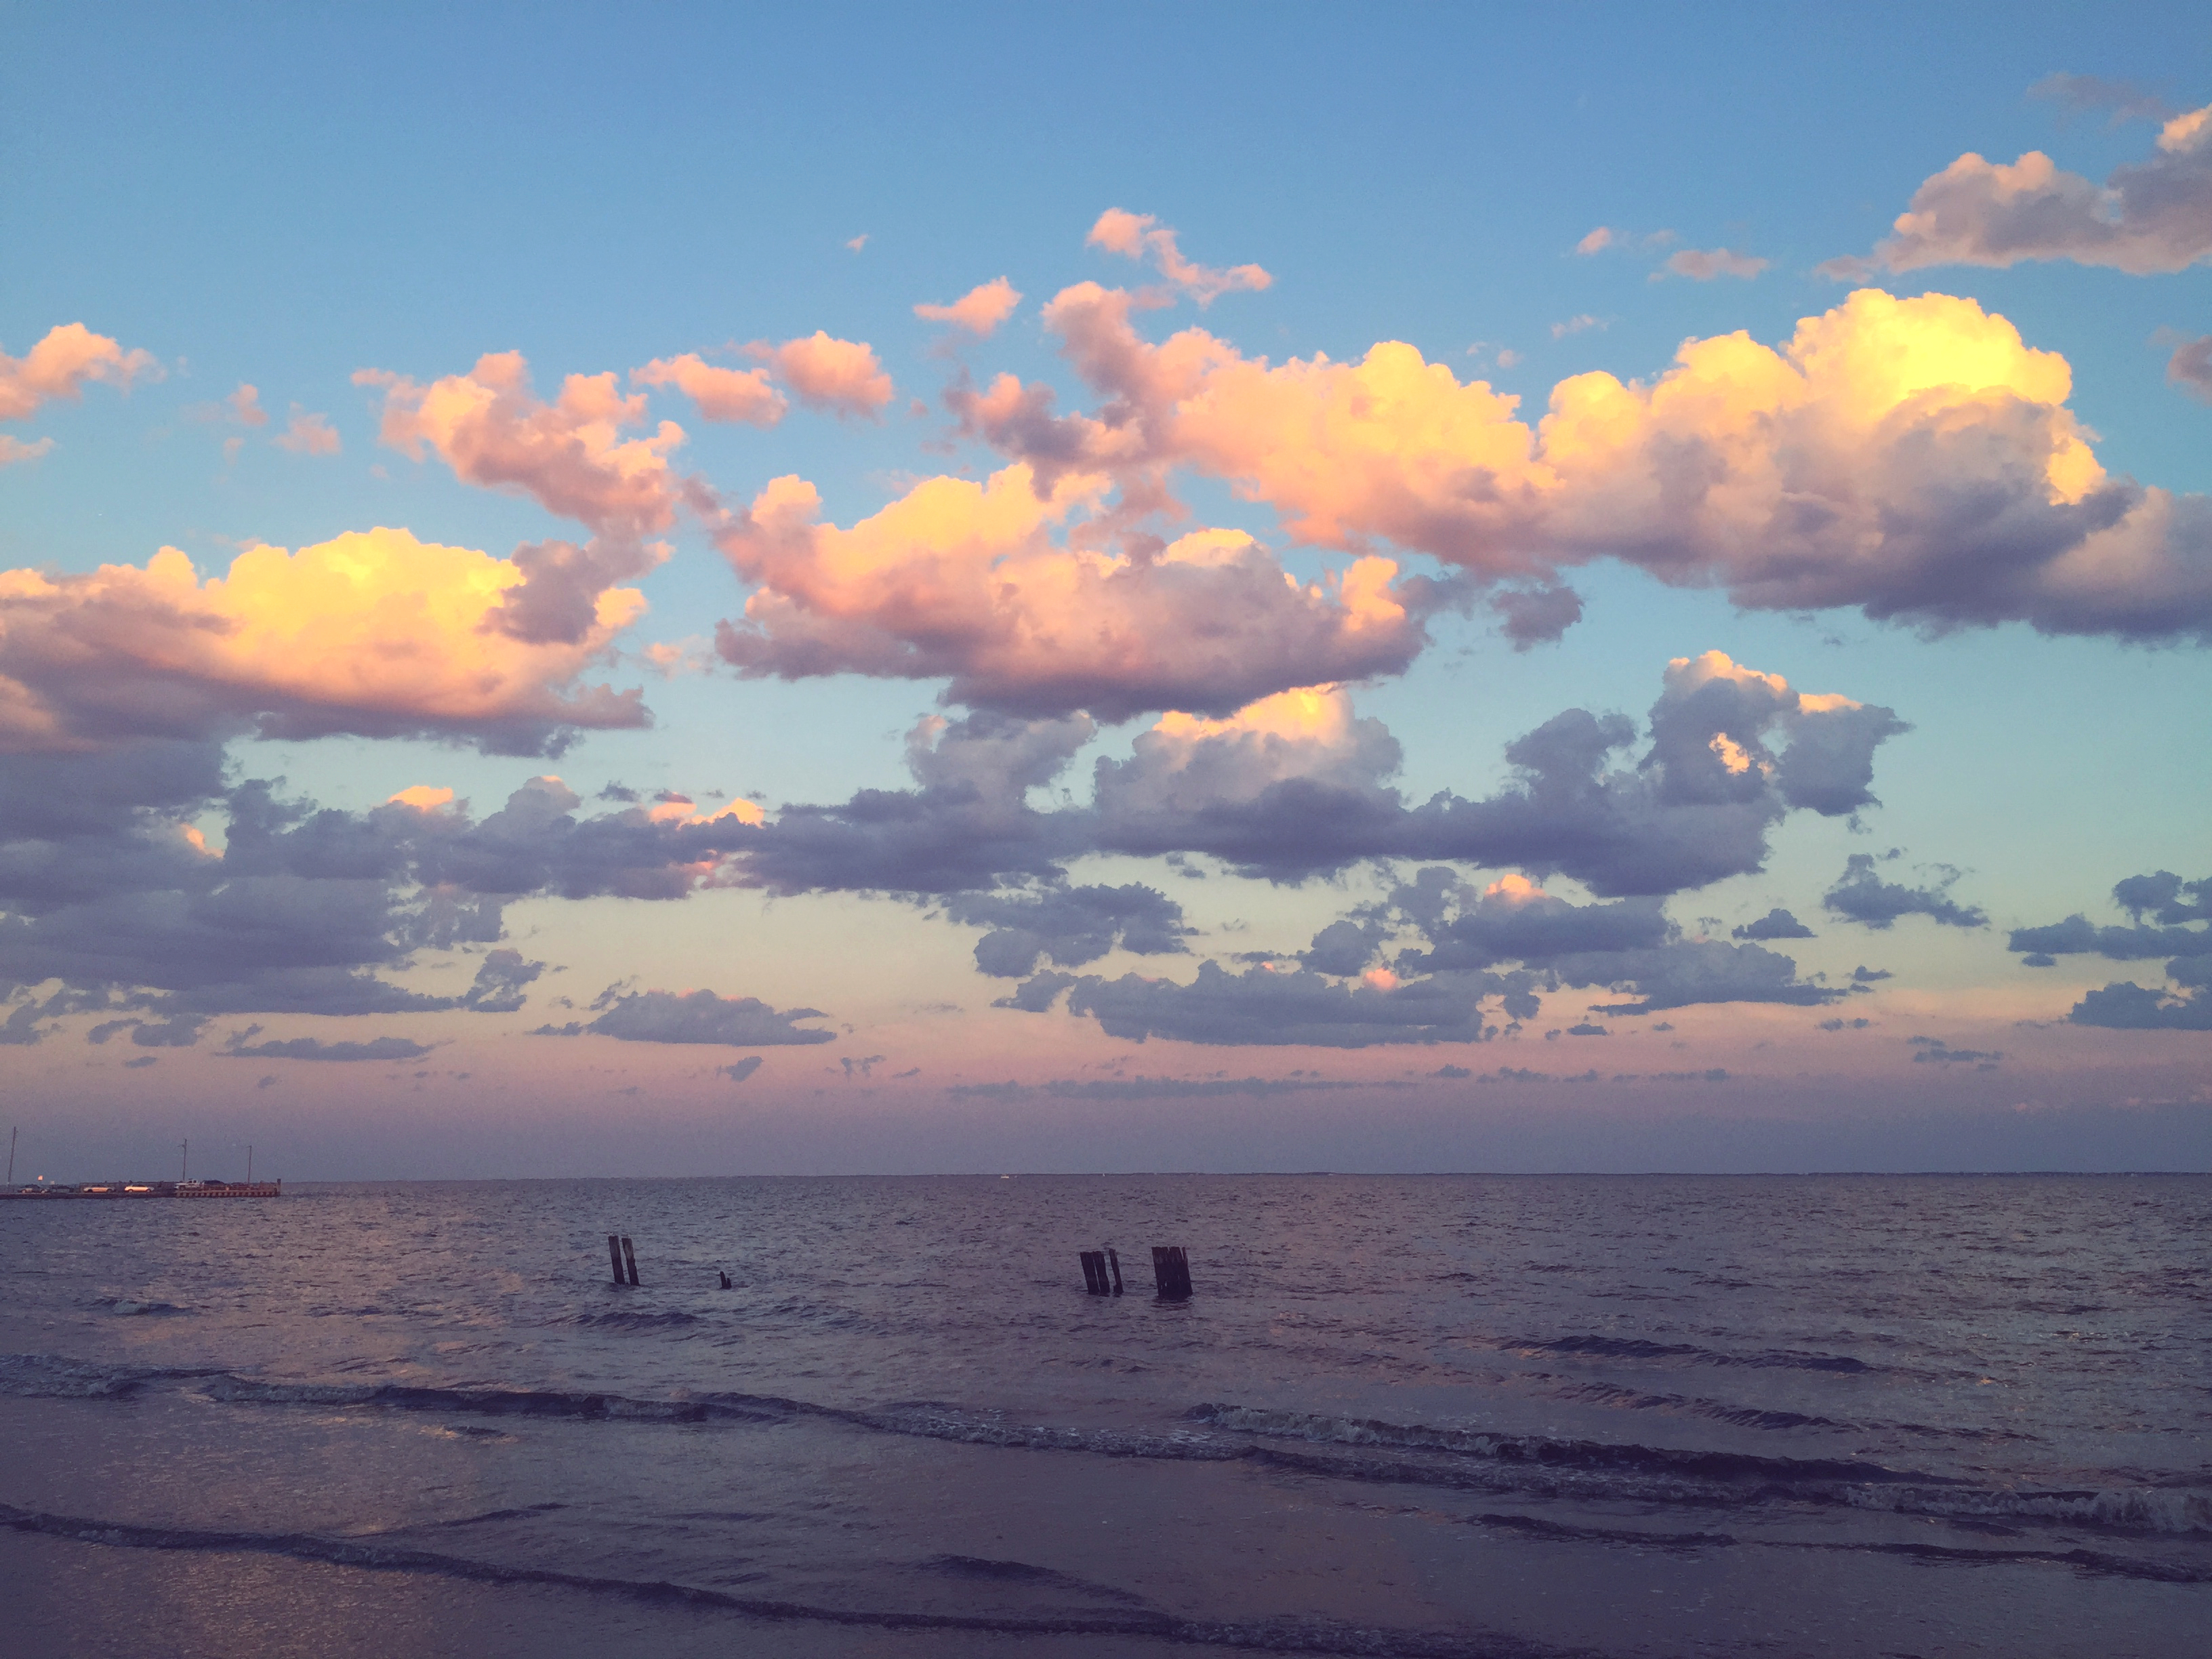
After:
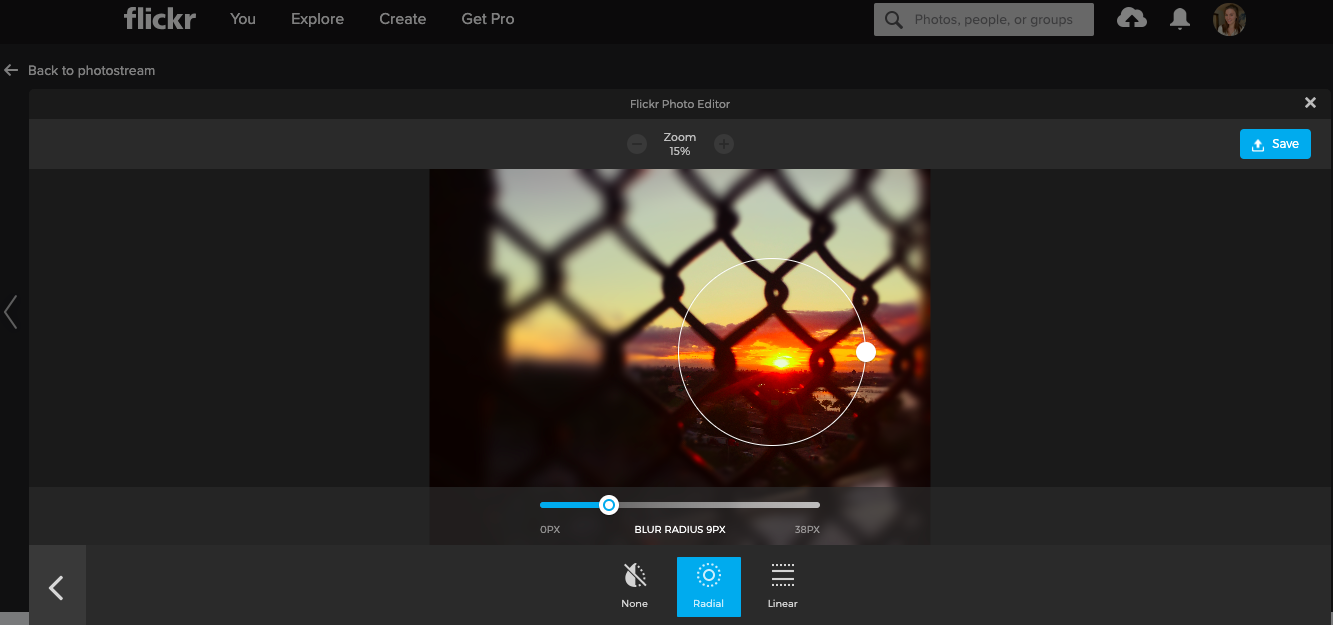
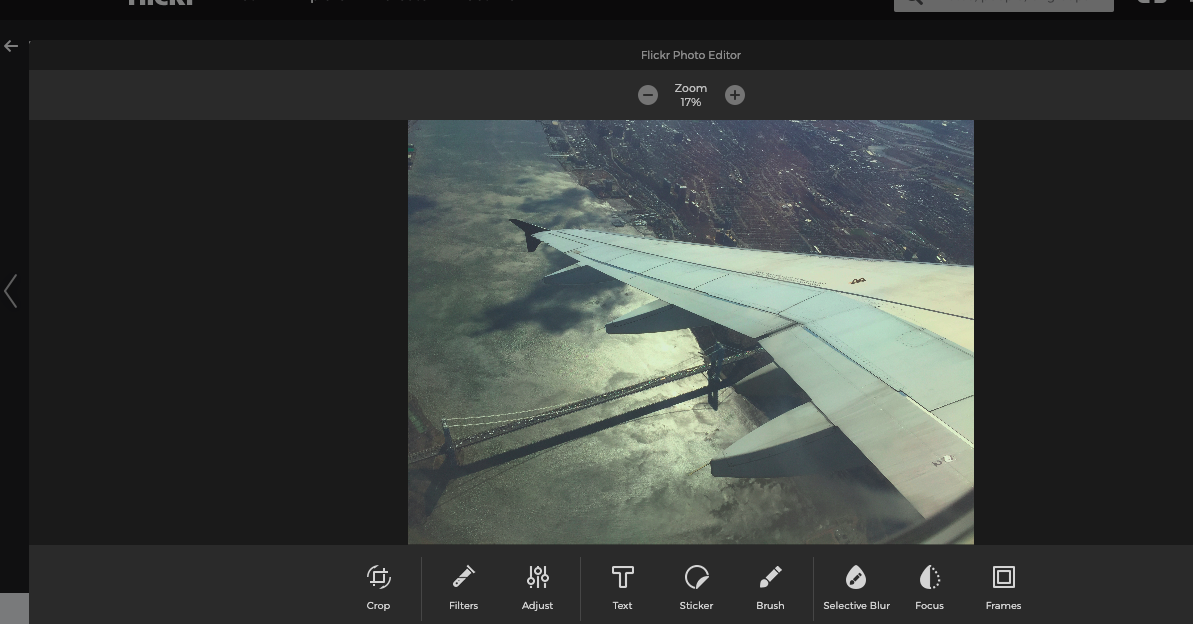
The only part I don’t like about editing on flickr is that the portion of the screen dedicated to the picture you are editing is quite small. Check it out below. I would rather have the picture take up the whole screen, instead of just being a pop-up edit window.
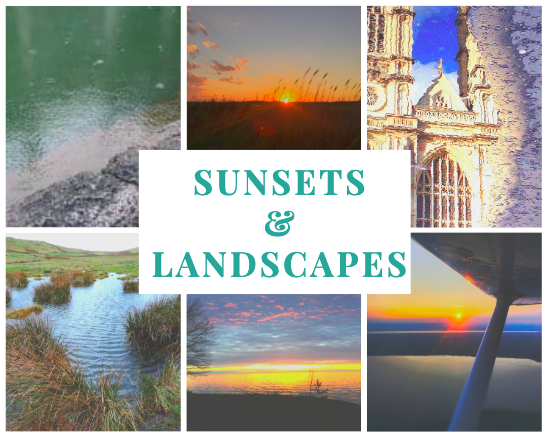
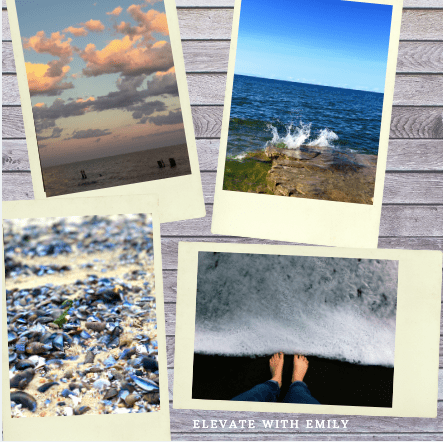
Check out this collage of my best work. Made on Canva
Overall I’d give the Flickr iPhone app 4/5 stars. I like the capabilities it has, however I don’t like that the options aren’t labeled. You have to click on every button to see what it does because it’s not labeled. I guess as I use the app more I will get more familiar with the buttons, but I as a new user it was confusing at first.
Check out this video review of the Flickr App that I posted to my youtube channel!
Follow me on flickr! Here’s some of my best work!


